Author Topic: Making decent solar panels part 2  (Read 19564 times)

0 Members and 1 Guest are viewing this topic.

oztules

  • Hero Member
  • *****
  • Posts: 1477
  • Country: aq
  • Village idiot
Making decent solar panels part 2
« on: February 12, 2011, 01:45:57 AM »
Moving right along from   http://fieldlines.com/board/index.php/topic,144982.msg982556.html#new  ( part1), we now have an oven to cook the panel in.... we have bought the vacuum pump, and are now prepared to make a test panel/cell..... just to see if it is true.

I decided that it would be best to do a show and tell for a single cell at this point, in a step by step approach.

So here we go:

First get a piece of glass that will fit your cell on.
Wash/dry the glass with alcohol (Methylated spirits).
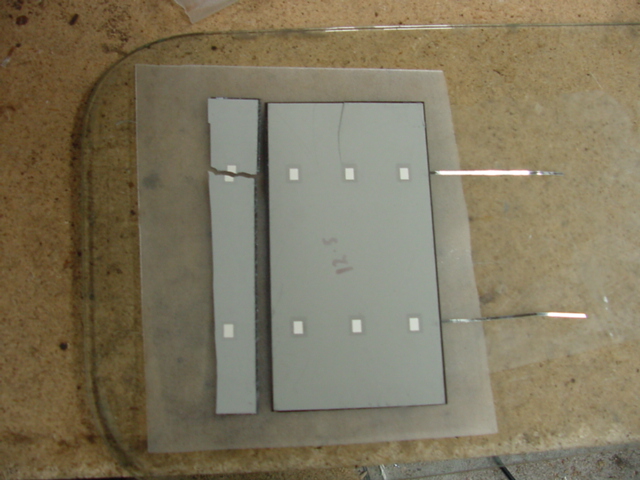
Grab the bit of your EVA your going to use, I have chosen to build a single 6x3 cell, with some other bits thrown in just to give an interspace between cell and cell bits..... like this:

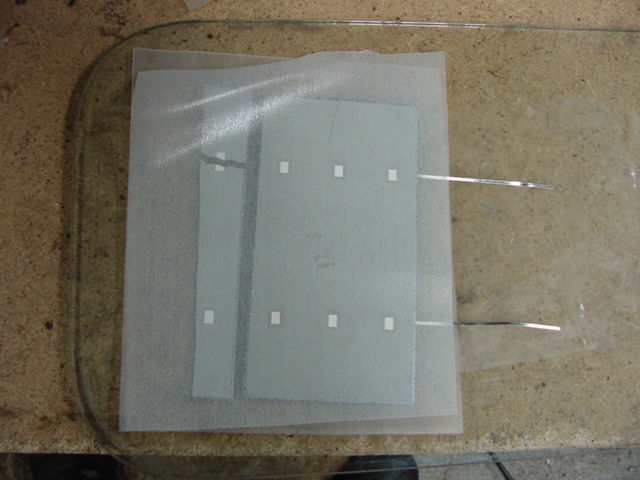
Next throw on the top EVA piece:

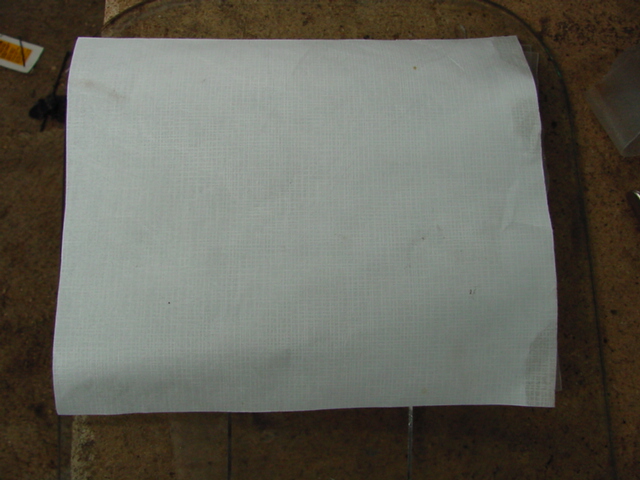
Now a piece of tedlar, or (tyvec I used here) anything you want the rear of the cells to wear. It must be non-porous, rot proof, water proof and everything else proof. It only performs the role of keeping the EVA away from anything that may want to harm it.

The EVA sets a bit like silicon. It is very rubbery, and not especially strong..... although try getting it off the glass once crosslinked properly and you may decide that it is very strong.

Here we are with a piece of tyvec on the back

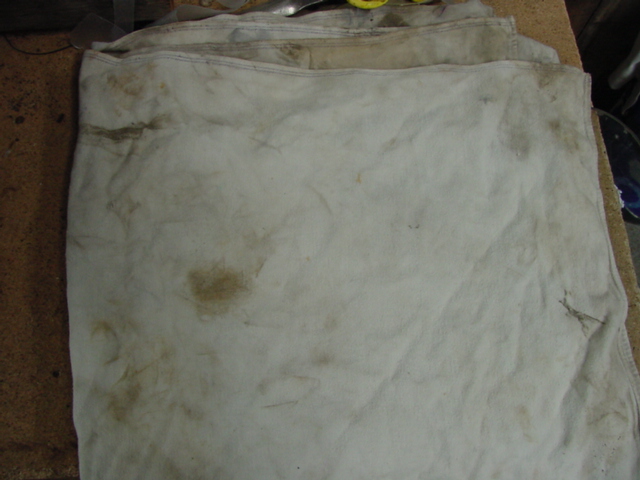
Now we have all the ingredients to make it work, we just need something to allow the vacuum to suck the air through..... an air wick if you will. This can be any porous material you can get hold of. I find for small 60watt panels, that a few thick teatowels covering the back do ok, for bigger panels, it is best to find something a bit better.... beach towels? Glass matting would be good if you have it, I tried shade cloth on the 2mx1m panel, but found that it shrinks a little when it gets heated. Not enough to damage anything, but enough to make the cells not line up as I had placed them. For this show and tell I just folded up a rag that was lying around near me... and so you get this:

Next we need a plastic bag big enough to place our panel in. Unless your into building big ones like i have, most likely a big garbage bag will be the best for the job... cheap, plentiful, and plenty strong enough for the job. Here I used a transparent one for demonstration of seeing the stuff in the bag


Next we poke a hose into the bag and seal it up I use plastic wire ties. This seems to hold the bag opening onto the vac hose pretty well.... except tor this time. The plastic bag must have a hole in it, as I could not get down to max vacuum......

Do NOT place the rubber suction hose over a cell. It would crack that cell, so just place it between your airwick material and the glass... or inside the folds of the material, but away from the cells themselves, and let it suck from there. Provided there are no leaks, it will all eventually seep through the wick. If there is a tiny leak, your wick will need to be very porous to still work. If it is a bit difficult for the air to move through, a leak will kill this project.... if it is a very free wick material, a leak may be tolerated.... best without though.
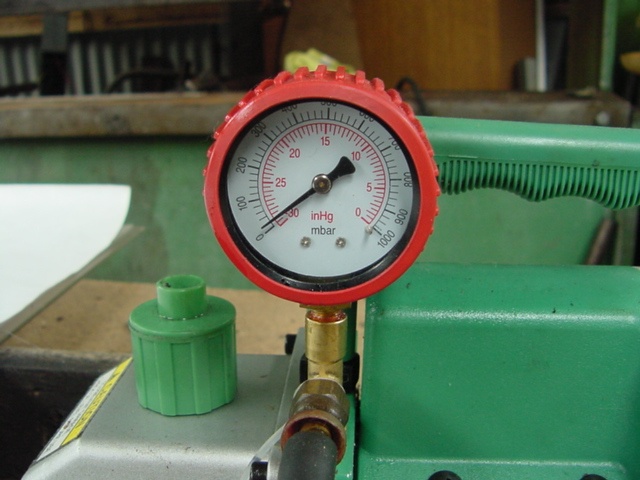

So I have replaced the clear leaky bag  with a trusty black garbage bag....
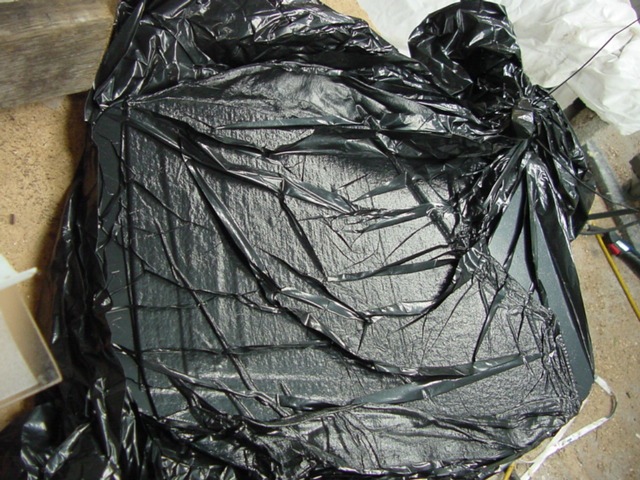


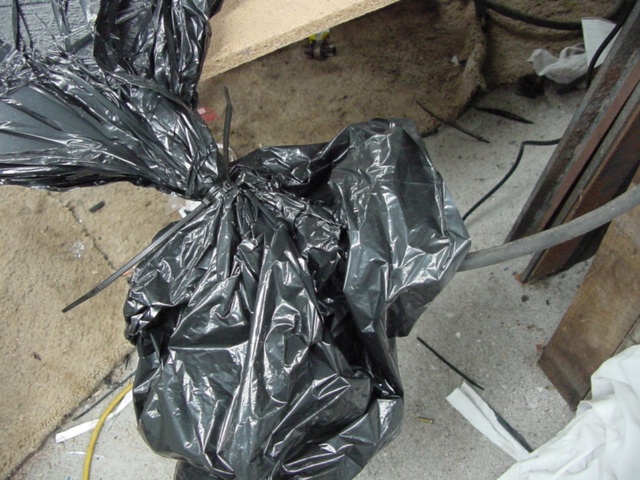
Note the wire ties:

Now for this exercise I won't use the big oven, but instead will show just how simple this can be.......

Here is the latest you beaut high tech laminating machine...... or the 1 minute oven..... and it will work every bit as well as an expensive laminator
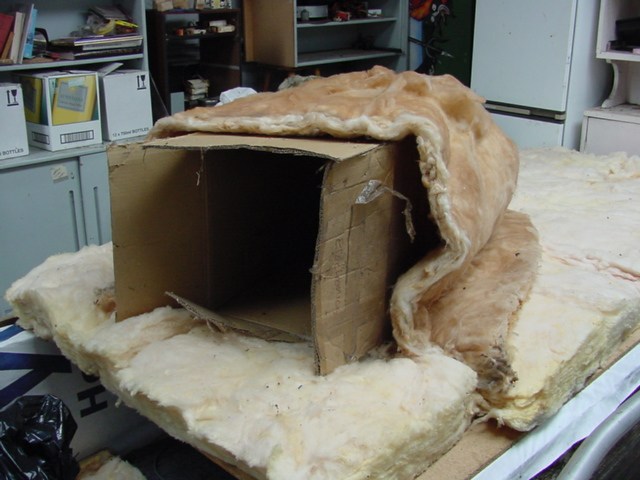


Of course we know there is more to it than this ......like the heater.
For this size ... and up to at least a 60W panel, a fan heater pinched straight from the loungeroom would do to get it up to 80-100C..... or if you wanted to prove a point, perhaps broil it in boiling water.....ie half a 44 gallon drum parked over the camp fire........simmer till cooked.
This does not need to be high tech is what I'm getting at, to get a perfect result.... just temp and time.
If you are going with very low temp, then it will take a very long time... ie 80C for 80 minutes, or 140c for 5-10mins

I have toyed with the idea of using the sun... ie use the some of my spare solar glass from the hot water heaters, and make a solar oven... very similar to the solar panel itself... as the oven.... I haven't tried it as yet, but if you can boil water on a hot day with a sheet of glass and the black backing..... then , it can crosslink the EVA easily too.

Your trial one will give you an idea of how long to cook it with what equipment you have to get your brand of EVA it to crosslink properly and stick to the glass VERY well. If it has not been left for long enough, you will be able to peel it off the glass, simply put it back in and cook some more... noting how many minutes gets the required bonding...

Our trial one looks like this
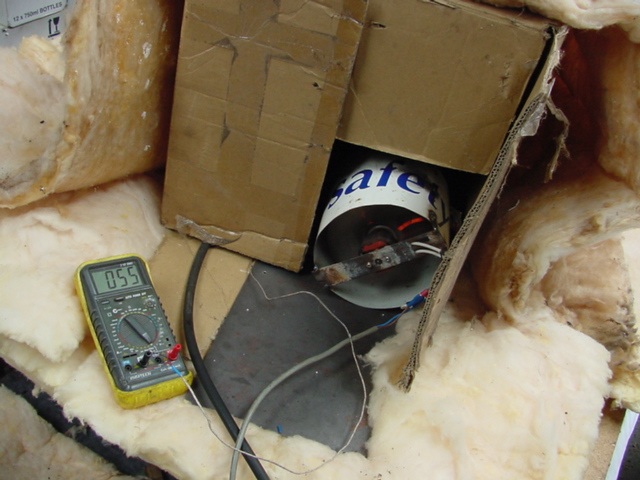


and the whole sophisticated arrangement looks like this:
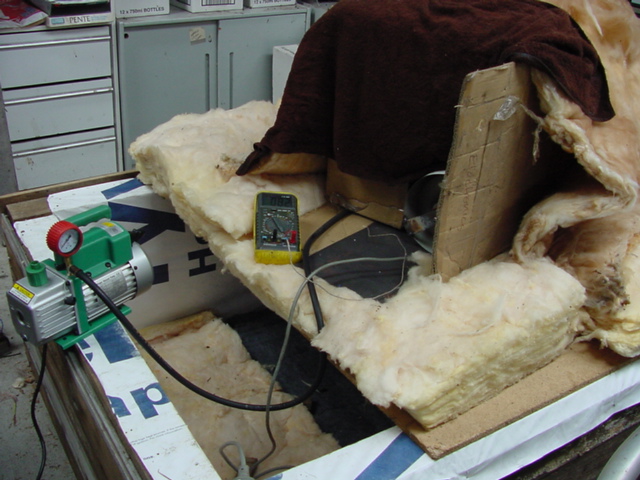


And yes, it got to .....and stabilized at about 112c... so I cooked it for 45mins  anyway. Note the improved insulation (brown towel) pushed the temp up another 20 degrees from the picture first showing the box oven
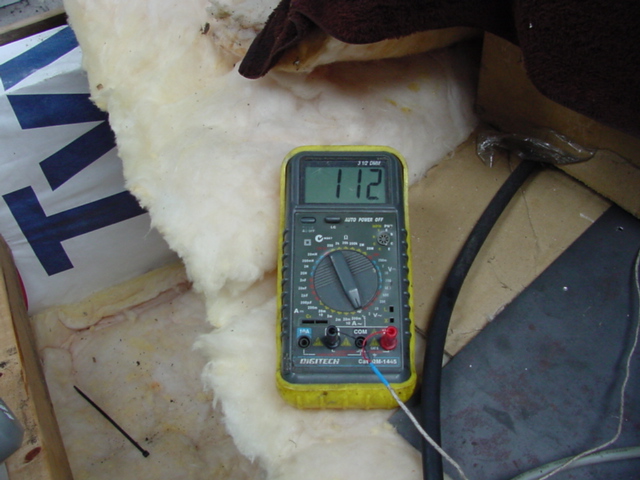


I don't think you can overdo the time on these low temp crosslinking exercises, although it is probably worthwhile exercise  to use a normal cooking oven with a good thermostat to get an accurate picture of how the stuff bonds to the glass... how long for how well. That is the only critical figure in all of this.... and even then you can always put it back in the oven without any problems at all.

And here is what we have got ourselves.:
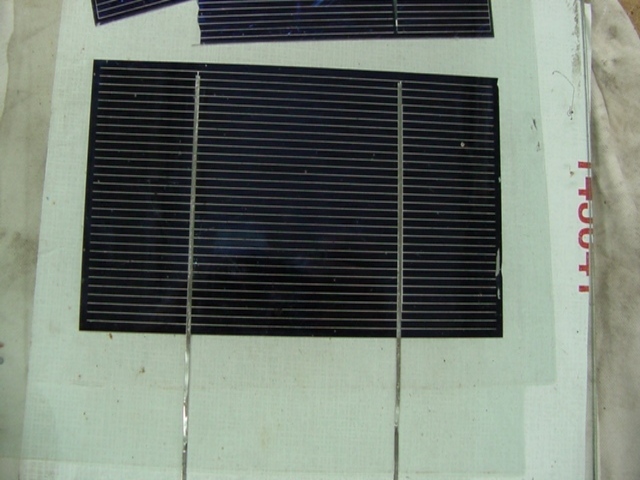


So it does work, and it is dead simple, and very easy to get right, and very forgiving if you dont..... stick it in for longer...

The only difference to doing this size
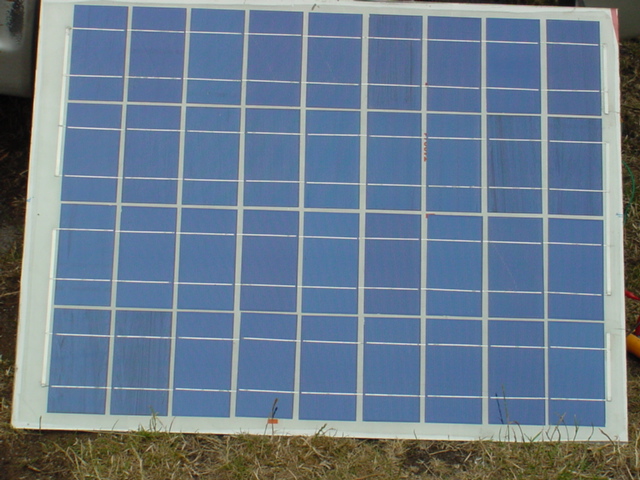
or this size:
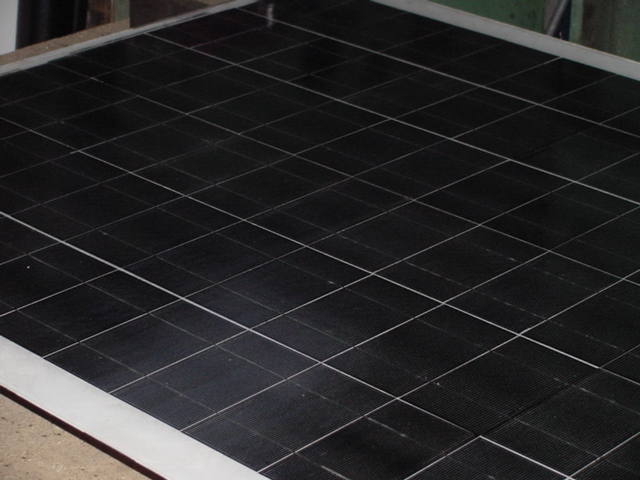
 is how much time you have, how many cells you have, and how much glass you can scrounge up


..............oztules

index.php?action=dlattach;topic=144995.0;attach=2155;image
« Last Edit: December 05, 2016, 09:39:39 PM by JW »
Flinders Island Australia

Harold in CR

  • Hero Member
  • *****
  • Posts: 564
Re: Making decent solar panels part 2
« Reply #1 on: February 12, 2011, 08:56:29 AM »

 Very well done.  I may change from using clear silicone to trying the EVA. Just have to have everything shipped down here. That's the only reason I'm doing DIY panels.

 Thanks for the tutorial.

oztules

  • Hero Member
  • *****
  • Posts: 1477
  • Country: aq
  • Village idiot
Re: Making decent solar panels part 2
« Reply #2 on: February 12, 2011, 06:35:38 PM »
I think your making the wise decision Harold. I live on a remote island in the wilds of Bass Strait between Tasmania and Australia. I understand the problem of getting things to difficult places.

I bought the EVA from here:    http://www.aliexpress.com/product-gs/317352087-Solar-EVA-Film-wholesalers.html

They got it here pronto, and free shipping. Minimum order is 10 meters, and it gets to USA continent for less than $100 including shipping. more you get, cheaper it is.

Cells were from MLSOLAR ebay (USA) ... I bought 2kw worth for about 950 inc shipping. There was a stuff up, and it ended up being around the 800 bucks landed.

It is worth the effort,  they will be as good as commercial, and at least they will last. Sylgard looks fairly easy but expensive... and bubbles will be a tricky thing to eliminate, silicon looks very difficult and expensive.

It is like all things of human endeavor, the boffins can all sit around and tell you how technical it is and how you need all kinds of the latest goodies on hand to make it work.... or you could just go out and do it yourself and find out for real.

Actually, I've found it's difficult to see how you could stuff it up really.

I've mentioned this before, but say again, if you cant get toughened iron free glass, it is not the end of the world. The EVA is used in laminated windscreens. It uses the low temp curing if they want to impregnate electronics into the windscreen, so it is not unusual to be using the low temp technique.

It also gives the glass an added strength, as even breaking it is a bit harder, and when it does, it keeps it all together. I tested for this as well, and the whole panel works as well as before I broke it, and still holds in the frame. If I was serious, I may pour some epoxy into the back of the panel, and strengthen it up again, but it seems to be strong enough still (It is driving and electric fencing unit now as a test in the elements). As an added thing you can use the windscreen repair kits to fill the cracks in the front if your keen.

When we broke a commercial panel (this time NOT on purpose).... it was the end... period. The glass explodes into fragment, the EVA still holds it together.... but the fractured pieces makes it near impossible for the light to get to the cells, which in turn crack with the glass fragments, destroying the current paths painted onto the fronts... etc etc.


The reason the big boys do it... is because it works the best...... and it turns out to be simple and easy to do.


oztules
« Last Edit: February 12, 2011, 06:56:16 PM by oztules »
Flinders Island Australia

Fused

  • Guest
Re: Making decent solar panels part 2
« Reply #3 on: February 12, 2011, 06:53:15 PM »
Does the heat from the sun re soften the EVA?
Does it matter?

Very interesting write up oztules


Fused

oztules

  • Hero Member
  • *****
  • Posts: 1477
  • Country: aq
  • Village idiot
Re: Making decent solar panels part 2
« Reply #4 on: February 12, 2011, 07:31:24 PM »
No....
The base EVA material  is combined with additives via catalysts with added curing agents, UV stabilizers, anti-oxidants etc. Also glass primers to aid adhesion to the glass substrate.

Note we said curing agent. This tells us that we start with one material, and it CURES into another. Thats the crosslinking we talk about. We are not just melting and resetting, otherwise we would not need to hold it at certain temps for certain periods of time... We are melting, and holding it in that state, while the gell changes it's characteristics.

If we were to take samples during the curing, we could weigh them, wash the uncured gell out with hot toluene solvent, and weigh again.

What is left to weigh is the final material, the toluene will disolve out the uncured gell. We could use this technique to see if we had finalised the curing or not in a scientific way if we so chose..... or we could use  differential scanning calorimetry to acsertain the remaining gell content..... or just have a look and see if it has stuck to the glass yet.... if not stick it back in till it does.

For commercial purposes, they try for at least 80% curing I believe, but natural heating in the sun may finalise anything un-cured anyway..... if it gets over 65C. If it is does not get that hot, I guess it would not be able to even melt the uncured gell content anyway.

One thing that does not sit right with me is some comments made that the cells only get as warm as they would in open circuit condition.... ie don't heat up under load, but in fact should cool by the amount of energy they transport from the cell to the load.... sounds right..... but in a panel.....

I have not found that to be the case. In all instances I have tried, commercial and home brew, there will be some cells in the matrix that get very very hot, and those that dont.
Maybe someone better qualified than me will enlighten both of us, but thats how I understand it to work at this point in time. Those hot cells will certainly cure the EVA around them if it was not fully cured before. I assume that as all cells are not created equal, different resistance cells will handle the current differently. Those with the highest resistance will get hottest, and so get hotter as they get thermal runaway (ish), and they end up very bloody hot indeed. ...... but I have never seen any sign of remelt in those instances..... even in the home brew ones.

............oztules
Flinders Island Australia

Harold in CR

  • Hero Member
  • *****
  • Posts: 564
Re: Making decent solar panels part 2
« Reply #5 on: February 12, 2011, 08:44:44 PM »

 Thanks for the updated info, Oztules.  ;D

klsmurf

  • Full Member
  • ***
  • Posts: 158
  • Country: us
  • "Damn it Jim, I'm a carpenter, not an electrican"
Re: Making decent solar panels part 2
« Reply #6 on: February 13, 2011, 07:49:41 AM »
Mr. Oz, Thanks for the write up. How do you handle the leads? Do you fold them back, isolate them and feed them through your backing material like I've seen on a couple videos? I like the Tyvek idea for cheap and easy to use backing although it is not 100% air and moisture proof. I've been toying with the idea of FRP panels if you're familiar with it. Thanks again for your time and effort.   Kevin
" A man's got to know his limitations " ------ Harry Callahan

dave ames

  • Full Member
  • ***
  • Posts: 248
  • Country: us
Re: Making decent solar panels part 2
« Reply #7 on: February 13, 2011, 12:50:05 PM »

...this presentation has left me dazed.

can it really be this easy? no lab coats and fancy prep work.. no mortgage on a custom lamination machine or the need for fancy process monitoring..WOW!

oztules, you have moved the thought of homemade pv modules back onto the to-do list..

thanks for an eye opening look into a fascinating topic!

cheers, dave

Harold in CR

  • Hero Member
  • *****
  • Posts: 564
Re: Making decent solar panels part 2
« Reply #8 on: February 13, 2011, 01:03:45 PM »

 UUUUh  UUUh   I have a question (Hand raised).  ;D 

 You stated you used Tyvek for a backing. I'm thinking that stuff has slits in it to let the stuff breathe ??  Is that not the case with YOUR Tyvek ??   Thanks

klsmurf

  • Full Member
  • ***
  • Posts: 158
  • Country: us
  • "Damn it Jim, I'm a carpenter, not an electrican"
Re: Making decent solar panels part 2
« Reply #9 on: February 13, 2011, 02:22:24 PM »
Harold, I am not Oztules, nor do I play him on TV :), but if I may. "Tyvek" aka Housewrap, comes in many different grades depending on usage. The type he showed does well for air and moisture infiltration under a siding material. Over time it will allow moisture if left exposed. It may last longer being on the back, but being in a northern area I would not use it.
" A man's got to know his limitations " ------ Harry Callahan

methanolcat

  • Full Member
  • ***
  • Posts: 134
  • Country: us
Re: Making decent solar panels part 2
« Reply #10 on: February 13, 2011, 02:51:17 PM »
Excellent write-up oztules, makes me want to try this some day, especially nice compared to the cost of commercially made units, I too have seen many cells (individual) at what I think is a reasonable price on ebay, so I might just try this, would be nice to have solar and wind power on tap.

Good job.


Matt

oztules

  • Hero Member
  • *****
  • Posts: 1477
  • Country: aq
  • Village idiot
Re: Making decent solar panels part 2
« Reply #11 on: February 13, 2011, 06:08:36 PM »
The tyveK

Originally I had hoped the teflon based tyvek would not even stick to the EVA, and I would use it simply to hold the eva away from the plastic bag/s, peel it off and just have an EVA backing. Later I could paint it or leave it if I wanted etc etc.... it's teflon right???

Well that didn't happen. My tyvek has no slits, but does have breathing pores. So small that water seems to be repelled if incidental.

Under high pressure and reasonable temp (only 100C etc) the EVA is forced into the tyvek pores, and it ceases to breath. It dosen't just peel off the EVA like I had hoped, it is stuck but good..impossible to remove..... so the pores must be lock and keying to the substrate, it is surely not sticking to the teflon.

I could still paint it, but I would actually prefer to try wax paper, which I believe is one of the few things that does not stick to the EVA, and then have a choice of what to do then.... paint it or leave it. At this time I believe it is not an issue I need to address.

In those hostile climates, maybe I'd use tedlar....I have not researched the temp/pressure profiles for it though.
I don't know, how you live there .....really I don't.

Kevin,
the lead outs are as you suggest. I use transformer paper and scraps of eva to strengthen the area as well. Fold them back over themselves in the vain hope that it will act as a shock absorber if I do something silly later on..... Beware... use transformer paper or grease paper between the bus wire sticking out through your backing.... EVA will find a way to sneak out your slot and stick the bus wire to the back of the panel.... maybe even bury it a bit if it gets the chance..... it is sticky stuff.


..............oztules
Flinders Island Australia

Harold in CR

  • Hero Member
  • *****
  • Posts: 564
Re: Making decent solar panels part 2
« Reply #12 on: February 13, 2011, 07:15:32 PM »

 Oz,  What hostile climates ??  Temps range from (sorry) 60°F - 85° F year round. Rains a lot during the rainy  ::) season. Rains a Little  ::) during the dry(er) season. Sun is strong, but, that's about true for most of the worlds land masses ??

 Require NO heat, NO A/C. Just a couple ceiling fans, sometimes.  ?????????

 I DO live at a higher elevation than close to San Jose, which is located in a (Bowl) shaped area.  Except for being 30 years behind the times, I=it's not that bad. Tyvek was a pretty new product, when I moved to Florida in the mid 80's. Only handled it a couple times.

 I am thinking about Fibreglass Matte and resin to help stiffen the glass-cells part of the panel. I would really prefer to COOL the cells a little, somehow. The direct Sun is strong.   Any ideas on cooling ?? I will mount the panels on a Tracker frame and that will keep them above the Tin (white painted) roof, so air movement will be good.

 If I'm getting too off topic, say the word. I don't want to detract from your great Tutorial.  Thanks

oztules

  • Hero Member
  • *****
  • Posts: 1477
  • Country: aq
  • Village idiot
Re: Making decent solar panels part 2
« Reply #13 on: February 14, 2011, 07:51:13 AM »
Nothing wrong with a bit of waffle harold... makes life interesting.
I was thinking of the North Americans.... I can't imagine my water pipes freezing etc.... just does not compute..


...........oztules
Flinders Island Australia

Bluevitz-RS

  • Newbie
  • *
  • Posts: 36
  • Country: ca
Re: Making decent solar panels part 2
« Reply #14 on: August 03, 2012, 10:12:41 PM »
Thread revival... how well did the garbage bag stand up to the high heat of backing?