A while back I had posted about building a light for small solar power systems for the expedition back to Fiji this year. The design goal was an efficient, yet robust light which would survive for a long time in a relatively harsh environment.
I had obtained some manufactured bulbs utilizing Cree LED's and had tested their current/power draw, and was impressed by the amount of light that they put out.
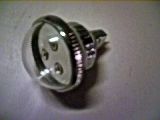
At $30.00 U.S. a piece, however, they were not practical for this mission, and several would be needed together to light up a room.
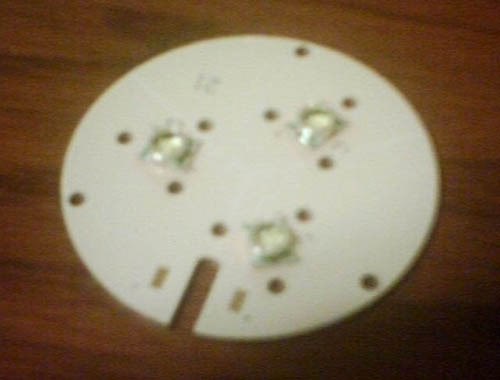
I wound up ordering 30 boards with 3 Cree 7090XE LED's on them from a supplier in Georgia, U.S.
Once I had the boards, I needed a circuit to drive them. I wound up using the circuit designed by Amanda here:
http://www.fieldlines.com/story/2007/5/1/74856/25992
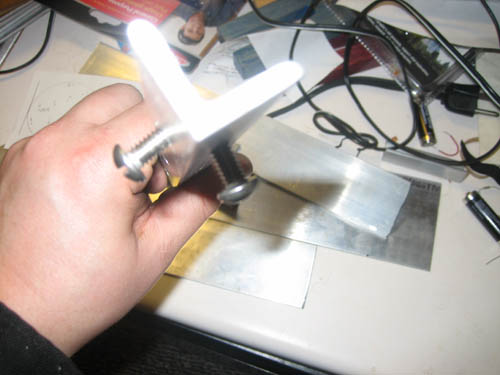
Next I built a test circuit on a breadboard.
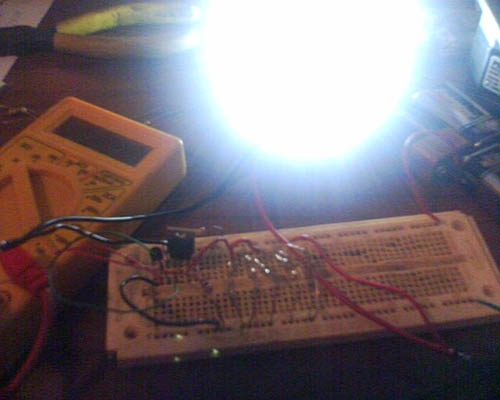
Next I soldered a circuit on a proto-board and gave it a lengthy test at 18 volts.
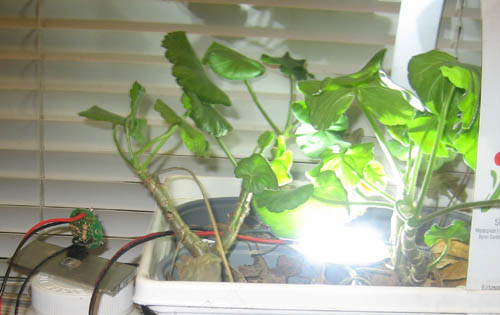
This probably saved these geraniums from dying out as they had not been getting enough light. You can actually see how the leaves near the light have turned towards it over time. Once I was satisfied that the circuit was working as designed, I took over the basement kitchen and put together a batch of them for the lights. I was originally going to etch boards for these, but I wound up just using the prototype boards instead to save precious time.
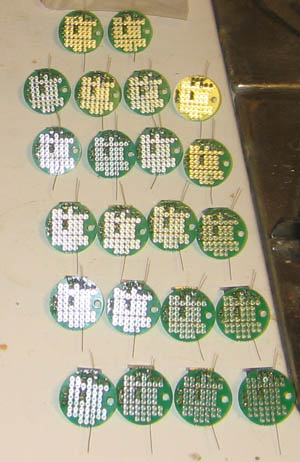
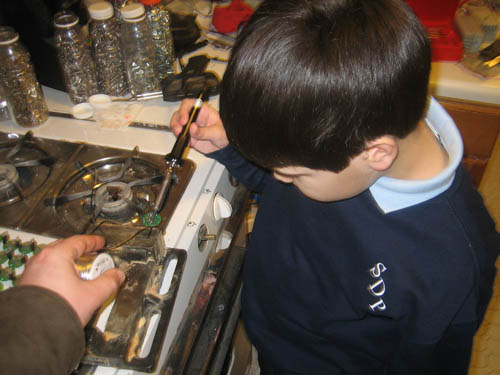
The soldering is small, so sometimes you have to get a little help with fresh eyes and smaller hands [;-) Joel wanted to learn how to solder, so he gave it a go. With a bit of practice it is no problem for him.
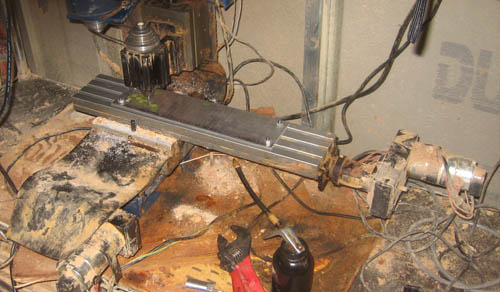
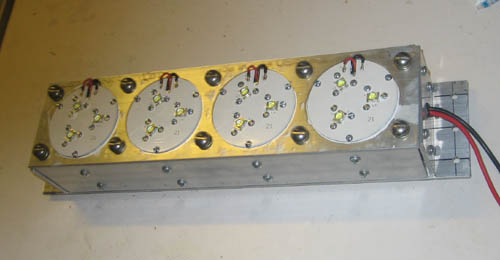
Next it was time to make the frames. I decided to make the frames out of aluminum so that they would basically be giant heat sinks to keep the LED's and the FET's cooler. I made an aluminum face plate to hold 4 of the LED boards. I measured the hole locations from the board with calipers, and put it into a computer file that I could run on my small Taig CNC mill.
Parts were made for 7 lights with 4 of the 3 LED boards each.
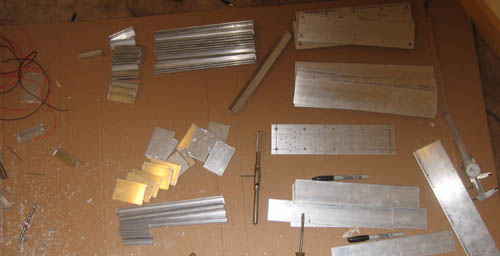
There are 48 size 4 at 40 threads per inch holes on the front plate.
I am definitely not good at tapping holes with those small taps. I broke not one, not two, not three, but 4 of those taps making the front plate. I think my hardware store was out of stock by the last one, but I did get a bit better at using them.

I made a few other mistakes along the way, for instance, one cannot put screws in at the same location on angle stock as the screws run into each other.
I have found that it is always good to make a prototype to avoid these issues when assembling a batch of items. Once the parts were made and the bugs worked out it was time for assembly.
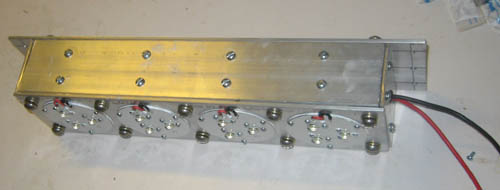
This is the result:
I powered one up. They are annoyingly bright, but they can light up a room.
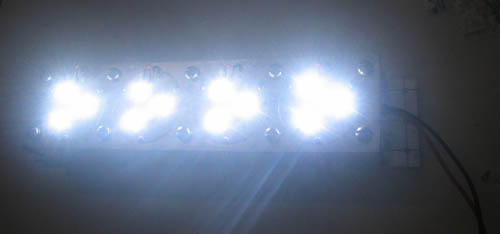
At 18 volts, the case gets warm over time, but can be handled at that point. They are designed for 12V operation, they should be fine for that. I think we will definitely need to consider adding shades to these though. Now I just have to clean up all of the messes that I made in putting these together. :-( Six of these will make the trip, and one will stay here. It will probably go up in my laundry room where I have a 12V light now. :-) I have saved the g-code file for the front plate as I plan to make more of these, so if anyone wants it, just ask. Thus far I am happy with these lights. Time will tell how well they will hold up on the island. It was a fun project, Rich
