Author Topic: Axial flux turbine MK 3  (Read 2768 times)

0 Members and 1 Guest are viewing this topic.

karlb

  • Jr. Member
  • **
  • Posts: 57
  • Country: gb
Axial flux turbine MK 3
« on: June 03, 2016, 05:26:01 PM »
I started a thread about this in the user diaries but it had no interest. I've now made more progress so am putting it here, I hope that is ok.
I've made a few iterations of alternators over the years which you can find on here. I've taken a break from them for a while, but hopefully what I'm working on now is the best I've made so far.
I recently got two copies of this part laser cut out of 8mm mild steel:
9807-0

They came out really well. Cost was £15 each. I can share the CAD file with anyone interested.
I designed these parts to be a perfect fit for a car wheel bearing that I have. The rotor attaches to the bearing fine, but working out how to attach this bearing to the rest of the structure was a big problem for me for a long time, so I'm glad I have this solved now.
It is a bearing from a Vauxhall Astra MK4. You can buy brand new ones on ebay for around £35. Mine came from a scrap pile at the local auto mechanics, but I do need another for the other rotor that I will get at some point.

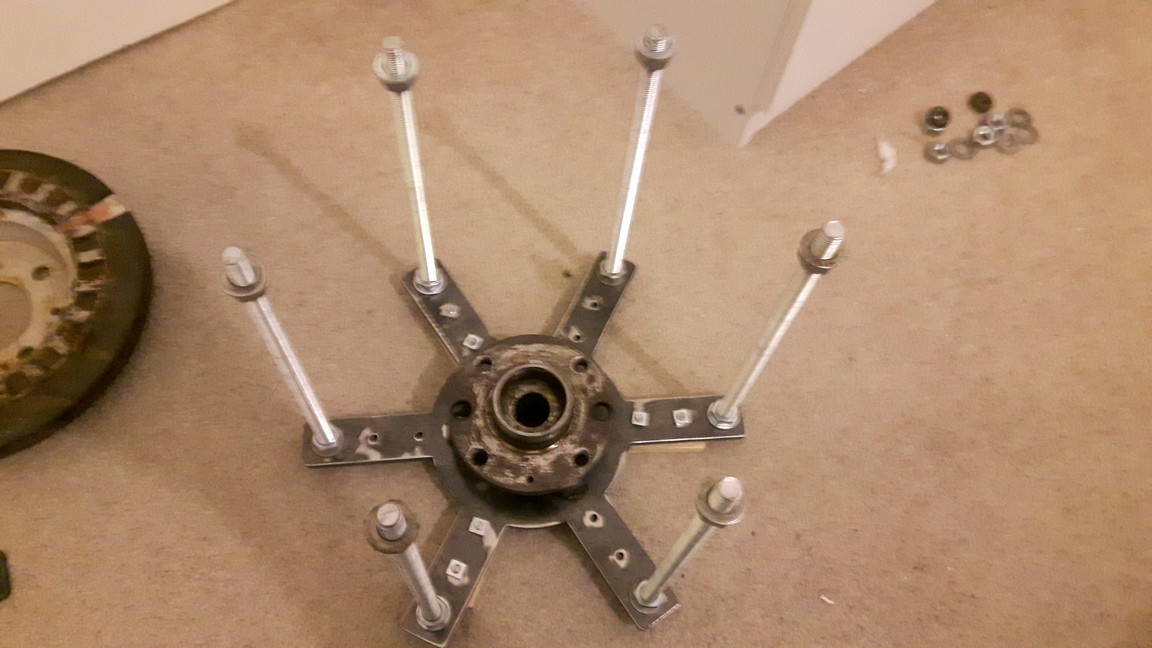
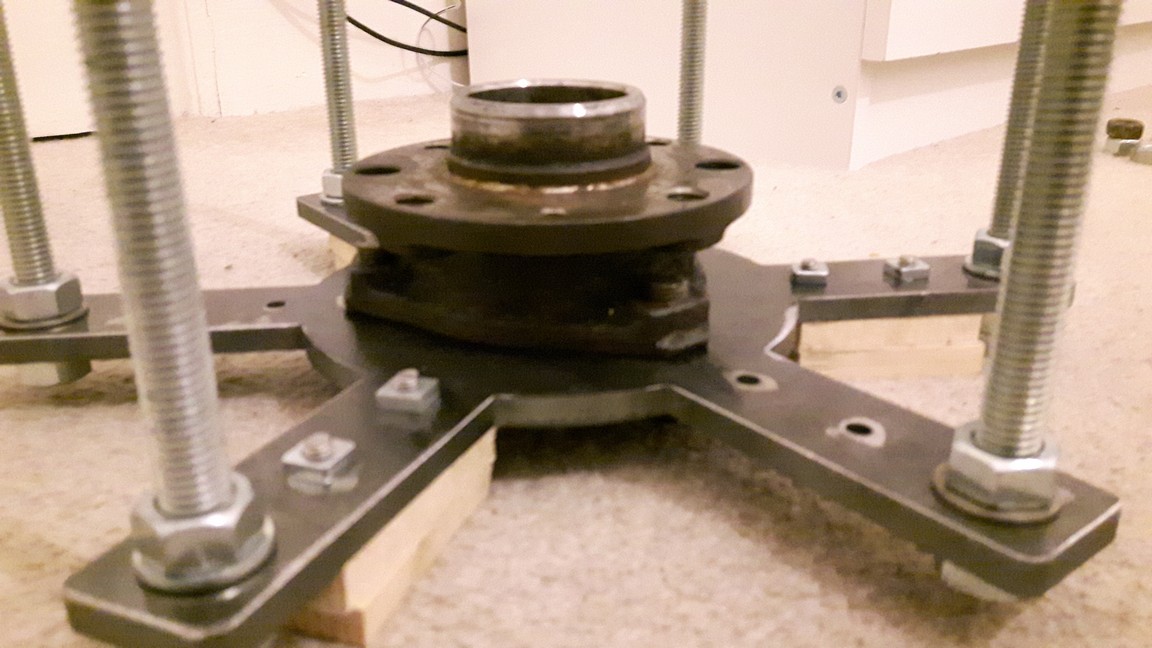
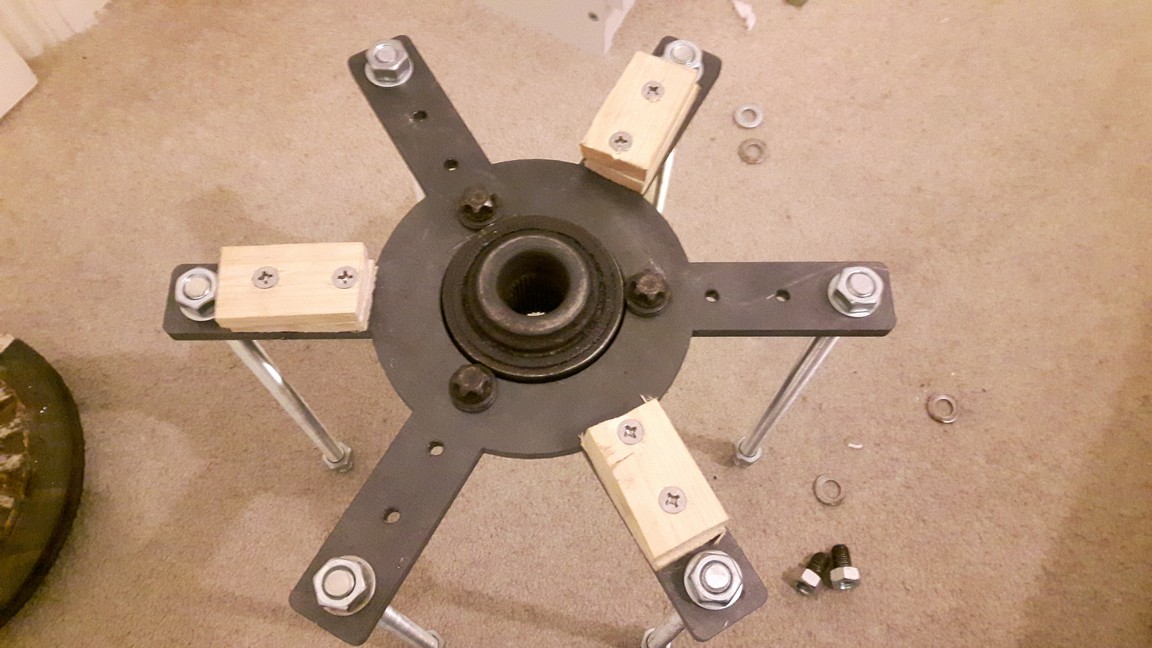
Here is the bearing attached to the plate, with six 12mm threaded rods to support the rest of the structure.
9808-1

9809-2

9810-3

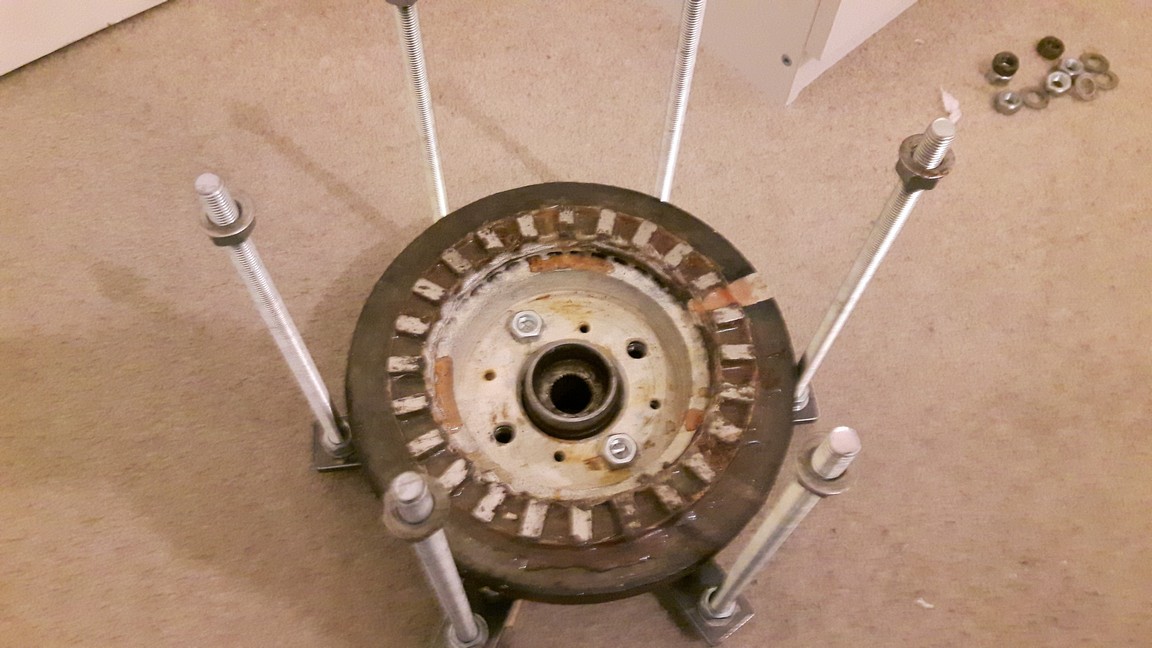
Next, my rotor consists of a car brake disc with 24 neos epoxied on:
9811-4

(Continued on next post)
« Last Edit: June 03, 2016, 05:45:00 PM by karlb »
KarlB.

karlb

  • Jr. Member
  • **
  • Posts: 57
  • Country: gb
Re: Axial flux turbine MK 3
« Reply #1 on: June 03, 2016, 05:42:48 PM »
Next, my stator:
9812-0

20 coils cast in water clear epoxy.
I exposed the wiring for each coil to give me the flexibility to change the configuration if I wanted. My next step is that I need to pick a configuration to stick to, tidy the wiring and epoxy it all in, leaving only three wires exposed for connection to the three phases.

Here is the stator on top of the rotor:

9813-1

I also need to drill holes in the three wooden supports coming from the stator so that I can mount it on the threaded rods with nuts. I can then easily adjust it up and down using the nuts

Here is the setup with the second plate on top:

9814-2

I need to get another bearing to attach the second rotor to the top plate but that will come after I have sorted the stator out.

Questions:
1: Does anyone have any tips on how I drill the three mounting holes in exactly the right positions on my stator? Even being off by 1mm could mean that the coils are in a bad position over the magnets.
2: Should I use nyloc nuts on my threaded rods? I think that if I use regular nuts then they may loosen from vibration over time, but does anyone have experience of this?

Any other thoughts / comments appreciated :)
KarlB.

electrondady1

  • SuperHero Member
  • ******
  • Posts: 3120
  • Country: ca
Re: Axial flux turbine MK 3
« Reply #2 on: June 04, 2016, 08:22:36 AM »
nylock nuts are great

looks like the threaded rod locations are all on center.
i t looks like your stator support taps are laminated to the stator.

 i think i would back the threaded rods down to the point your your stator support tabs will sit on top of them and the stator sits on the magnets
visually locate the stator over the mags perfectly and let the ends of the threaded rods show you were the hole has to be on the support taps.

i would just draw a circle around the threaded rod to find a hole location .
it that fails
hot glue a thumb tack to the ends or the threaded rod.
locate the stator perfectly in relation to the mags and  then press the stator down onto the thumb tack enough to make a center mark.

having said all that,three support taps is not many.  i would add three more support tabs. so you have 6 all together.


karlb

  • Jr. Member
  • **
  • Posts: 57
  • Country: gb
Re: Axial flux turbine MK 3
« Reply #3 on: June 04, 2016, 01:47:00 PM »
Thanks very much for your great suggestions.
The epoxy is clear but viewing the magnets through the epoxy is blurry and I can only just make them out, having to use a torch to help. Positioning the coils over the magnets visually is slightly challenging.
How would one go about this if the coils were in opaque epoxy?
Would it be a viable option to drill and file out the epoxy in the middle of the coils? It should be easy enough for me to avoid hitting the wire. I'm thinking this may improve cooling too?
KarlB.

electrondady1

  • SuperHero Member
  • ******
  • Posts: 3120
  • Country: ca
Re: Axial flux turbine MK 3
« Reply #4 on: June 05, 2016, 08:44:02 AM »
it's nice when things are perfect
but there is such a thing as flux linkage .
when your alternator is working, the coils become magnets and will draw the flux to them to a certain extent .
as the mags move on, the link moves to the next set of coils .