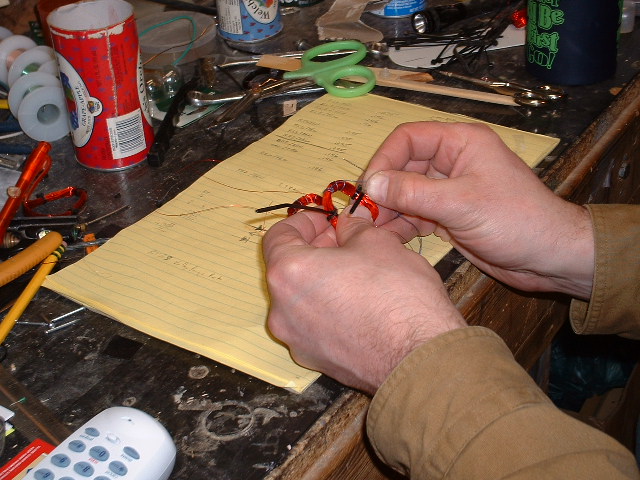
After I had a coil wound, I used small tie wraps to hold it together. Then took some heavy thread (stuff used to sew denim) and "stitched" them up and carefully cut off the tie wraps as I went around the coil. It was a little extra work with using the thread, but I found that when making coils with thin wire then can easily get messed up when handling them.
Cutting out a third (or maybe 4th) coil stator!!

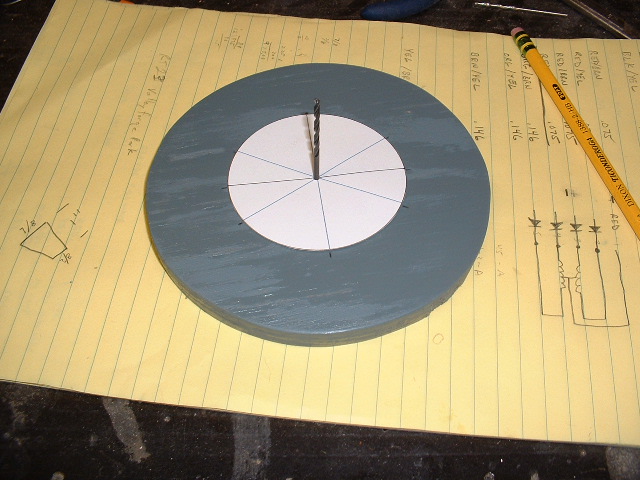
I had some nice lines drawn with the protractor, but then I sanded the wood and painted over them. So I made up a drawing with Auto CAD and printed it out to scale to used as a guide. I drilled the hole in the center of the wood before I sanded and painted it, so I took the same drill bit and put it through the center of the cardboard template so it was centered on the wood.
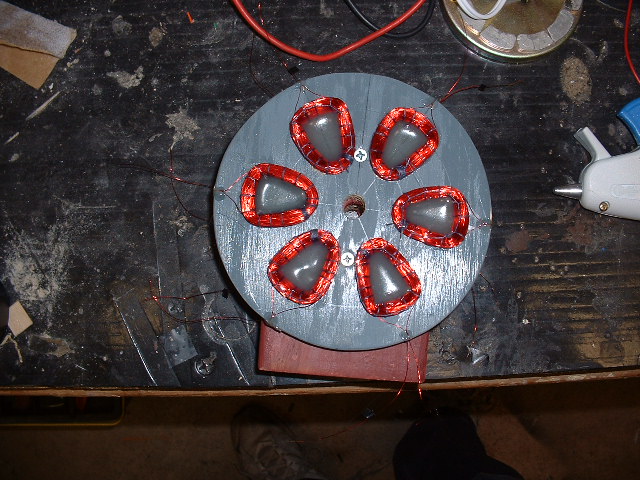
Here is the finished coil stator. I didn't feel like messing with fiberglass resin. I just used some super duper epoxy to hold them. I cut a small notch on the outside edge of wood near each coil to run the wires through and put a little bit of hot glue to hold them. Before I glued the wire ends, I labeled each wire.
I put it all back together. With a turn of the hand, I get about 2 volts on each coil. I hooked up the electric drill and ran it at 1200 RPM just to see what I get. It puts out almost 9 volts at 1200 RPM. In any case, six of them together should produce 12 volts and we'll see what kind of amperage we get!
I'm sure that I missed one or two turns on a coil or two and they aren't perfectly placed, so I think I will make up a full wave bridge rectifier for each of them then combine them.
I want to get some terminal strips to mount on the back to wire up the coils.
