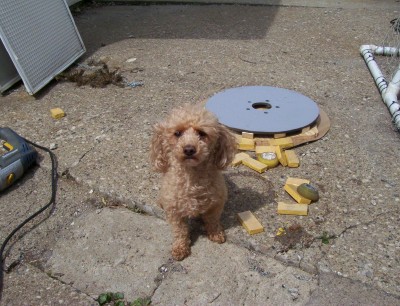
today i got at the fun part of building the turbine, and my foreman pictured below was on the job site early making sure all the necessary tools were sharp and ready to go
once the holes for the spindle are drilled, i drilled 3 more holes with a 17/32 drill bit and threaded these holes with a 1/2" tap..these holes will be where the jack screws go for lowering and raising the rotor.
i bought a 3' piece of all thread and cut 1 foot sections out of it to use for jack screws.
We are using 3" magnets on this turbine and they are super, super strong. Without these jack screw, i dont think i would be able to get the rotors apart.
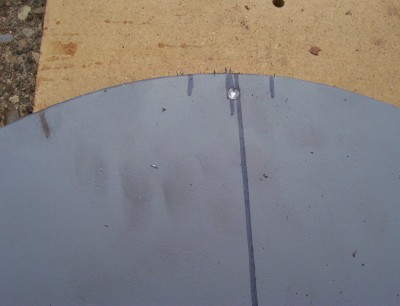
The picture below is of a drill mark i make on each rotor. This mark has to be exact on each rotor so the magnets will be directly opposite of each other. Make sure your stud holes are all perfectly aligned for this operation.
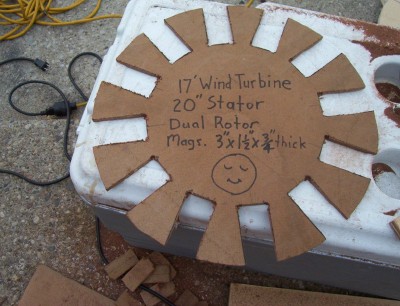
I made a jig to help me locate the magnets in their respective postions out of a piece of 1/4" board i found while dumpster diving(recycled goods whenever possible).
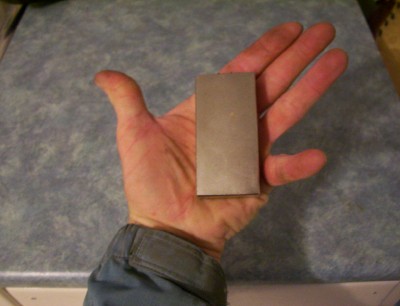
I am using 3"x1 1/2"x3/4" thick neodymium magnets. 16 on each rotor for a total of 32 magnets.
Below is a photo f one of these magnets. These are the biggest and nicest magnets i have ever handled. They have some serious power to them, and every move i make is thought out a head of time so i dont get hurt. I would think if something goes wrong handling these things. I would be severely hurt. I purchased these magnets from our host here. I would highly recommend people to buy magnets from forcefield as they are beautiful magnets, they are packaged wonderfully, and delivered very quickly.
I will continue this post on another page as this may be getting too large for some to read..things are getting cool here on this project and i am very excited about it.hope this helped some folks..pickster
