Hi everybody
It has been a long time since my last Diary posting and a lot has happened, I was going great guns with my wind turbine project and hoped to get it finished and up during the summer so that I could test everything thoroughly before the winter sets in. Unfortunately my very close friend Gary was tragically killed in a road accident in July. Here is a pic of him helping with my first wind turbine a few years ago.
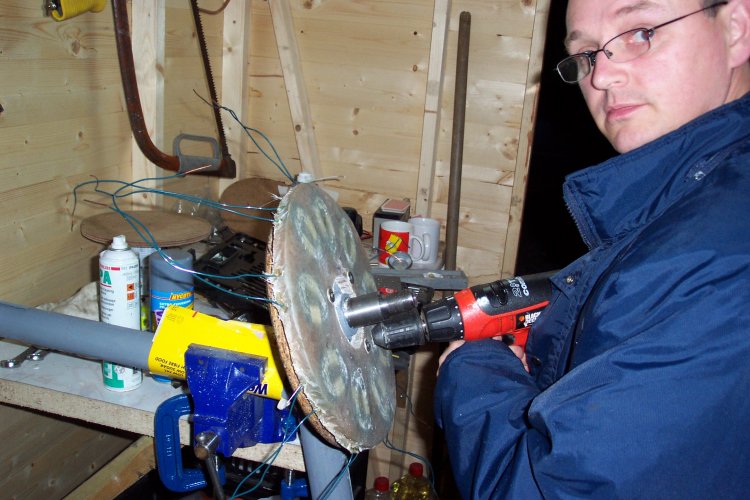
Needless to say I didn't have much heart in anything for a while, however Gary was a very supportive of my project and I know he would have wanted me to continue, so here is the latest update.
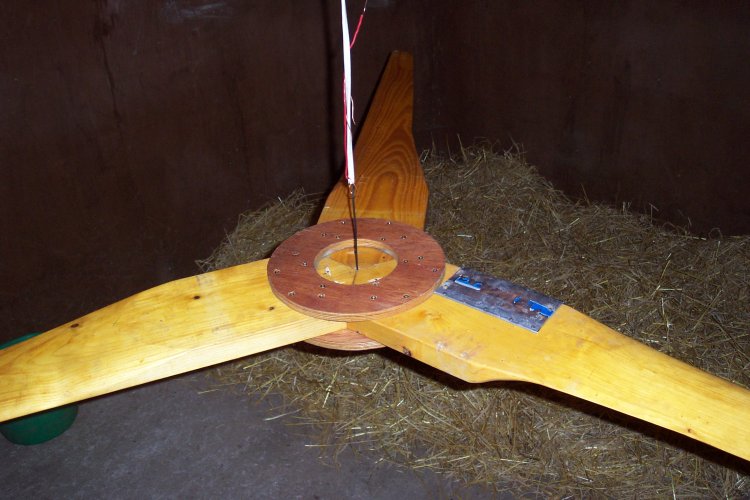
I first balanced the blades by hanging them from a thin wire. The amount of lead you can see on one blade shows how much wood can vary in weight even if all the blades come from the one plank. I guess I should have weighed them before I started carving! To rub salt in I actually made four blades from the one plank but ended up with two heavy and two light. Go figure!!!

I balanced them again when on the alternator as I was a bit concerned I might still get an imbalence when they spin but all seems ok so far.
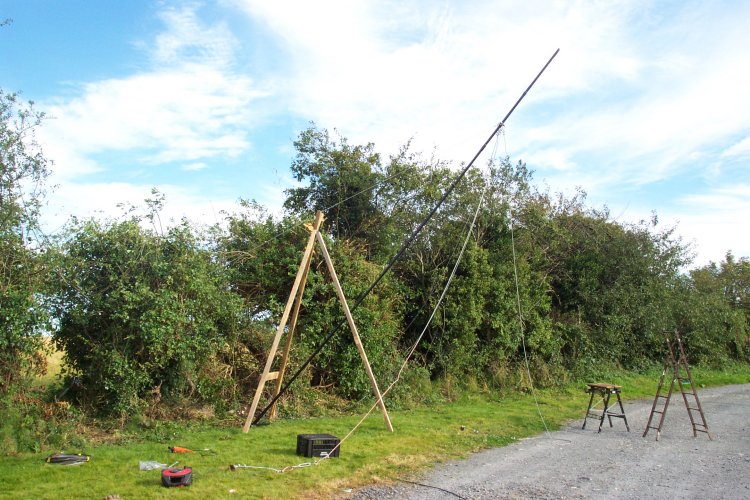
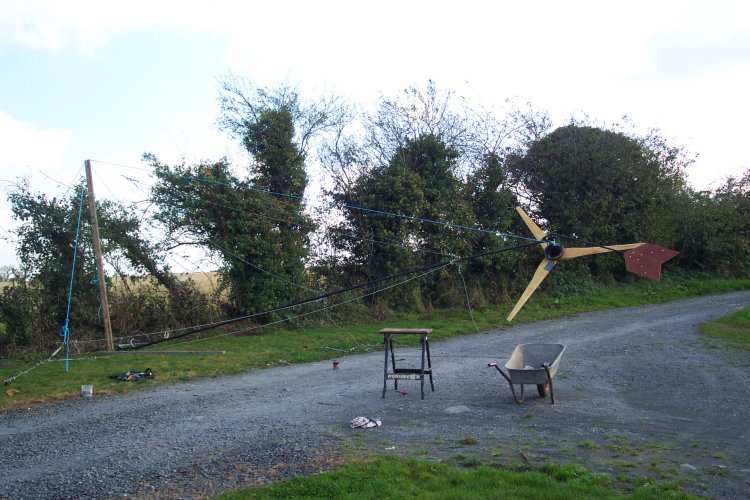
This is a test raising of the tower. As you can see I made an 'A' frame which might have worked ok with a pulley at the top but was part of the problem which caused my first attempt to fail.
This was the other reason, the winch was not powerful enough. The cables are anchored to a piece of angle iron hammered 5 feet into the ground. Two of them are in very hard ground and are solid enough, the other two have big rocks and a weelbarrow load of concrete poured around the top couple of feet to try and strengthen things up a bit.

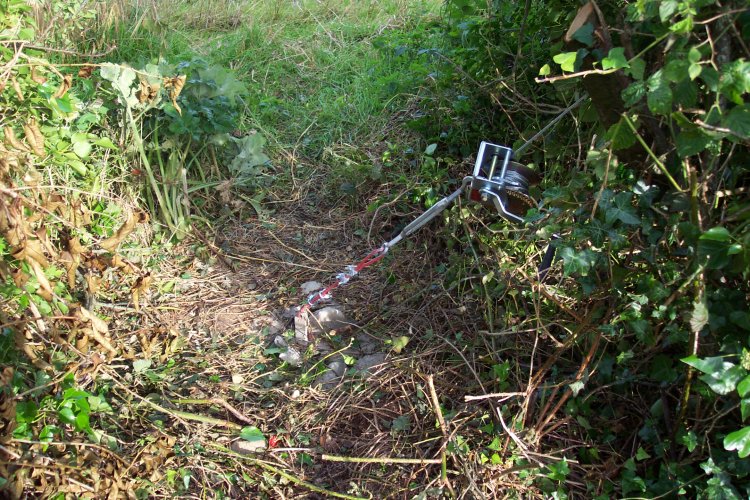
For anyone out there who has not raised a tower before these turnbuckles are not recommended. On one test raising of the tower the cable slipped out of the open ended jaw and almost caused an accident. Thankfully no harm was done and I purchased turnbuckles with a bolt at either end for the live event. I also put another cable grip on each connection.
Up
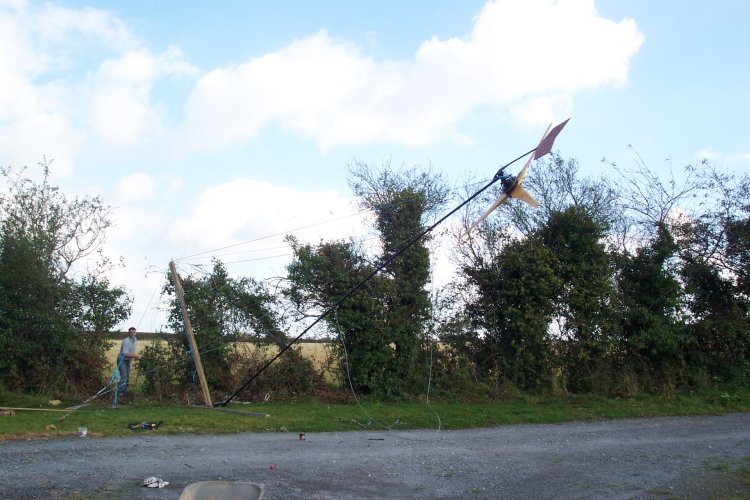
Up
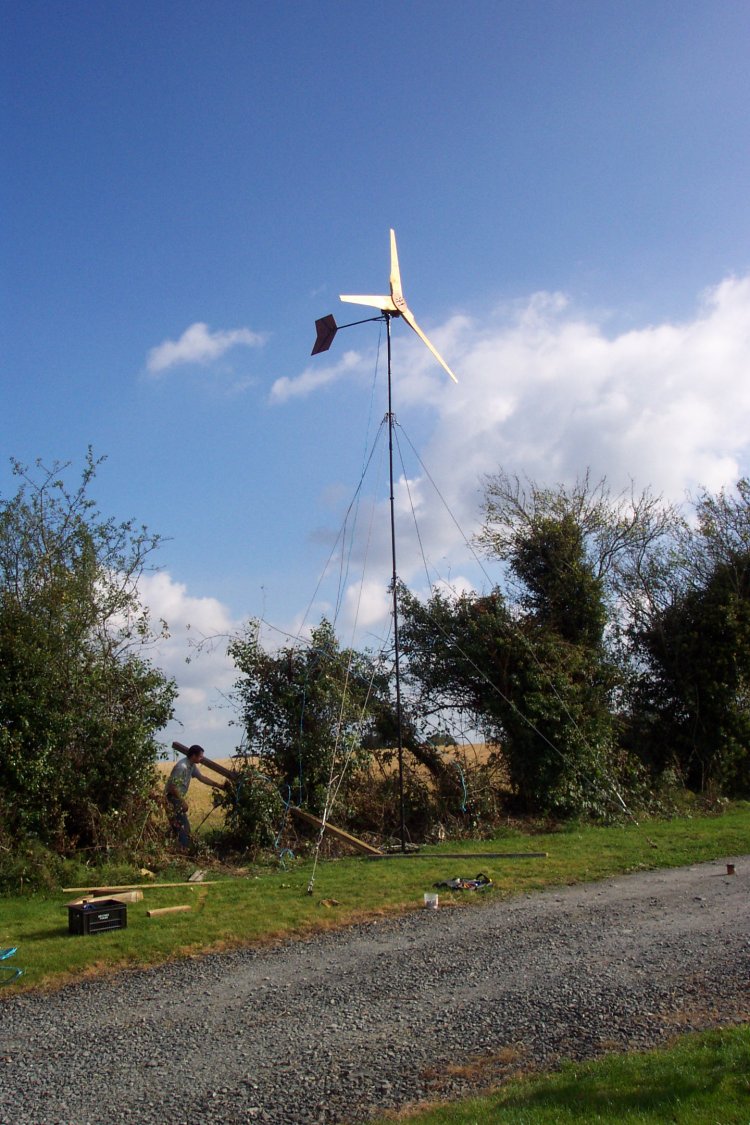
And away
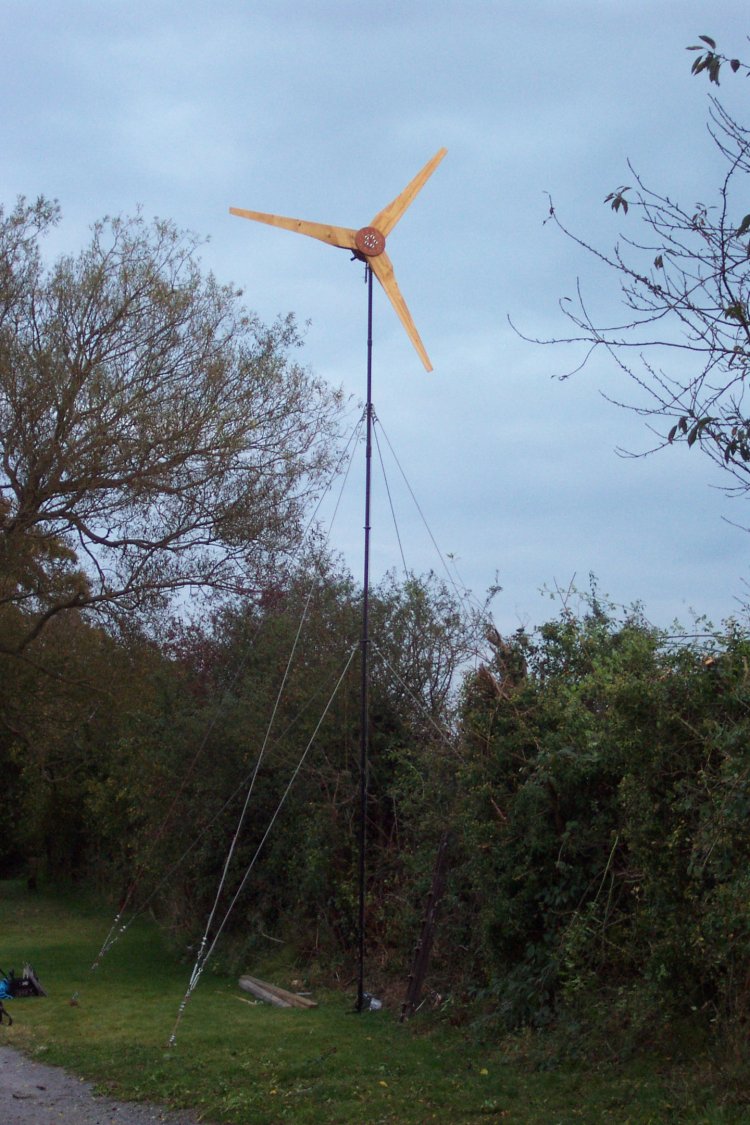
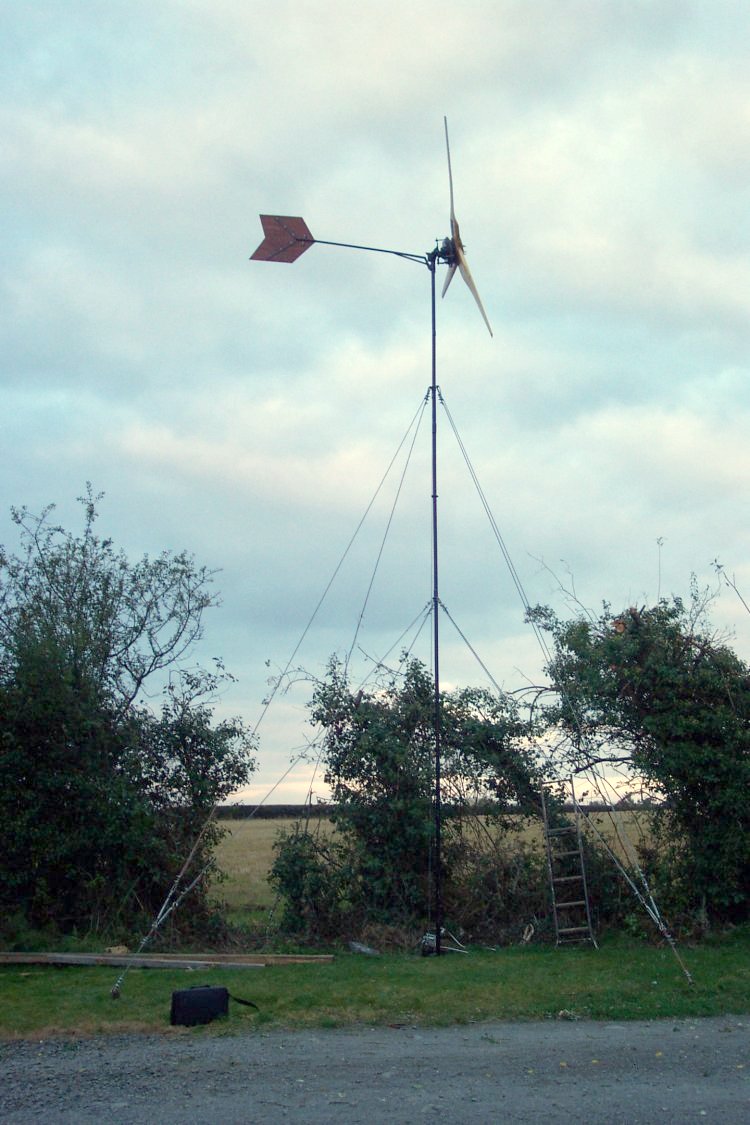
The tower is around 26 feet high and yes I will cut down the hedge around it.
So far this project has taken the best part of a year to get this far, and I still have a good bit to do. I need to get batteries, make a shed for the batteries and inverter, sort out a charge controller and dump load, route the mains into the house and sort out which circuit in the house I will put onto the turbine and arrange a flip over switch so I can use grid power when the wind doesn't blow.
To get this far has been a lot of work but great fun, I will update again when I am using the power of the wind.
So far I have only briefly tested in light winds with a small battery bank and the voltage came up to 30V very easily. This doesn't mean much though as the batteries were small and already charged.
Cheers All
Alibro
PS I am undecided whether I should buy a charge controller (either a Xantrex C60 or Morningstar Prostar 30M) or try to build one. Does anybody have any experience of building a charge controller suitable for a 24V DanB 10 footer?
Also can anyone think of a household item which might be suitable for a dump load? What about a kettle element? Could it be connected to the ac three phase side of the rectifiers or am I being silly?
Any ideas appreciated.
