Author Topic: Stator Construction  (Read 2223 times)

0 Members and 1 Guest are viewing this topic.

wil

  • Jr. Member
  • **
  • Posts: 57
Stator Construction
« on: January 13, 2007, 04:18:07 AM »
I've been in the process (time allowing) of building one of Hugh's 12' Wind Turbines.


It's hard to believe but I haven't done much since last winter. Anyway I thought I would share my progress with everyone.


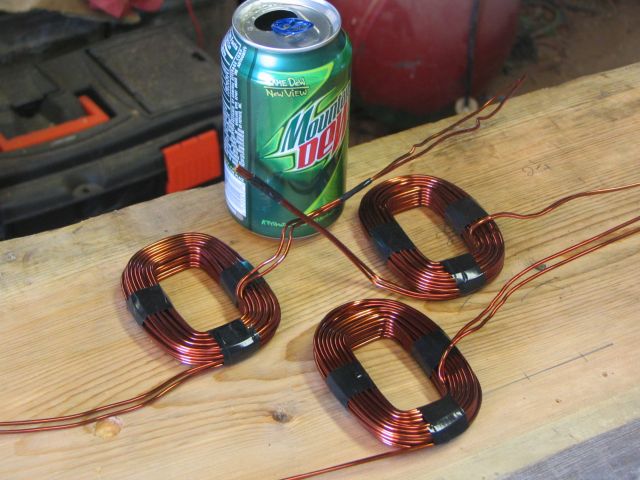
This is a shot of 3 of the coils; 25 turns, 2 in-hand, #13 wire. These coils where all wound with my "Mean Coil Winder".


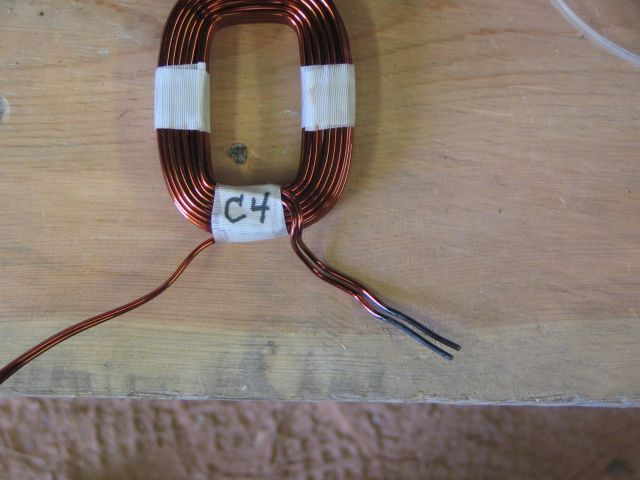
After all the coils where wound I prepared the coils for soldering by burning a portion of the enamel on the ends of the coils, then cleaning the burnt enamel off with some emery cloth.


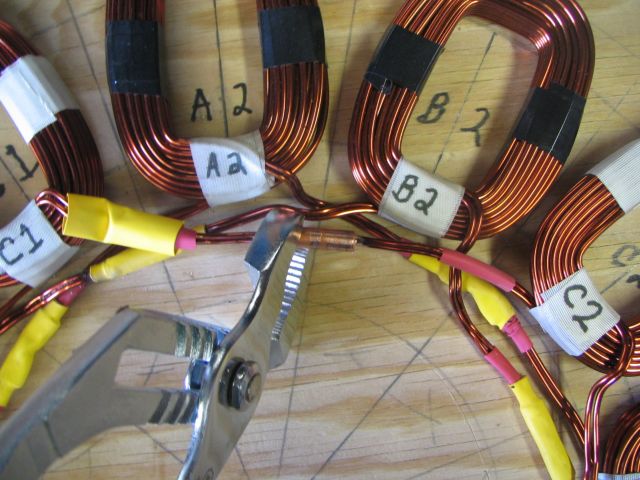
After that, they were placed in the stator mould and using a 1/4" piece of soft copper tubing crimmped together.


The crimp held them in place long enough to take them back out of the mould then solder them together.


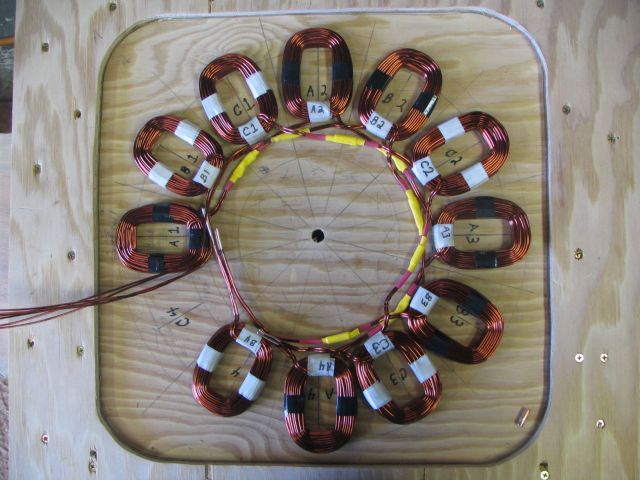
Here there is only one coil left to place in the stator.


Now they are all in place and the only connection left is to solder the end of all the phases together.


I held all the coils in place with this leftover piece of plywood, while I was glueing the fiberglass mat on the coils.


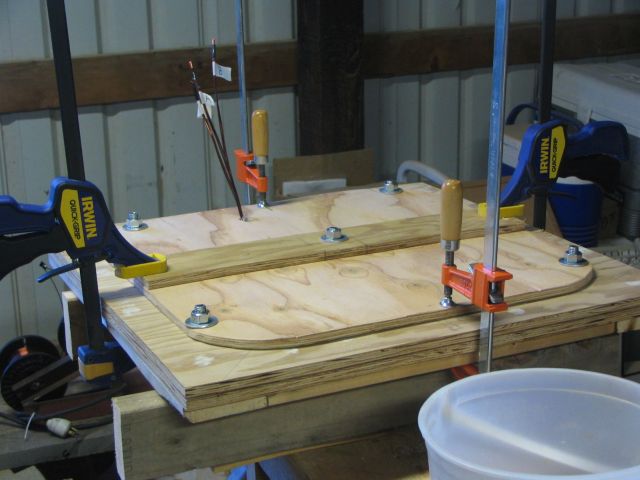
A dry-run in the mould and then it was time to mix and pour the resin.


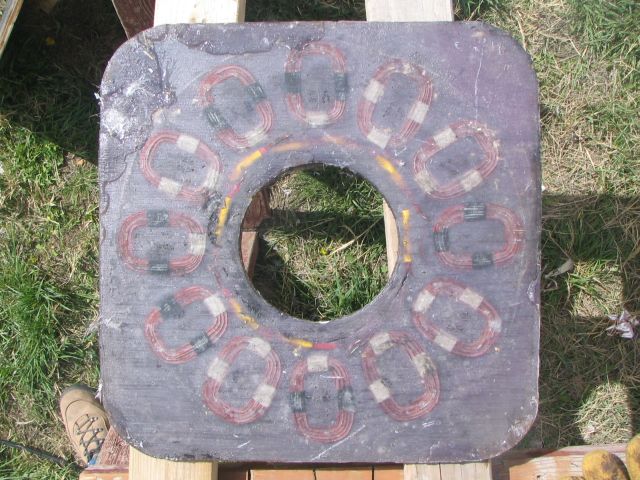
The casting, although a little rough in the upper left corner came-out ok.

Next time I will have more filler material ready. I didnt really have much except a couple bottles of baby power and some left-over strips and pieces of fiberglass mat.


Well, that is the stator. I'm going to post more pictures of the frame, magnet plates and then the alternator's assembly.


Wil

« Last Edit: January 13, 2007, 04:18:07 AM by (unknown) »

willib

  • SuperHero Member
  • ******
  • Posts: 2414
  • Country: us
Re: Stator Construction
« Reply #1 on: January 12, 2007, 10:00:20 PM »
hi wil,

after i burn the wire ends i use steel wool to clean the ends up

13 Ga. wow Nice!

looking forward to more
« Last Edit: January 12, 2007, 10:00:20 PM by willib »
Carpe Ventum (Seize the Wind)

willib

  • SuperHero Member
  • ******
  • Posts: 2414
  • Country: us
Re: Stator Construction
« Reply #2 on: January 12, 2007, 10:09:11 PM »
TWO in hand of # 13 no less , what are ya making an arc welder?
« Last Edit: January 12, 2007, 10:09:11 PM by willib »
Carpe Ventum (Seize the Wind)

wil

  • Jr. Member
  • **
  • Posts: 57
Re: Stator Construction
« Reply #3 on: January 12, 2007, 11:57:34 PM »
Hello willib,


I didn't think of steel wool. I just happened to have some rolls of emery cloth haning on a nail in the shop.  Most of this particular project is going to be built with whatever I have laying around.


Most of the steel I used in the frame were just some old pieces I had and some of it was welded end to end to make the lengths I needed for the tail section.


Part of what drew me to this was the Dans and how they where using scrap.


New steel is nice but part of the kick is using whatever you can find. I might have to look in my wife's kitchen a little closer next time! :)


Wil

« Last Edit: January 12, 2007, 11:57:34 PM by wil »

hiker

  • Hero Member
  • *****
  • Posts: 1661
  • BIG DOG
Re: Stator Construction
« Reply #4 on: January 13, 2007, 04:12:04 AM »
whats your cut in speed with 25 turns per coil-star?..

lots of amps no dou"t...

great work......................
« Last Edit: January 13, 2007, 04:12:04 AM by hiker »
WILD in ALASKA

wil

  • Jr. Member
  • **
  • Posts: 57
Re: Stator Construction
« Reply #5 on: January 13, 2007, 11:07:54 AM »
I measured the cut-in speed at 122 rpm for 12 volts. Piggot's book says it should reach cut-in at 120 so I wasnt too far from the mark.


Wil

« Last Edit: January 13, 2007, 11:07:54 AM by wil »