Having finished winding all my coils, I've been waiting for a good day and the courage to have a go at casting. Saturday was such a day.
Each coil had its own former. This was because I knew that there might be quite an interval between winding them and getting them cast, so I thought that this would keep them better. I had also considered leaving the formers in the cast, but abandoned this idea later on. 60 turns per coil of 16 SWG.
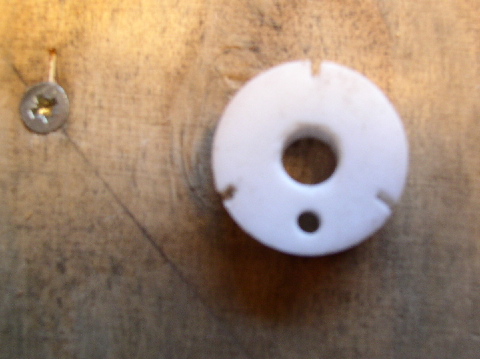
These are my coil formers. The three little slots enabled me to tie each coil when it was on the former.
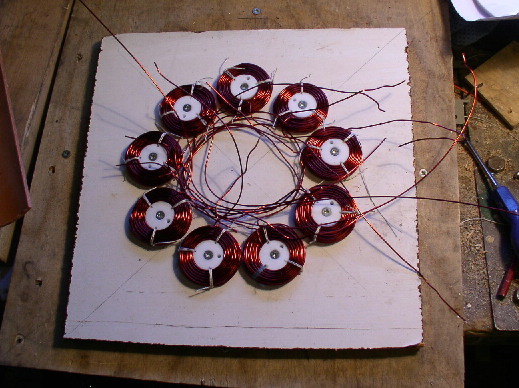
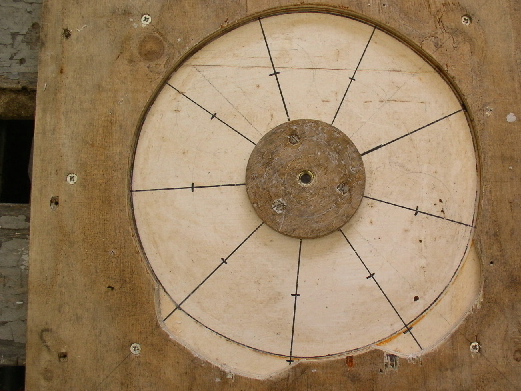
I then arranged the coils on a marked-out board, securing each one by a screw through the hole in the former to achieve good positioning.
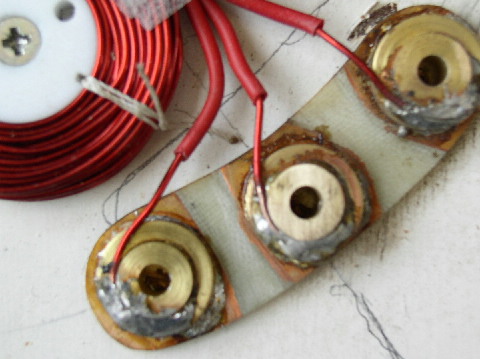
I didn't like the idea of having wires coming out of the cast; this always looks a weak spot, okay for some but I'm not very careful! So I made these terminal blocks. They are three brass buttons turned to the thickness of the finished stator and soldered onto a shaped piece of PCB. The wires are then soldered to the buttons. This was fiddly, if I ever did this again I would put holes in the brass for the wires to go in. The central holes are 5mm, and will be tapped to M6 when the cast is made.
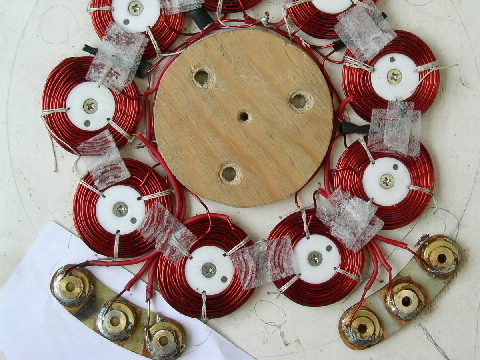
Here are the coils ready to go into the mold.
The mold had cutouts to accomodate the terminal extra width at those points and has a good covering of candle wax which melted of with a blow torch.
I have no pictures of me and son (Chip) casting. It got a bit frantic. The stuff I bought wasn't really the right stuff I suppose, it said on the label "20 minutes start to finish", I thought this was the potting time, WRONG! 20 minutes after mixing it was gelled and unworkable but we managed to get three layer of fibre tissue on each side and screw the whole thing down in 17.
The mold then got quite warm. Even though we thought it had set, we left it for 5 hours. It came apart fairly easily from the upper and lower faces of the mold, but it stuck at the sides and centre so we cut those away.
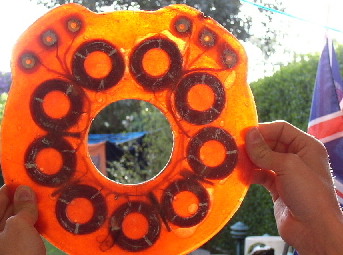
There are a few cavities, but nothing to worry about I hope. They are not as deep as they look.
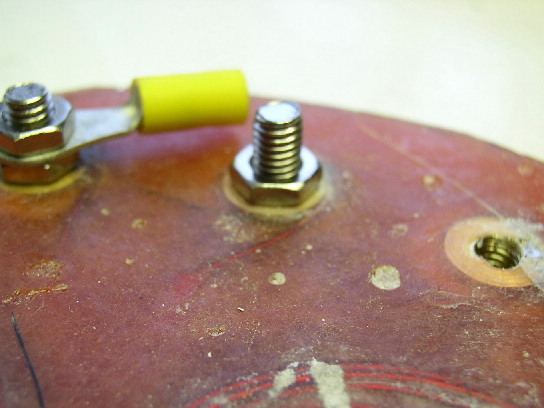
Here I've cleaned out the holes and tapped them, inserting M6 bolts to which I will attach the take-offs. I can now make the choice of how I wire it up.
