I started on the $1000 solar water heater from builditsolar.com about a month ago. My time is very limited, and funds are limited as well, so progress has been slow, but consistent.
A couple of differences to note from the original design:
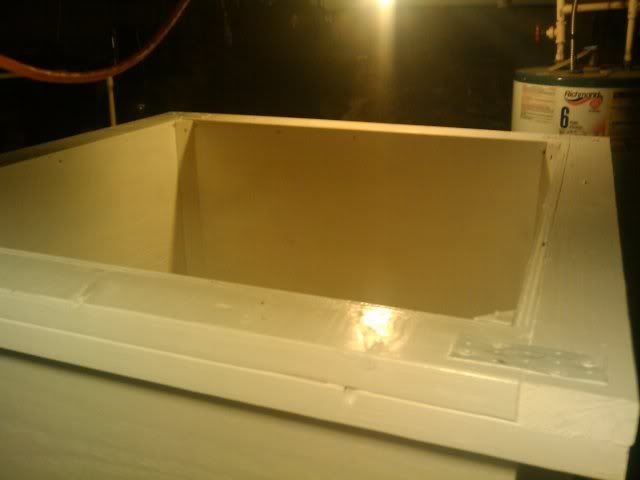
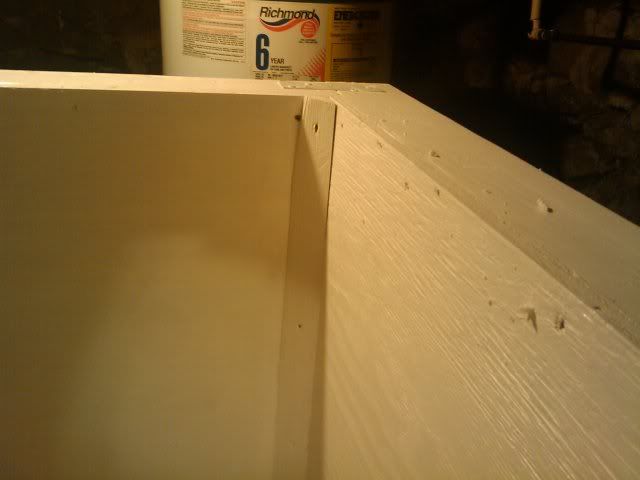
- I want to make sure the tank is very strong, so I added an extra 2x4 perimeter about half way up the tank. I am also using a combination of glue, screws and carriage bolts on these corners.
- I plan on using seam tape to build a perfectly square liner (not going with the folding technique). Time will tell if this ends up being a mistake or not, but I think testing this kind of liner construction technique is warranted.
- I may also try using some bulkhead fittings after the liner is finished, and bring the pipes right through the liner. I haven't decided on this yet.
- I will be using 4x4 treated lumber to build framing to keep the boxx off of my (damp) basement floor)
My house was constructed in 1881, so the ceilings in the basement are low (around 6' or so), and the doorways are small. Not being the most pleasant of basements, I decided to do all of my lumber cutting outside, then assemble the tank in the basement. Since it is damp in my basement, I also plan to fully paint the box inside and out. While the painting would have been easy to do outside piece-by-piece, I wanted to make sure that the wood glue I'm using (Titebond III) would adhere to the wood well, so I decided to paint the box after it was glued and screwed together in the basement.
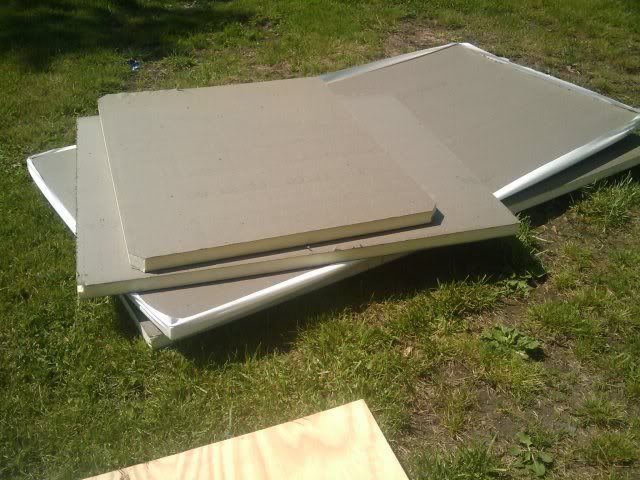
I was able to cut out all of the components for the box (water tank) easily in one afternoon using only simple tools (a 48" rule and a circular saw). I don't have a garage or a great place to work, so I did this all on the lawn.
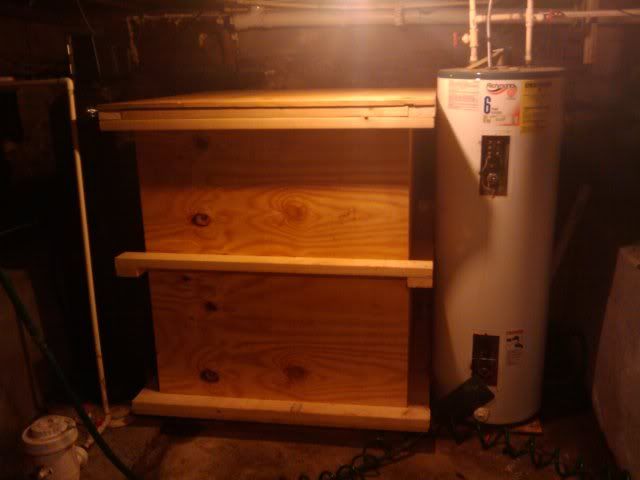
After getting things cut out, I brought all the pieces into the basement and did a test fitting of all the pieces, tacking everything together with a few screws. I did this to ensure that everything would fit as it should, as well as to see where the best placement of the tank would be. Below you can see how the tank looked together and in place by my hot water tank.
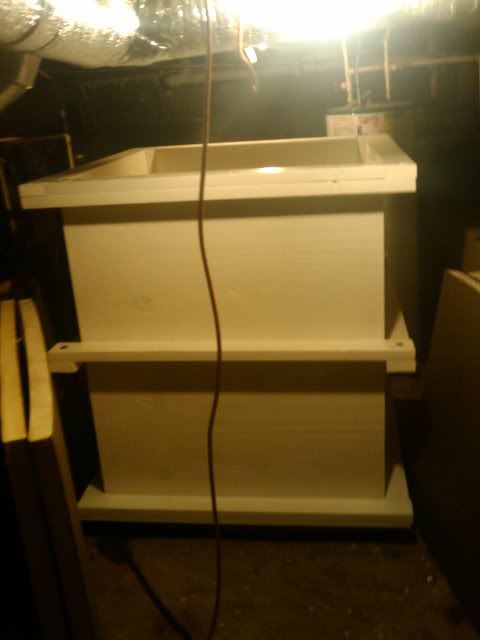
I was pretty happy with how things looked and fit, so I began glueing and screwing the components of the box together. This part went pretty fast as well, and before I knew it I was ready for paint.
Surprisingly enough, the painting step was the most difficult part up to this point. Working part time on it, it took me over a week working a few hours a day. I painted everything inside and out with exterior paint. The entire thing took exactly one gallon of paint in 4 coats. Below are some pictures of the tank painting completed:
My next step was to find insulation. This was another step that I thought would be a breeze. I spent countless hours on the phone trying to fine anyone in my area that carried polyisocyanurate. I called every roofing place, lumber yard and home improvement warehouse that I could find in the Yellow Pages. With the exception of just 2 places, nobody even knew what it was. I was continually met with the response: "We got some styrofoam.....". I finally found a place that could get the 2" polyisocyanurate board I was looking for, so I drove about an hour away to go get it.
After some more measuring in the basement, I again went outside to make the cuts I needed. Because all of the corners in my tank were beveled and I didn't want to make complicated cuts, I decided that I would cut the polyiso a bit short, and fill in the gaps later with Great Stuff foam in a can.
Doing some cutting outside...
Laying the insulation in the tank...

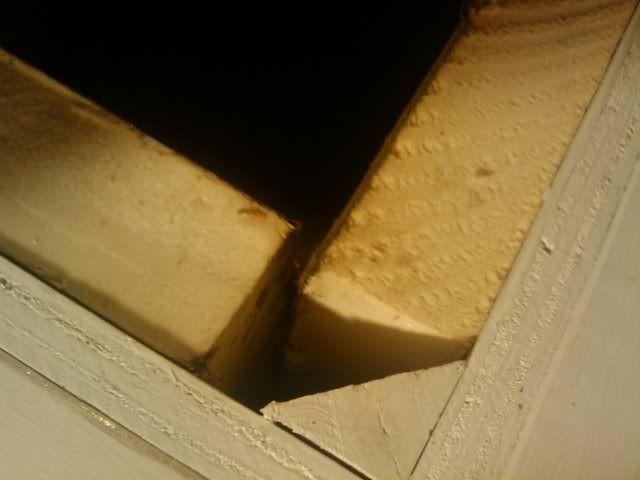
A close-up of how I left a "gap" in the corners that will be filled with Great Stuff. I plan on climbing in the box and poking holes in the corner every 6" where I will fill the gap with foam...
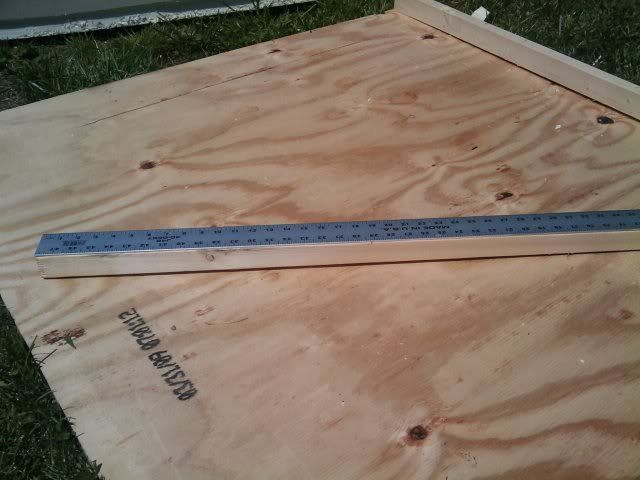
Since my lid was just a flat 48"x48" piece of plywood at this point, I began ripping some 2x4's down to be 2 inches tall (1.5"x2"). My plan was to make a perimeter around the lid exactly 2" tall that will match up perfectly with the 2" polyiso insulation. Since my 48" rule was exacly 2" wide and 48" long, it made a perfect template for the pieces I was going to cut from the 2x4's.
My 48" rule made a perfect 2" template...
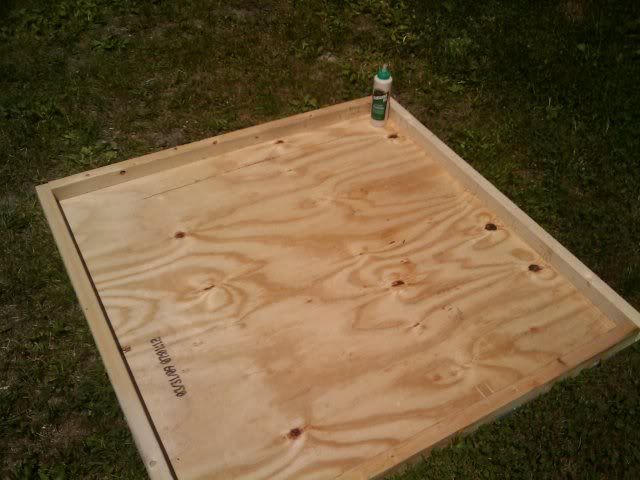
And here it is all glued and screwed...
Thats all I have done at the moment. My plan moving forward in the next week is to paint the lid and place the insulation in it, then line it up on the tank in the basement and drill 3 holes per side down through the lid and the upper perimeter of the tank, and use 1/2" carriage bolts 7" long to hold the lid down to the tank.
Also I received my MCP355 water pump in the mail this week along with firestone 45 mil EPDM liner 10'x15' in size. Note that this liner is too small for the folding method of using the liner. Again, I plan on cutting each panel out individually and using firestone's seam tape at all the joints and making a perfect box liner. I will be ordering the seam tape next week..
I'll post more updates as I progress with this. My goal is to have the complete system up and running before fall.
