Author Topic: pics of my tower  (Read 2031 times)

0 Members and 1 Guest are viewing this topic.

defed

  • Sr. Member
  • ****
  • Posts: 493
pics of my tower
« on: September 05, 2009, 04:46:42 PM »
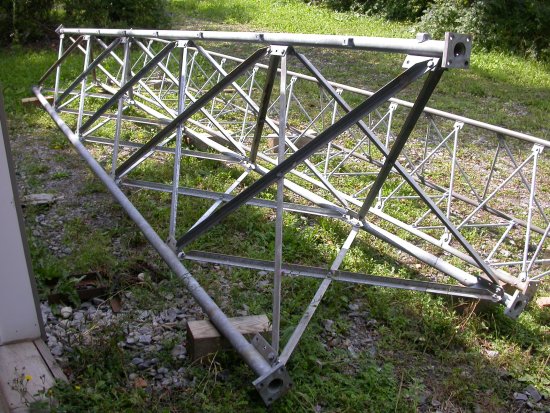
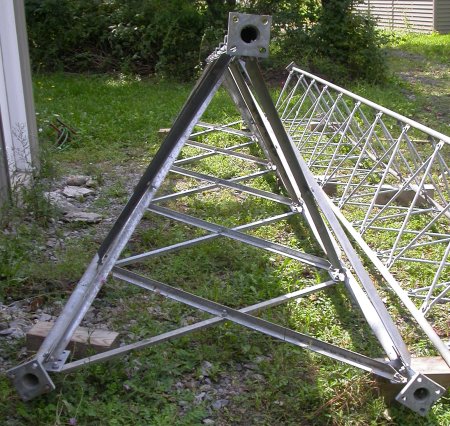
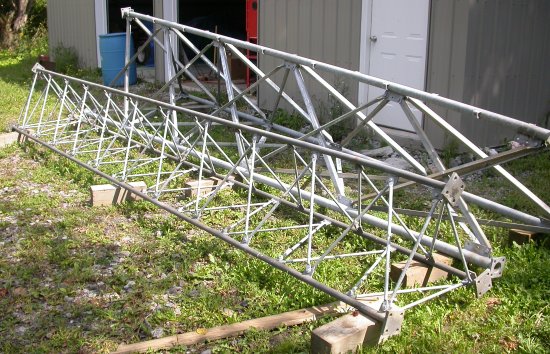
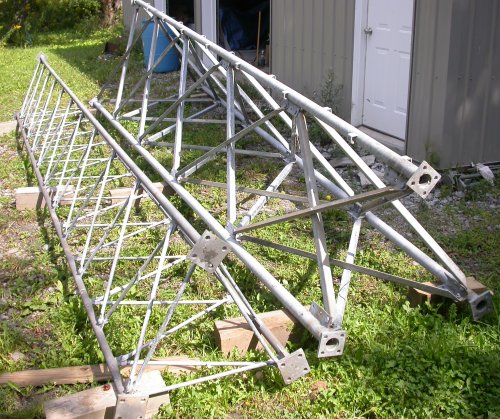
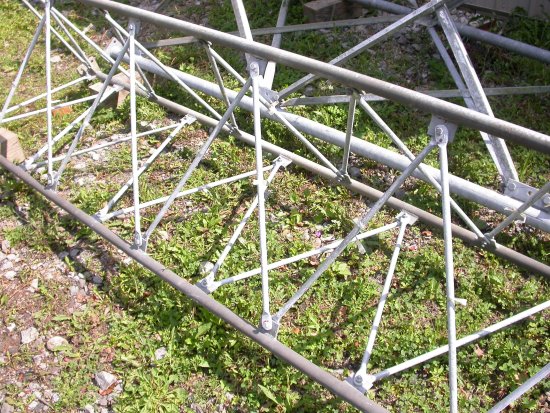
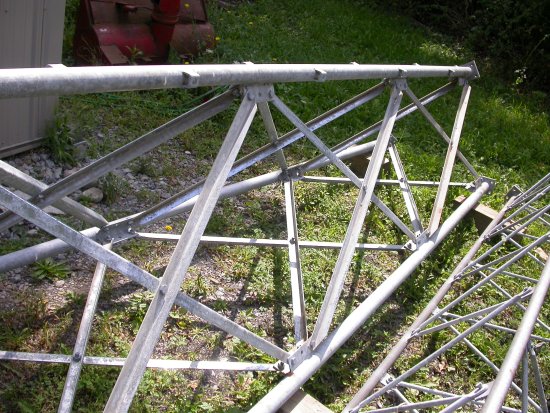
started assembling the 2 lower of the 3 sections of my 60' free standing tower.  the base section is pretty stout, with a fair amount of taper (4 1/2' spread at the base).  the next section is almost straight (couple inches of taper over 20').


at this time i plan to use just 2 sections (40') with a stub on the top (possibly up to 10').  the goal is to tilt it up.  each section weighs between 400 and 500 pounds.


this thing was a heck of a deal.  it was never assembled, most of the parts were still in the original crates/bags.  $600 total, including paying a guy to help me w/ his 20' trailer!


still have to do the calcs for how much concrete i need for the base and the amount of force needed to tip it from the ground.


« Last Edit: September 05, 2009, 04:46:42 PM by (unknown) »

Jerry

  • Hero Member
  • *****
  • Posts: 1519
Re: pics of my tower
« Reply #1 on: September 05, 2009, 02:27:44 PM »
Thats a buityfull tower, pictures make you just want to give it a hug LOL.


                         Jerry

« Last Edit: September 05, 2009, 02:27:44 PM by Jerry »

tanner0441

  • Hero Member
  • *****
  • Posts: 1099
  • Country: wales
Re: pics of my tower
« Reply #2 on: September 05, 2009, 03:22:58 PM »
Hi


Did you put all the nuts and bolts in by hand or with a power wrench?  Either way very nice..............


Brian.

« Last Edit: September 05, 2009, 03:22:58 PM by tanner0441 »

defed

  • Sr. Member
  • ****
  • Posts: 493
Re: pics of my tower
« Reply #3 on: September 05, 2009, 06:11:20 PM »
thanks!


i did it all by hand.  the angle cross braced section was pretty easy, but the smaller section was brutal.  most of the holes were clogged w/ galvanizing...both in the legs and the cross braces.

« Last Edit: September 05, 2009, 06:11:20 PM by defed »

defed

  • Sr. Member
  • ****
  • Posts: 493
Re: pics of my tower
« Reply #4 on: September 05, 2009, 06:14:01 PM »
i forgot to mention that i didn't tighten the nuts yet.  wanted to figure out a way to make sure everything is square before i make it all secure.
« Last Edit: September 05, 2009, 06:14:01 PM by defed »

dnix71

  • SuperHero Member
  • ******
  • Posts: 2513
Re: pics of my tower
« Reply #5 on: September 05, 2009, 08:44:38 PM »
That's a lot of work so far.


If you are only going to use 2 sections maybe you could have someone make a plate with a hinge so the top half could be tipped up and down on it's own. It might be easier to service that way.

« Last Edit: September 05, 2009, 08:44:38 PM by dnix71 »

defed

  • Sr. Member
  • ****
  • Posts: 493
Re: pics of my tower
« Reply #6 on: September 06, 2009, 04:48:43 AM »
i had actually thought about that....but i think it might be harder to tip one section like that than to tip the whole thing up.
« Last Edit: September 06, 2009, 04:48:43 AM by defed »

rossw

  • Hero Member
  • *****
  • Posts: 834
  • Country: au
Re: pics of my tower
« Reply #7 on: September 07, 2009, 02:18:06 AM »
Yes, quite so!  25 years ago, I did that to a 45 foot self-supporting tower (that I subsequently built around). We cut it just over half way up, welded in a hinge.

The base was attached to a 2 cubic metre chunk of concrete with lots of reinforcing. It was easy to stand up the bottom piece - we "folded" the tower in the middle and just walked it up. That was the deceptively easy part. Trying to then stand the tower up was a real drama - and this was a quite small and light tower by comparison to yours. I'd never do it again!

[img width= height=]http://house.albury.net.au/15dec2007/thumb.100_1764.JPG[/img]Getting it down required stripping everything off it (rather a lot of antennas), then using a winch and a "gin-pole" like arrangement with some timber beams.

[img width= height=]http://house.albury.net.au/15dec2007/thumb.100_1768.JPG[/img]This was the bottom half (the glass brick wall behind it is the top story of the two-story extensions we did after the tower was up - they quite litterally "built around" the tower)

This was after we'd removed the top section (which took quite some doing)

[img width= height=]http://house.albury.net.au/15dec2007/thumb.100_1770.JPG[/img]Just for scale.

[img width= height=]http://house.albury.net.au/03dec2005/thumb.MVC-877X.JPG[/img][img width= height=]http://house.albury.net.au/03dec2005/thumb.MVC-880X.JPG[/img]It wasn't a big tower, but even standing on the top of it in the pouring rain shows how far above the local roof it got you... (this was after a quite damaging storm had just been through)
« Last Edit: June 03, 2011, 06:45:20 PM by rossw »