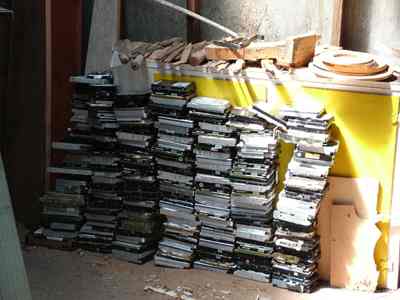
I have access to lots of used computer hard drives
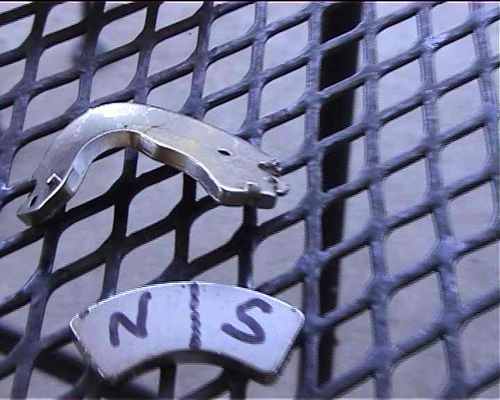
Use 2 pairs of pliers to bend the backing plate - the mag will lift off easily.
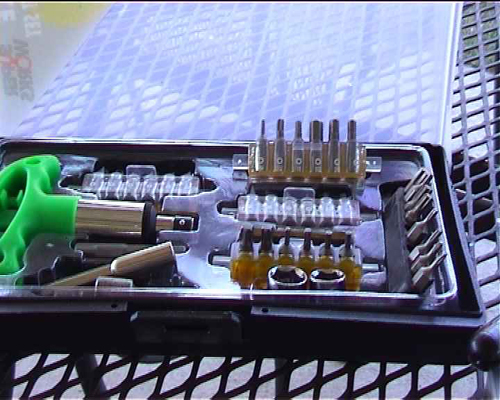
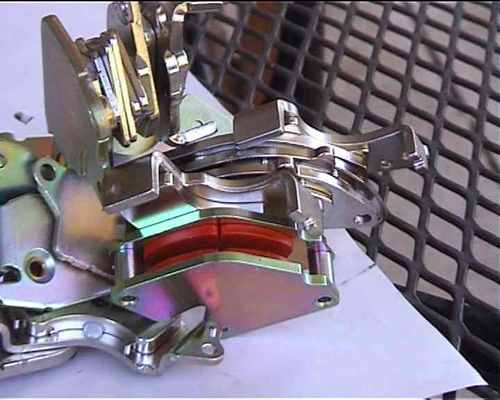
these are some of the tools used to dismantle the hard drives
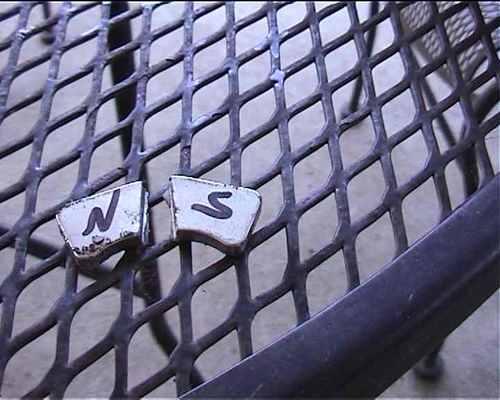
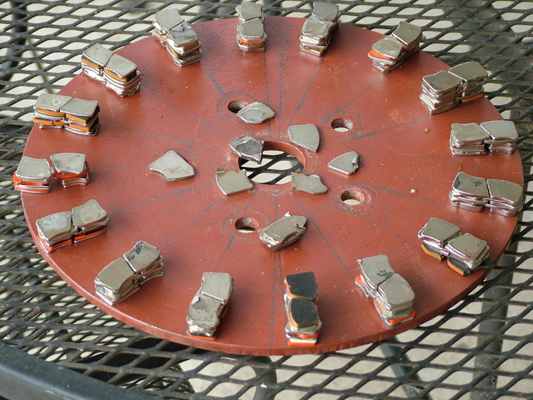
There are many different shapes in hard drive mags
Cut the mag in half using an angle grinder with a non magnetic cutoff wheel
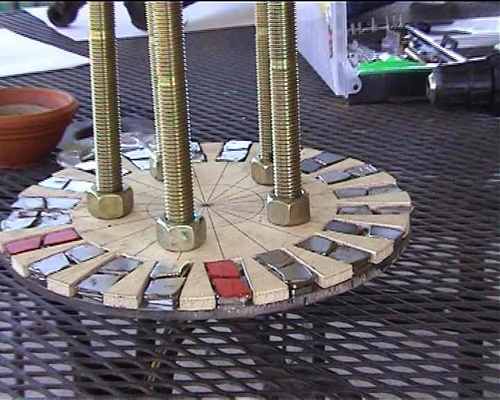
I made a ply wood template to accurately place the mags.
When you cut a mag in half, turn over on epiece and you will have a magnet twice the size. You will end up with a magnet close to 20 mm wide by 40 mm long.
Stack as many as you want on top of each other to obtain the thickness you want.
Make sure you end up with each pile the same height.
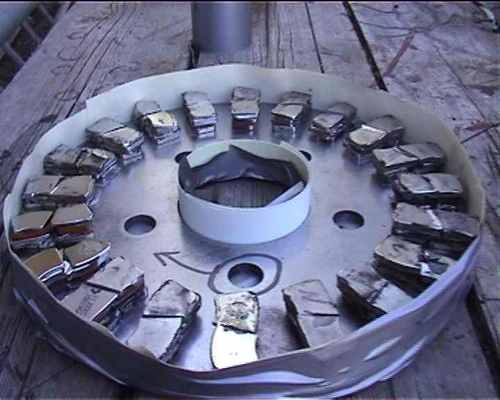
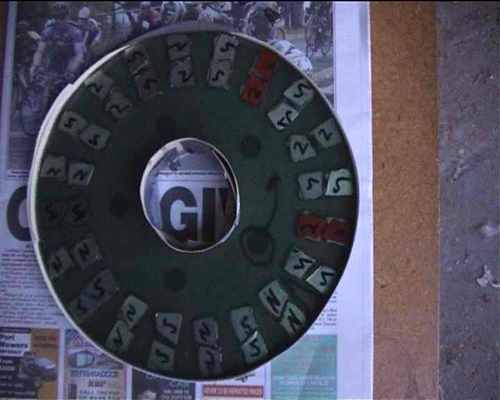
Rotor taped up ready to pour in the resin.
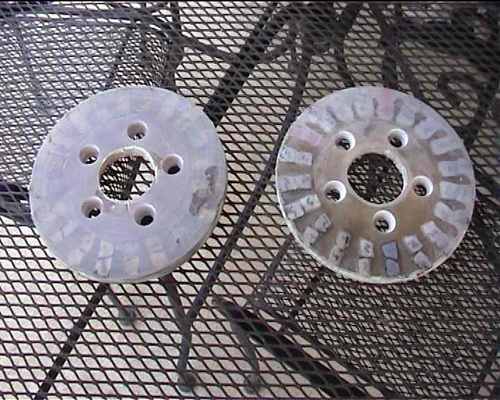
Here is the start of a new and bigger rotor I am making - 300mm diameter
The resin is poured
I put my rotors im my wood lathe and sand them to make them nice and smooth
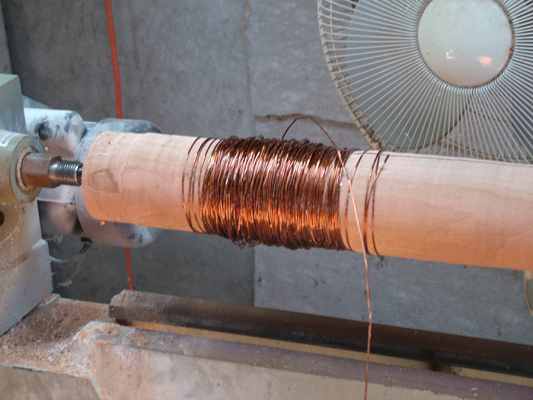
My source of copper wire is from microwave transformers
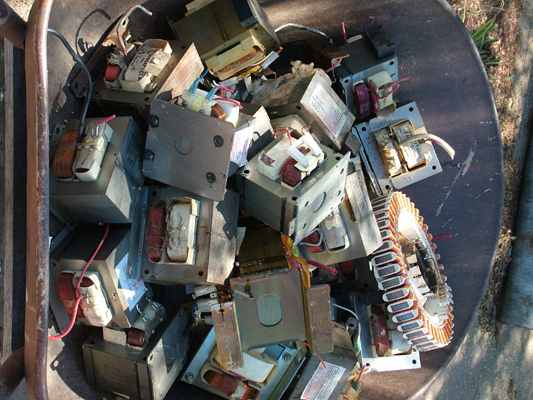

The copper wire is easy to unwind - even if it has some glue on it. Use gloves and grip firmly and the dried glue comes off leaving reasonably smooth copper wire
I made this stator too thick.
It is 3 phase - 5 coils per phase.
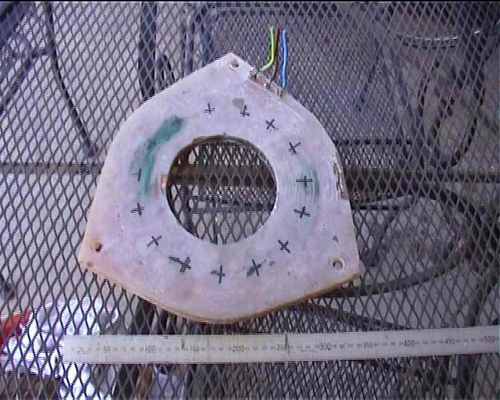
So i drilled a hole in the centre of each coil
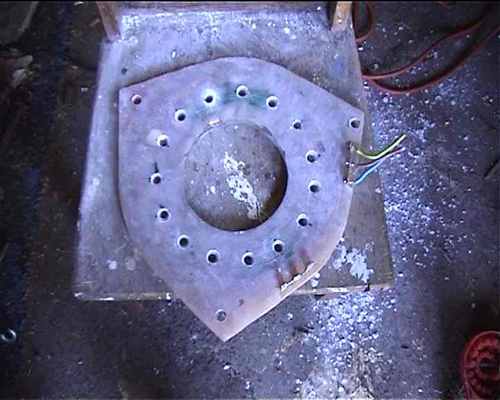
Then mixed up a batch of resin and iron filings and filled the holes
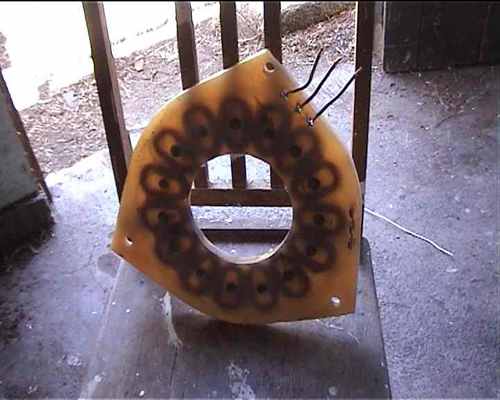
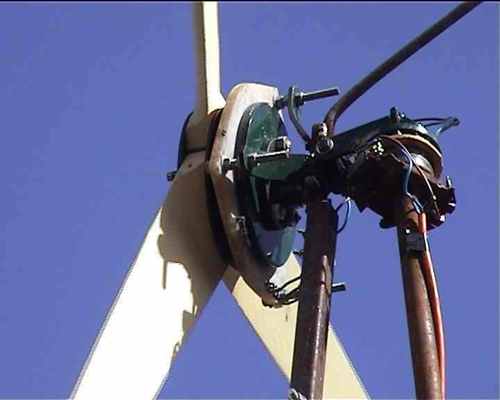
The genny up and flying - the iron filings in the cores increased the output to a level I am happy with - 10 amps into a 12 volt battery in a moderate wind. I have seen it peak at 18 amps.
This design I have come up with is an experiment. I have made 3 genys all using the common furling method and they work well.
I thought I would try this method just to be different.
It works well once you get the tail size and the balance weight just right.
More on that later if anyone is interested.