First off, I would like to thank all of the posters here, even the newbies that asked odd questions because I gained very much from the answers. I'd also like to thank the sponsors of the board for putting it all together, and for their new book.
The reason for getting involved in building a wind generator is I'm building a cabin on some remote property and the power company wanted $84,000 to run the line. So, here I am.
And now for the monologue. It is mostly a Hugh Piggott machine with a little otherpower influence. It has coils: 75 turns, 2 in hand, #17 AWG, 9 coils on 12 inch 3/8 plate for 3 phase. Magnets are 2 inch x 1 inch x 1/2 inch, N40, supposedly for 24 volt.
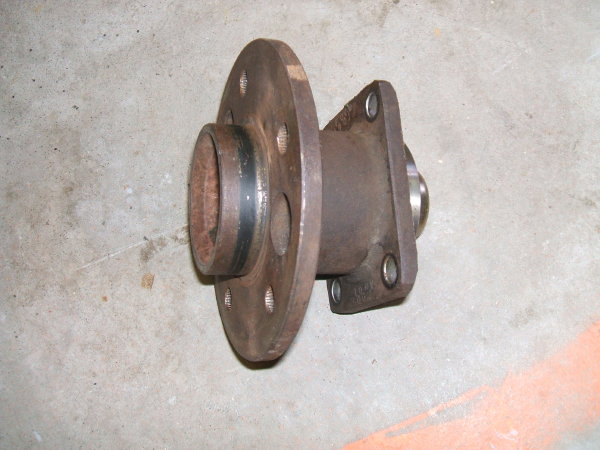
The hub I used was from a small station wagon. I just walked around the junkyard till I found one I could use.
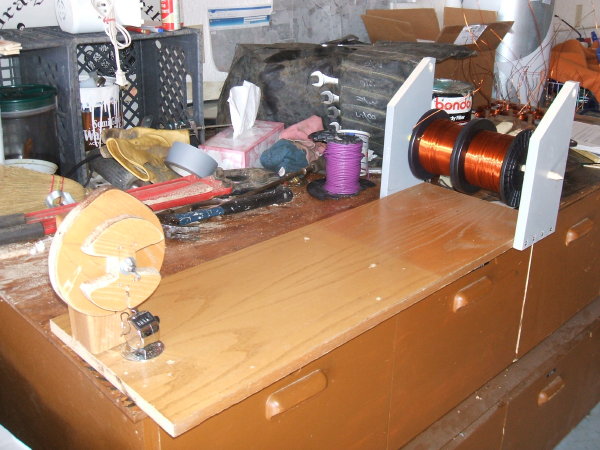
I built a coilwinder as seen in the postings and books. Added a counter so the wind count would be on the mark.
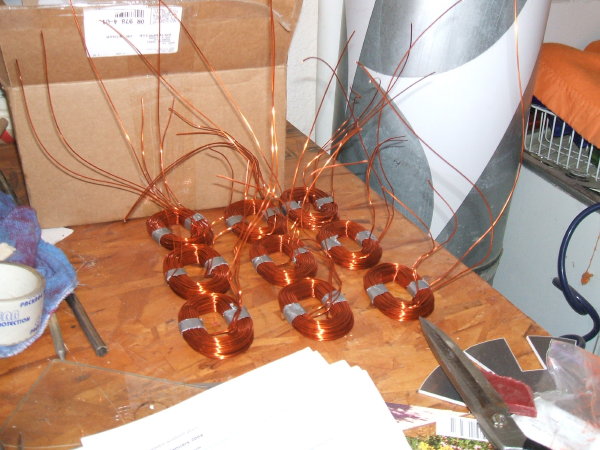
Here's the coils after they were wound.
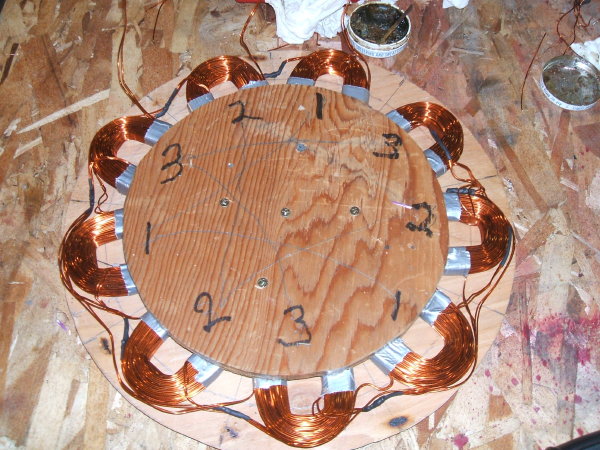
Here they are laid out.
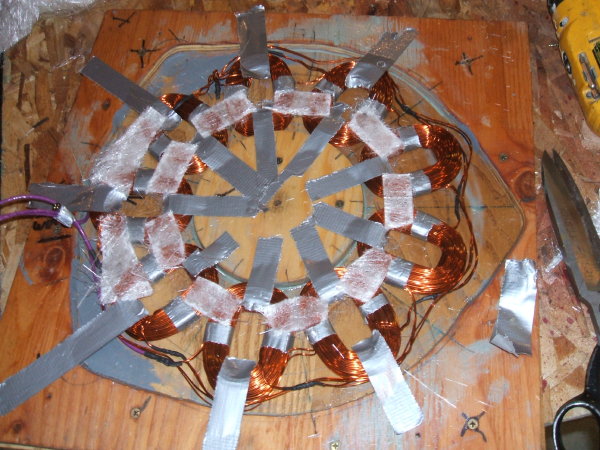
Here they are pasted up with strips of fiberglass. All I could get was the none-woven fiberglass and it wasn't very strong and it came apart easily so if you have a choice, I would recommend getting the woven stuff.
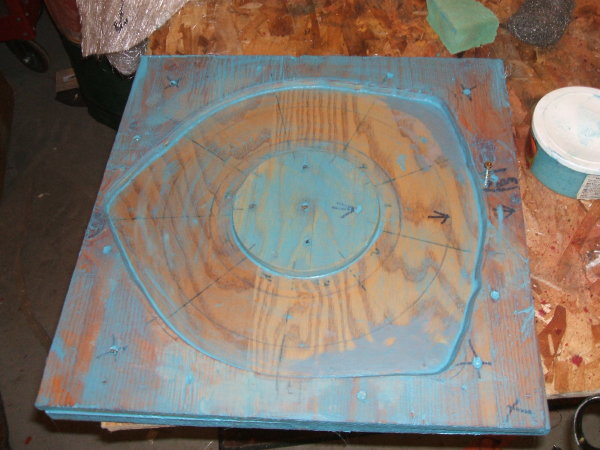
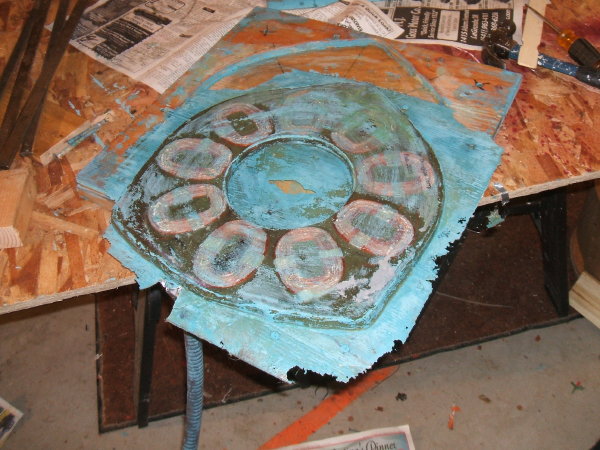
Here's the stater mold with 3 coats of wax on top of 2 coats of linseed oil.
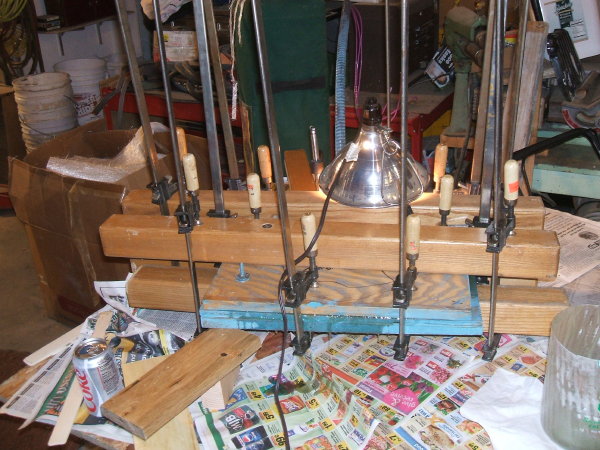
My mold was made out of 3/4 inch veneer covered chipboard and I was afraid it might flex or bow, so I put some heavy boards across to make sure it was flat and clamped it well.
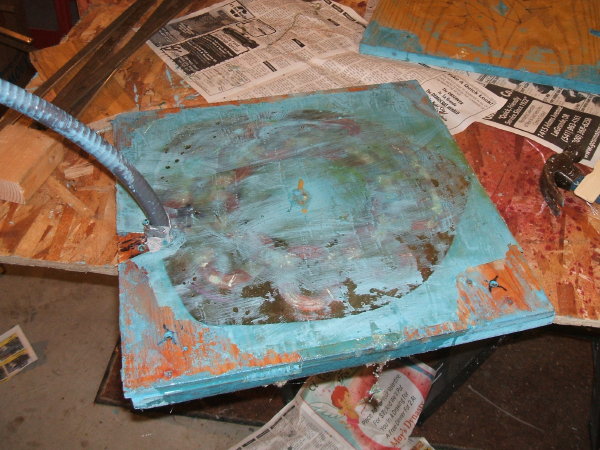
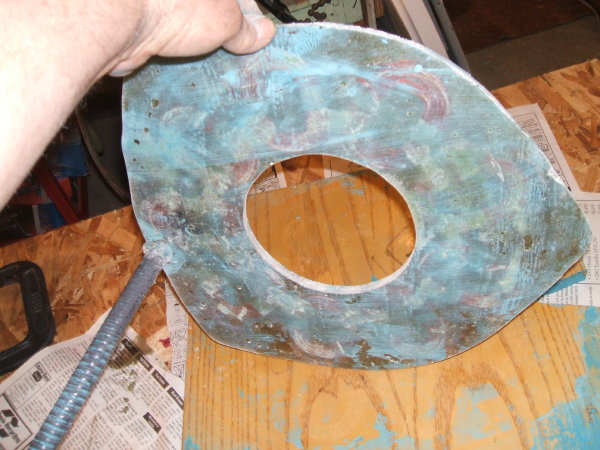
Here is the casting ready to be popped out of the mold. It came out very easily. I was surprised. With a slight slap on the back with my hand and it came out.
I had some finning around the edges but it all came loose also, because I had waxed everything many times.
The finning cut off quite easily so was not a big problem. When I got close to the casting, I just ground it away with a small die grinder.
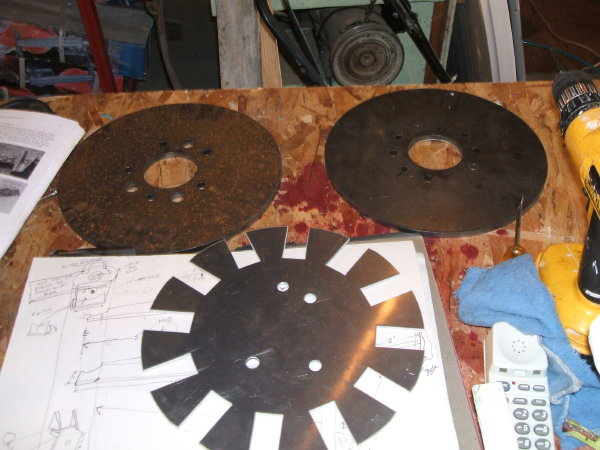
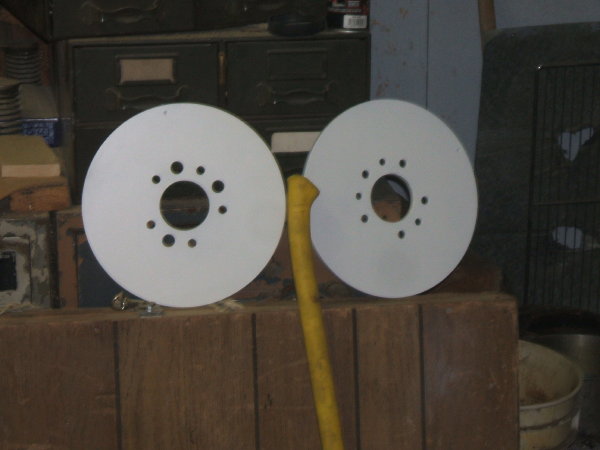
I had the rotor plates cut by a local welding shop being my hub had 5 holes, and also I wanted to have some holes cut that matched some holes in the hub for ventilation. I don't know if that will actually work, but I'll give it a try. On the indexing plate that I got from Otherpower, there was no allowance for other than a 4-hole spindle, so it took me awhile to figure out where to put some holes so I could key it to the rotors to make sure my north - south magnet match would be.

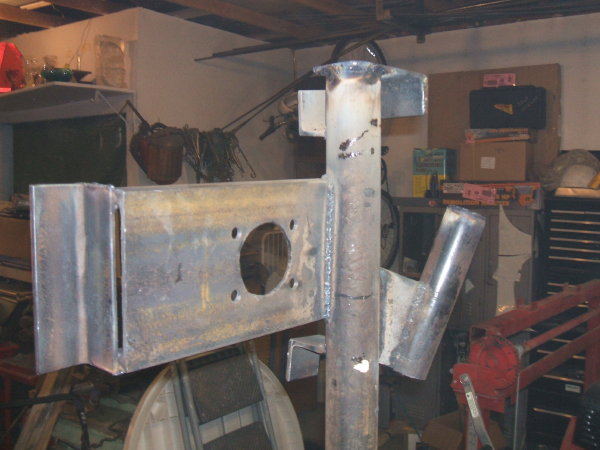
These are a couple shots of the main frame. It's basically just pieces of iron from my scrap pile. Instead of welding two angle irons together as Hugh does, I used a piece of channel iron that was wide enough to accommodate my hub.
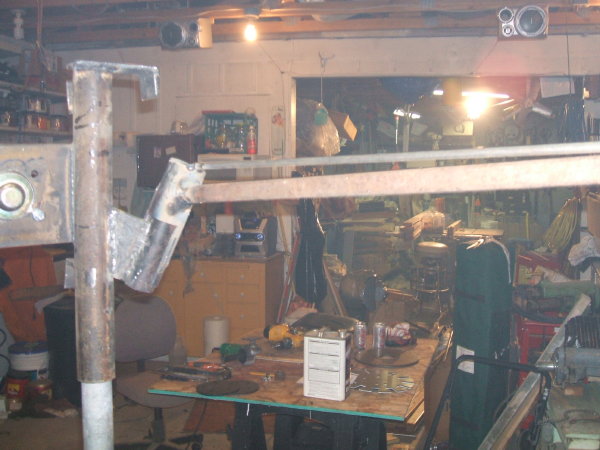
I put a small extra brace on the tail for a little more support and I just like the looks of it better.
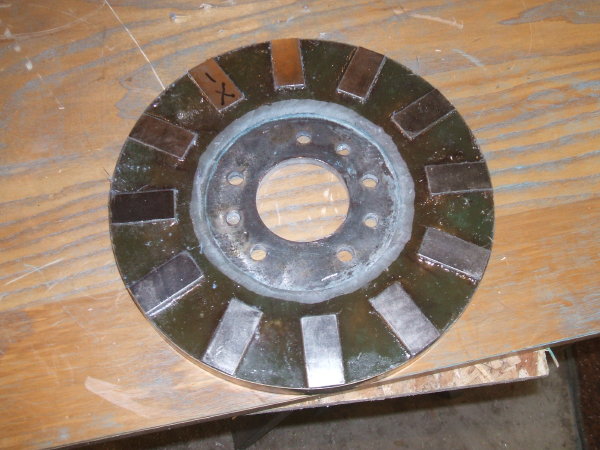
This shows the one rotor that has the vent holes in it. This is the one that will bolt tight to the hub so they will be the only way in for extra air.
A couple more shots of the main frame and the tail attached.
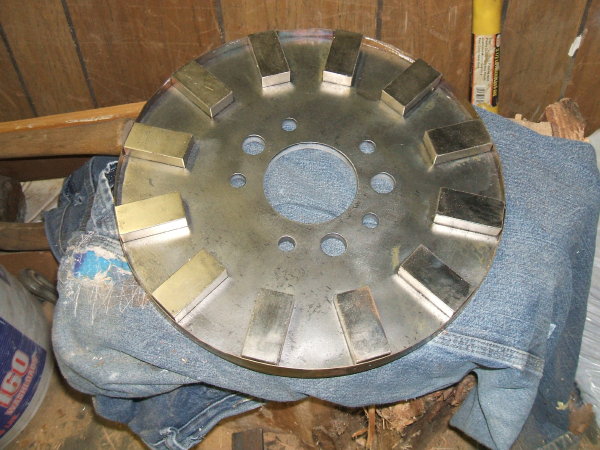
This shows the rotor with the band. I cut the bands from a piece of sheet stainless steel that I had, as they don't use stainless steel banding around here. It wasn't exactly straight but I think it worked out okay. I cleaned the plates with lacquer thinner before I put the magnets on. I also had lightly sanded the plates hoping the resin would stick better.
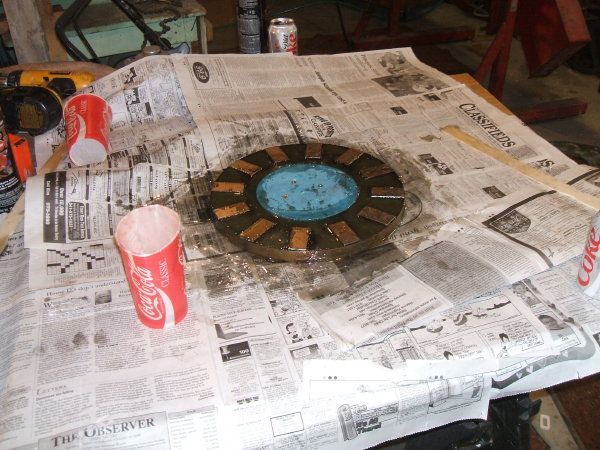
The cast poured into the rotor. I think the stainless steel rim made it a lot easier than building a mold to hold it all, and, of course, I always make a mess, but I try to make it easy to clean up with the newspaper. After the casting had cured for several days, I painted the magnet side with the super duty epoxy paint hoping to keep the moisture away from the magnets.
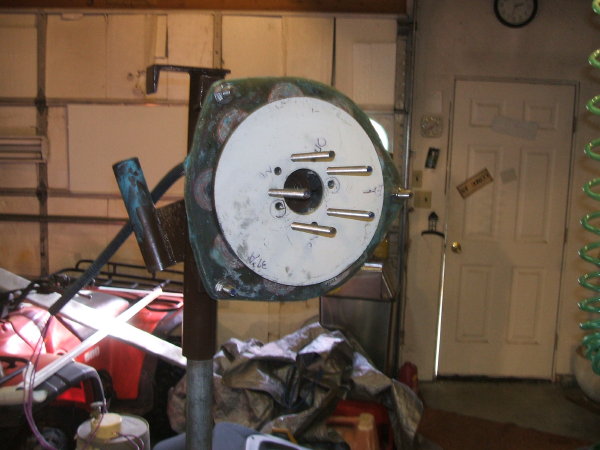
The base rotor on with the vent holes lined up with the holes in the hub.
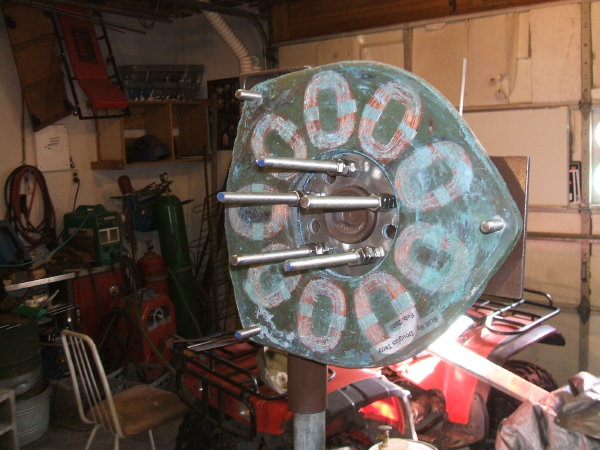
Here's the first shot of the base rotor and the stator installed.
Here's the second rotor on and a view of the side showing that the magnets stick up above the rim slightly. I thought this might work like fan blades and help pull air through to keep things cool.
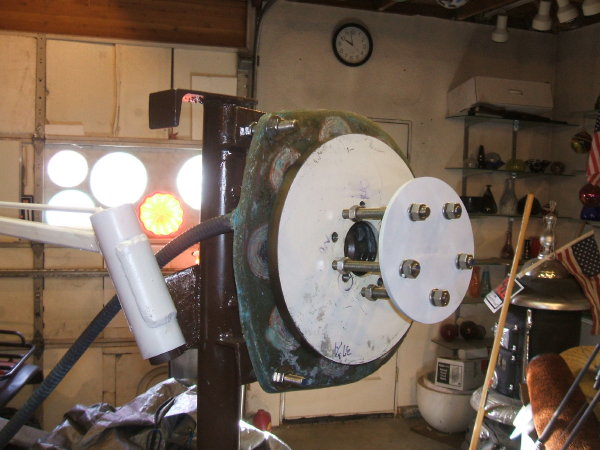
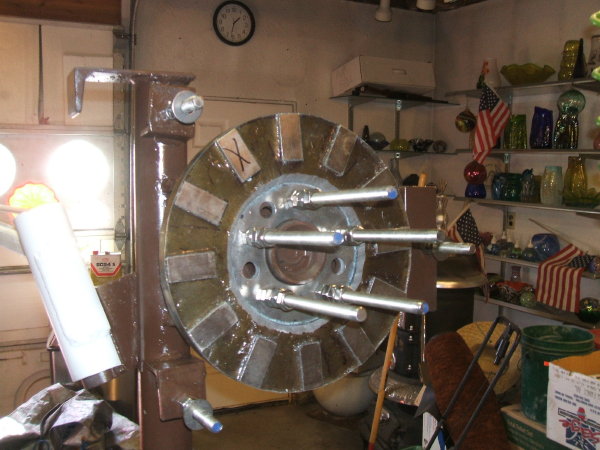
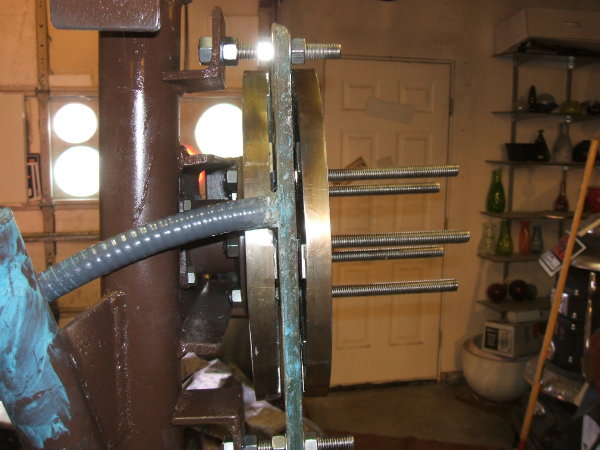
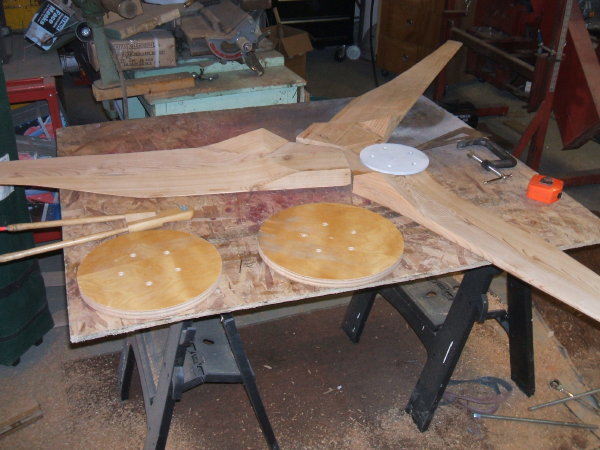
I had two extra plates made to put on both sides of the blades to help support everything. I stuck one of these on the bolts just before I tightened everything for the last time to make sure that the bolts stayed in alignment.
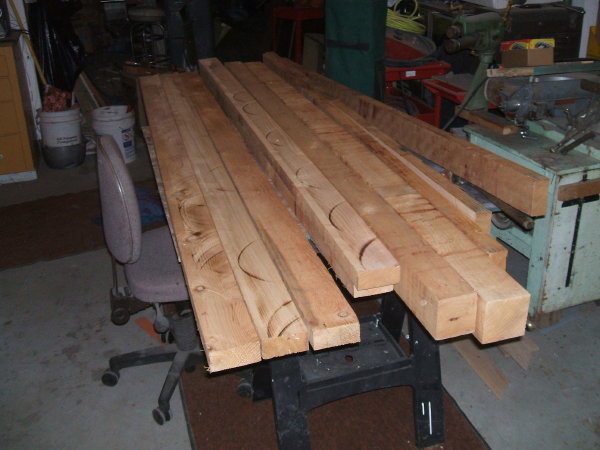
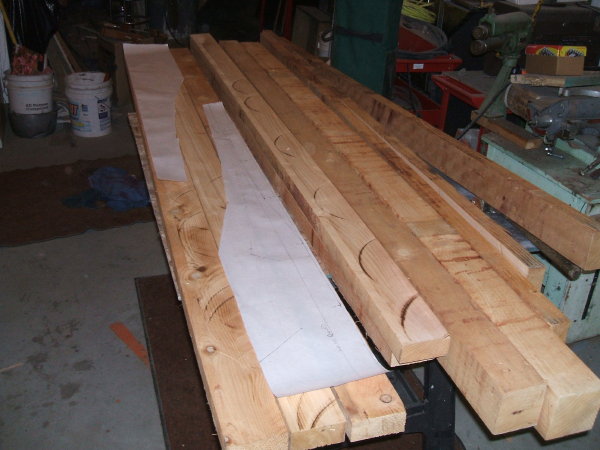
No one carries cedar around here except for fencing material which was very poor quality. I finally found some posts that were approximately four inches square that I picked through and found fairly straight grained ones that I ripped in half, and then edge planed and glued back together. I found that I could get two five-foot blades out of three strips and I probably could have made longer blades if I had needed them without any more waste. After I glued them up, I ran them through my planer to make sure they were all the same thickness and flat.
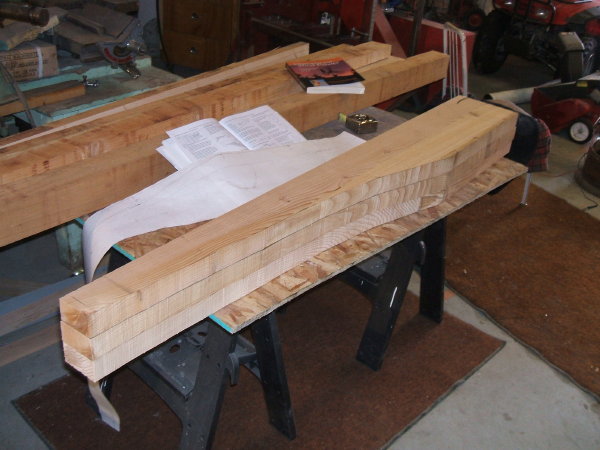
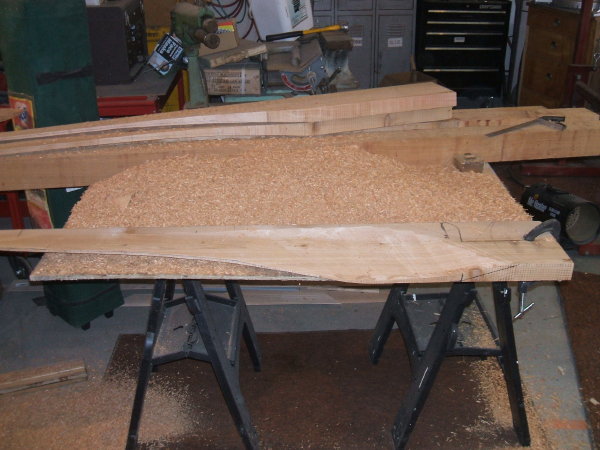
I did most of the main roughing out with a hand power planer. It worked quite well but you need to be careful on cutting too much off.
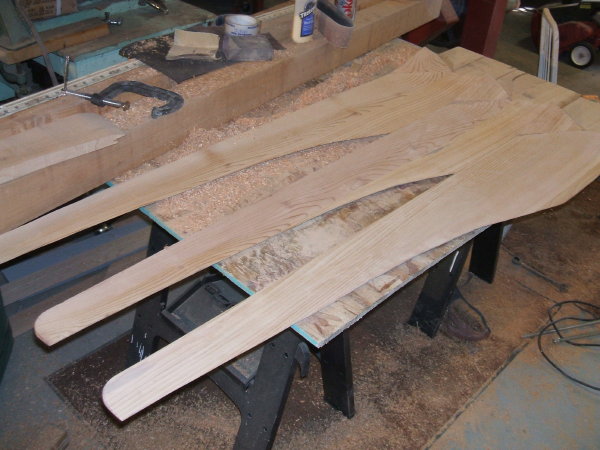
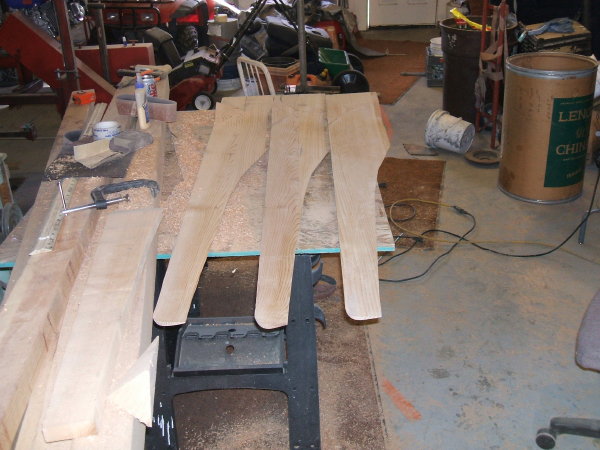
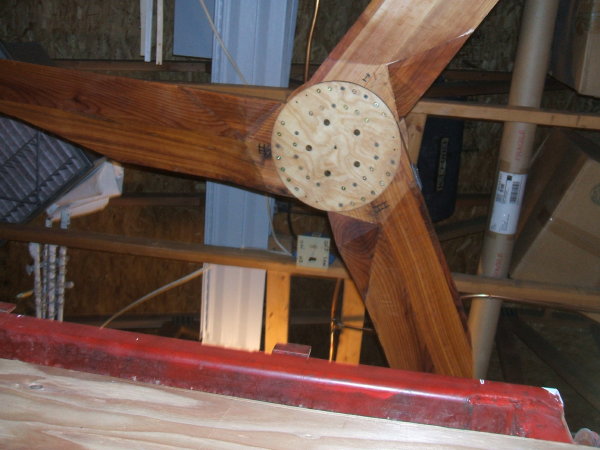
It only took me a couple days to get the carved blades done, and then I fit checked the pieces to make sure everything fit together.
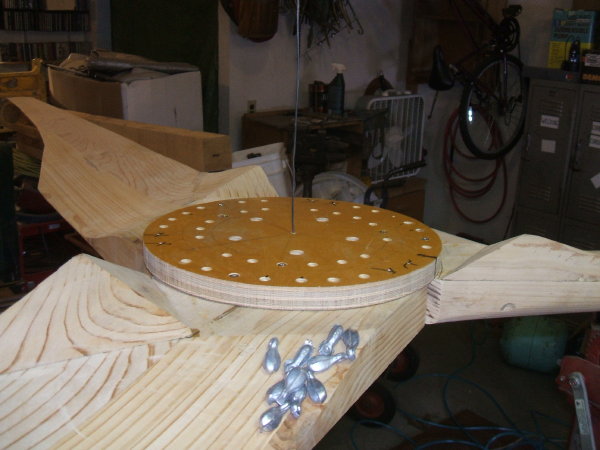
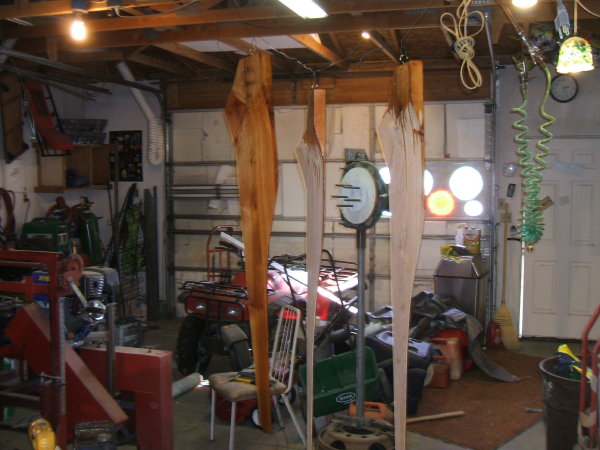
After putting the front and rear ground plates on the blade, I had drilled a 1/8 inch hole in the exact center. I hung this from the rafters of my garage with a wire and used fishing weights to figure out where the balance weight needed to be. It all seemed to work out quite well. The blades that I carved ranged in weight from 3 pounds 7 oz., to 3 pounds 9 oz., so I didn't think this was too bad for seat of the pants hand planed work.
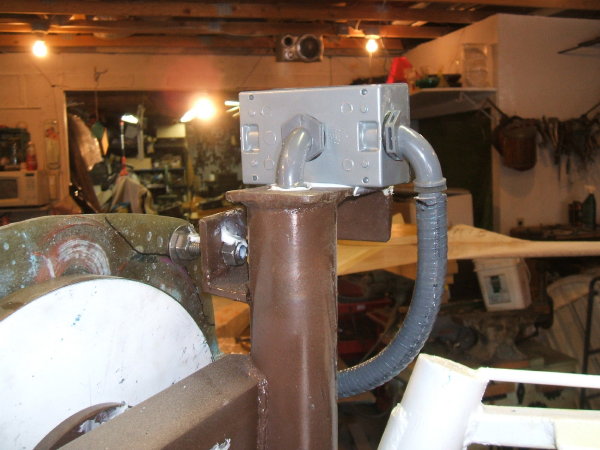
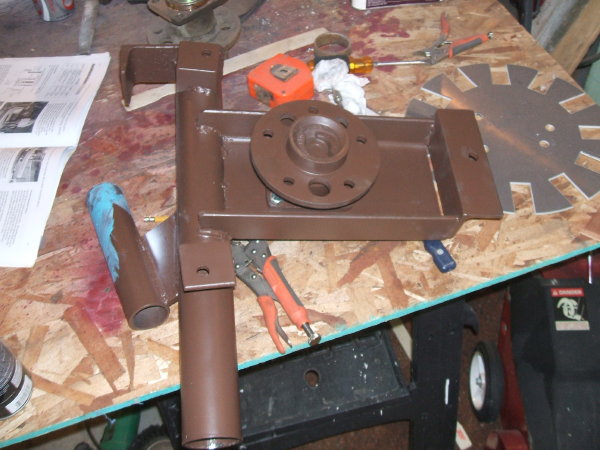
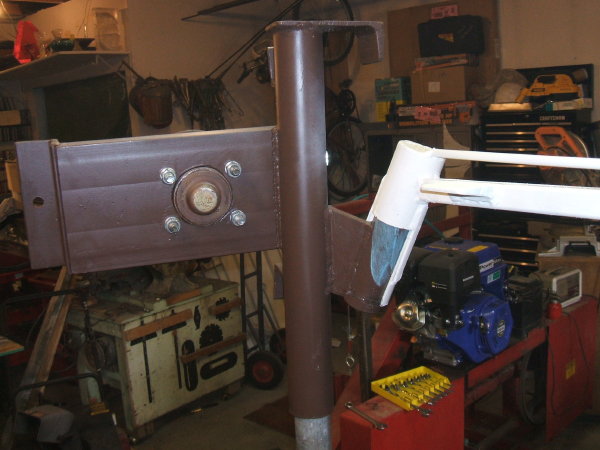
I was trying to figure out how to seal the top of the pivot and make a usable power splice box and this is what I came up with. So far, it looks like it's going to work okay.
Well, a lot of people have written that linseed oil was the best coating so I put approximately 8 coats, maybe more, on them. They seem pretty good. Hopefully, they will last. I hadn't really thought about the cedar being very fragile but in just handling the blades and bumping the trailing edge on the workbench, I got a couple of dings in them.
I have built a temporary tower (about 20' tall) that I will be mounting the generator on for a test run in my back yard. Hope to have it up within a few days. Will post an update when I get it in the air.
