As a long time reader of this site, this is my first attempt at posting. I must say thank-you to all of those who have published all their tests, trials, tribulations and successes. This site has a vast depth of knowledge on renewable energy. My interest is in wind turbines and the following my attempt to describe the process of building my first induction generator. Thanks to all for all the inspiration on tinkering and becoming more knowledgeable in this addictive hobby!!
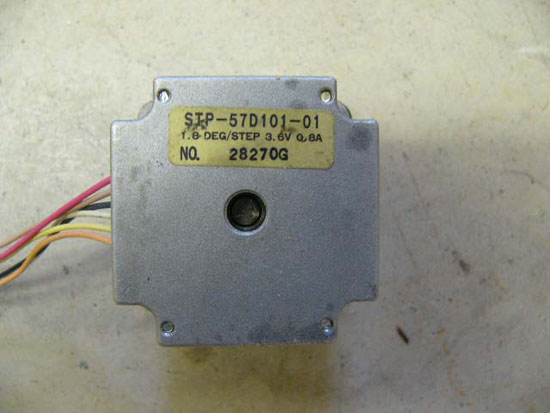
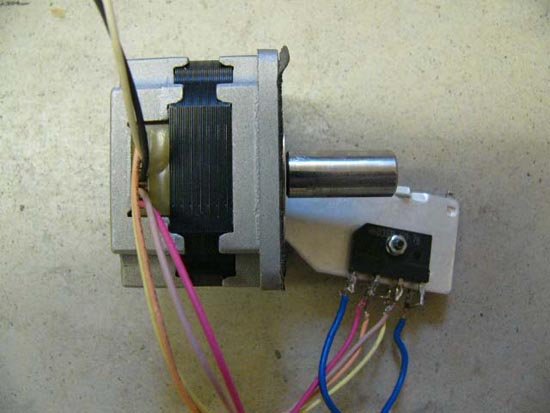
The first wind mill attempted was a mini wind mill using a stepper motor from an old printer rescued from the dumpster aka "dumpster diving"!! It was a 1.8 deg/step 3.6V .8A motor.
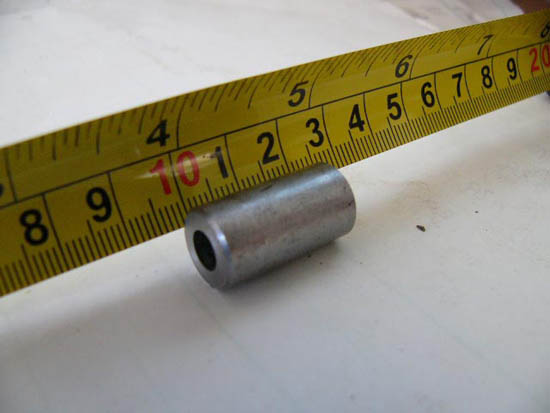
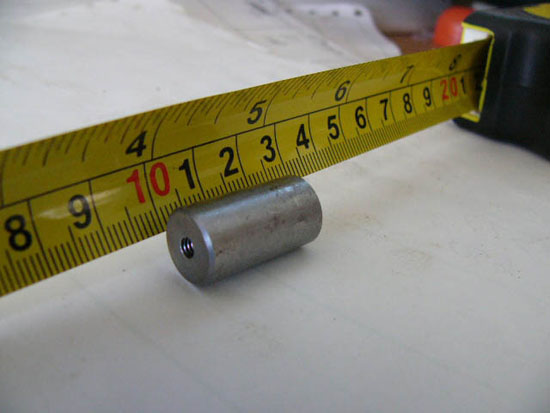
The shaft was 3/16 dia. So I made a coupling from 1/2 in shaft 30mm long. I reamed a 3/16 hole 15 mm deep,
turned it around and drilled and tapped an m4 thread in the other end to mount a hub.
I tried using a small "zubwoofer" blade from an old black pvc pipe I had lying around. It turned really well, however it was old and brittle. The thin blade flexed in higher winds, they would flutter, strike the pole, and eventually break. The forces on a small 2 blade plastic prop was quite an eye opener even in moderate winds!! I then made a wooden hub up 3/4 in thk * 3 in dia.
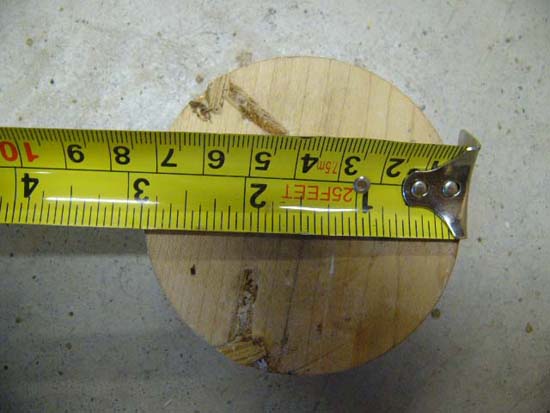
I positioned the hub which had 1 line drawn on it's edge
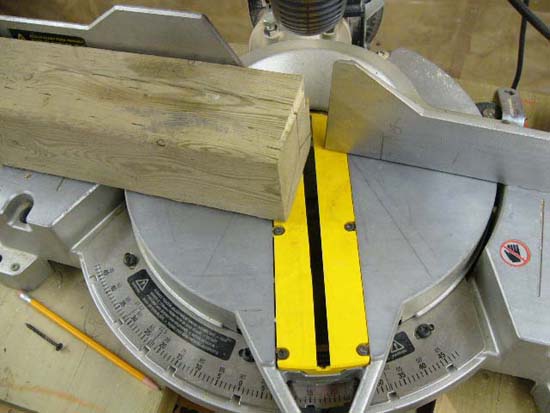
on the end of a 4*4 first to get the slot length to be centred on the chop saw blade diameter and made 3 indexing marks at 120 deg apart for easy indexing of the hub.
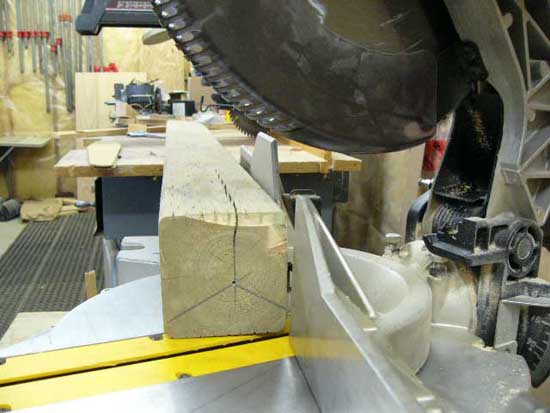
I found turning the chop saw 18 deg worked well for the base of the blade to fit in the slot.
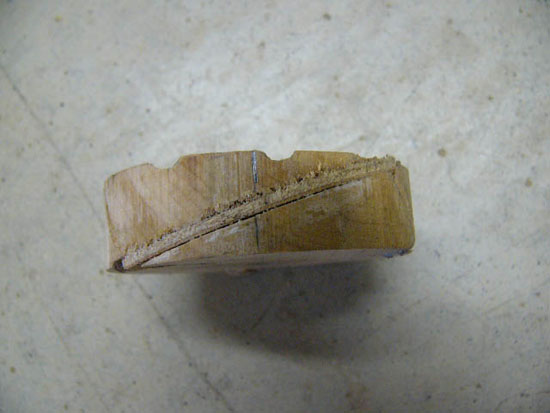
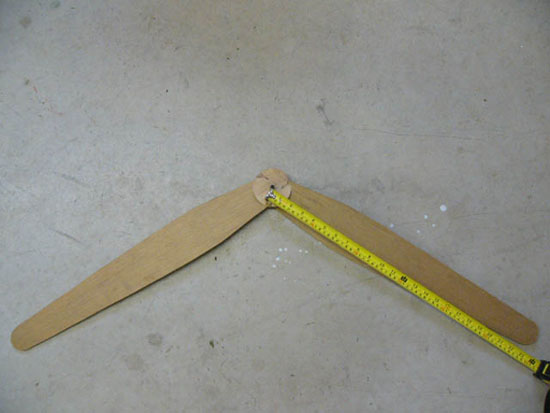
I cut 3 slots in the hub using my chop saw for 1/8 in plywood blades. I CLAMPED a 4*4 on the chop saw with 3 lines drawn on the end of it, then just rotated hub until the lines matched and clamped in place with a woodscrew that would fit thru the clearance hole for the m4 bolt. Here you can see previous angle tested and now repairing hub for shortened blades.

Finished plywood 3 blader.
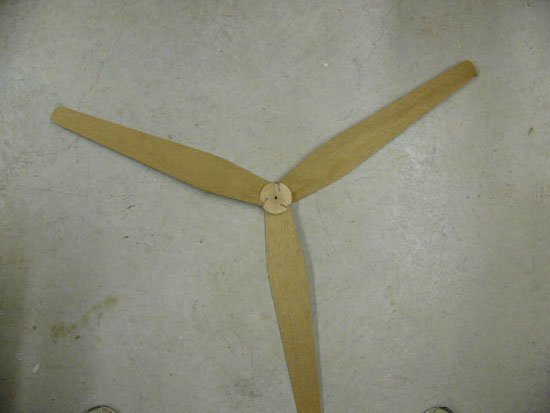
Being 1/8 plywood there was quite a lot of flex, but no flutter. Eventually a blade would strike the pole and snap off at the hub.
I would then snap the remaining 2 blades off, stack all 3 together and chop them all to the same length again, then mount my 4*4 fixture in the chop saw and repeat the process over again. I could have the blades snapped off, sized, hub re-cut, and blades glued back in under 30 min. Making them smaller in dia would stiffen them up! I then was able to get my hands on a 20-inch box fan blade. The bore of the hub was 1/2 inch which fit my coupling O.D.. However the hub bore was "D" shaped, so I took my disk grinder to the stepper motor coupling shaft and ground a flat on it to fit the blade bore and assembled it.
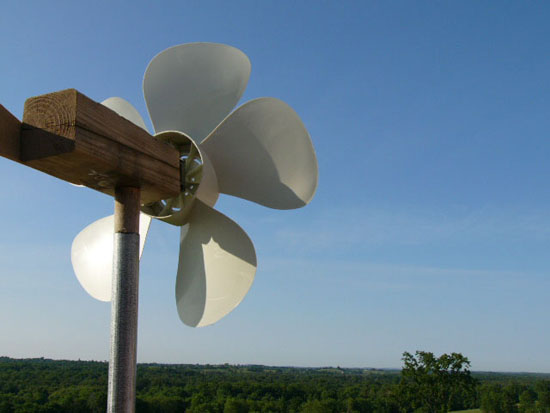
It has been over 3 months and no need to repair the blade as of yet! In the wind as it speeds up it sounds like a rescue vehicle in the distance with a whining sound. Took a while to get used to it!! I had 2 small rectifiers so I took the 4 leads from the motor and attached them to the rectifiers and used a kid's flashlight as a load.
Output is limited but my children are fascinated at night they can see the wind working! It's an introduction to wind power and more of a conversation piece where I can try to explain the principles to others. Test results are from my drill press which has been calibrated with my speedo-tach (see my induction conversion diary coming soon).
Test results from drill press using 12 volt test light ~6.0 Ohms
Rpm Amps Volts
- .186 4.8
- .23 7.0
- .24 7.0
- .28 9.0
- .29 10
- .29 10
Maybe I can charge small rechargeable batteries "AA" size etc, I have no plans yet. It's been fun, the kids love it, and with the record power consumption taking place, a timely subject.
Thanks for reading and I hope you enjoyed. All comments welcome.
Mike
