Hi Fellas,
I thought I'd share with you guys how I built my anemometer. I wanted something non plastic, and with a large enough diameter to catch low winds. I chose to make it all aluminum and with a 10" diameter.
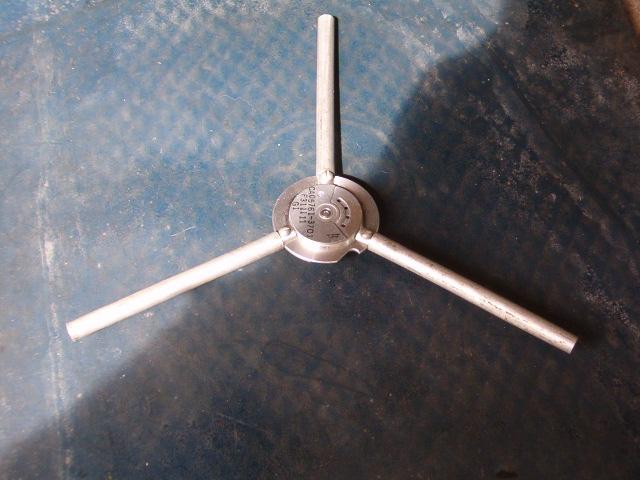
Here's how it started with your typical hard drive stepper motor. I removed the stator and added three aluminum tubes
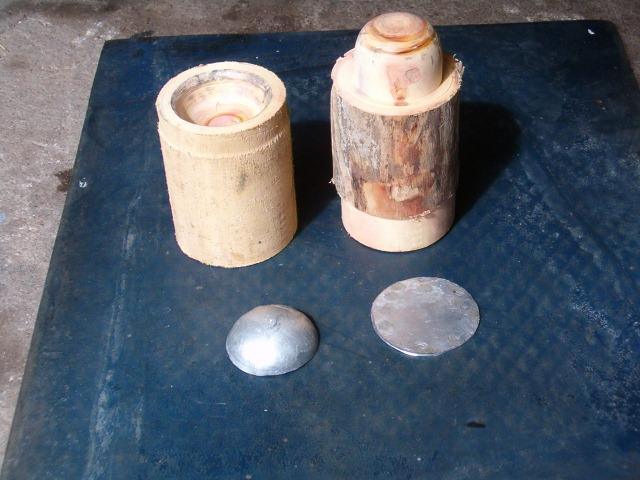
OK so how do I make the cups? I took two pieces of wood and turned them on my lathe to make a female and male spherical mould. Then cut some pieces of aluminum sheet and STAMPED them out. I placed the round piece of sheet in the female mold, on top the male a 3-4 hits with a mallet...
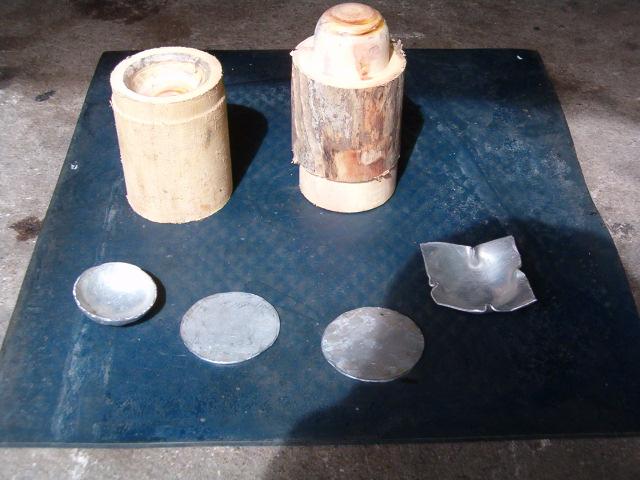
OK so the first cup didn't come out as good, cut them round instead of square.
Another pic
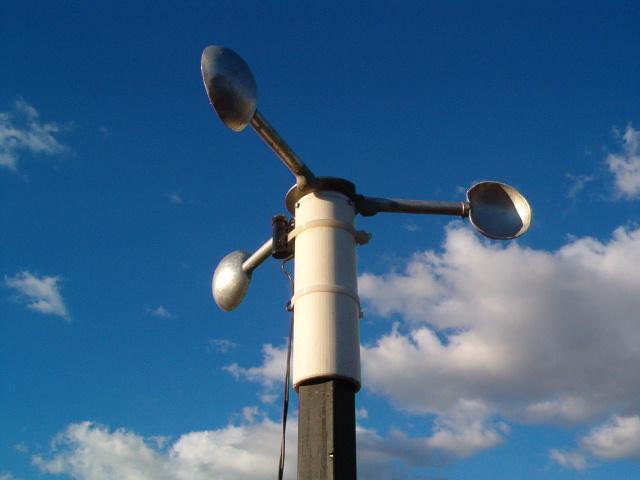
The finished product
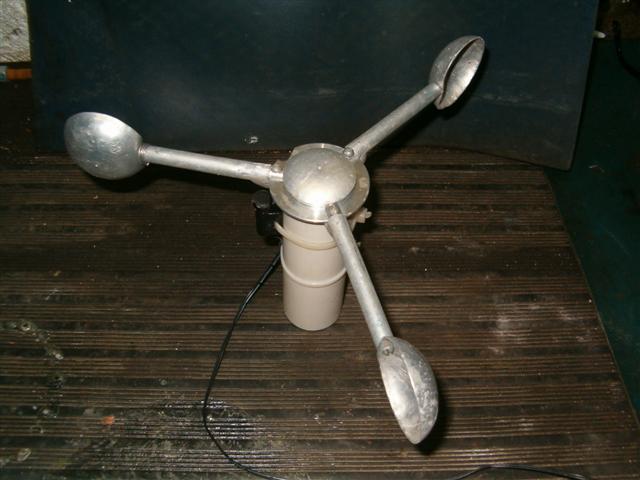
Flying
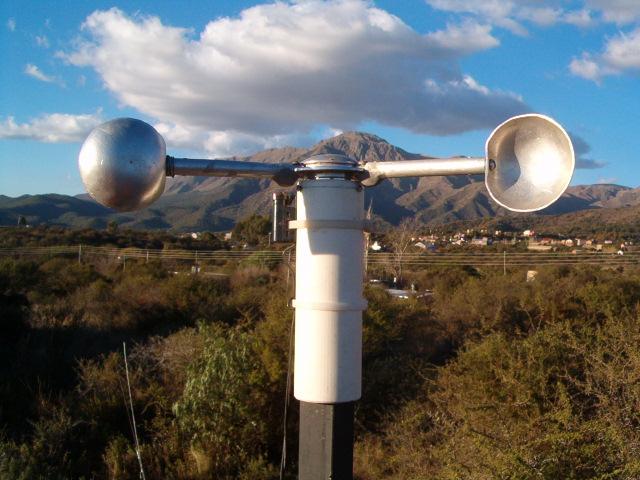
Second view
One problem I encountered was that it would turn too slow due to the large diameter, and no matter how small the wheel diameter was on the bike speedo used, it wouldn't pick up the real speed.
To fix it I glued 3 small neos instead of one, recalibrated the speedo and problem solved.
Hope you like it...
Warrior
