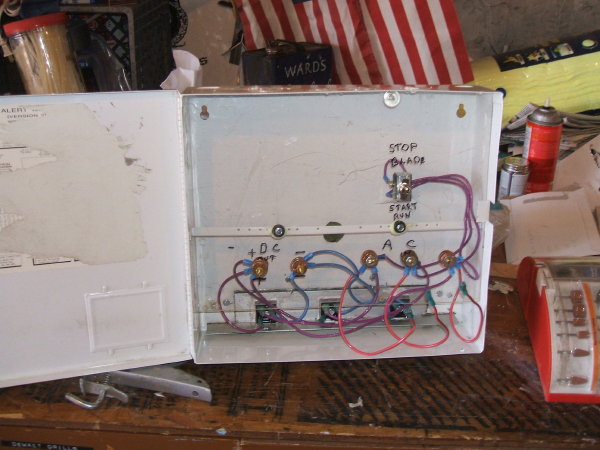
Someone asked about my electrical box.
I mounted three separate 200 volt, 50 amp, rectifiers. They are mounted on a piece of finned aluminum which was originally a chunk of sliding glass door track and I put heat transfer putty between them. One for each phase of the generator that come through a kill or shut-down switch. I am going to build a dump-load controller but haven't got that done yet.
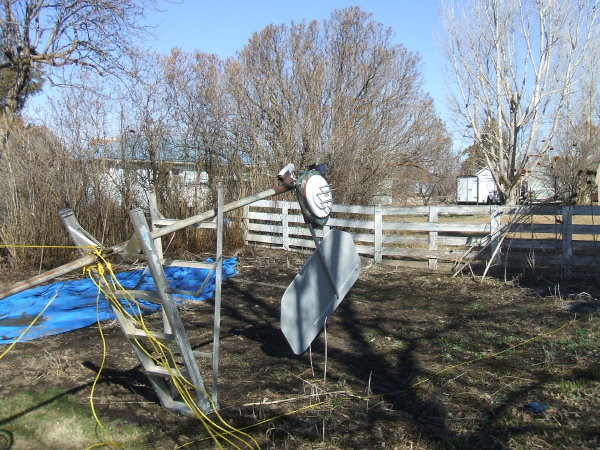
This is first time the generator had been on the pole.
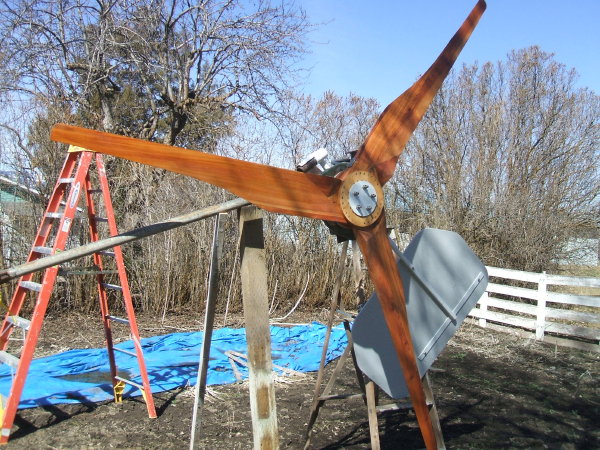
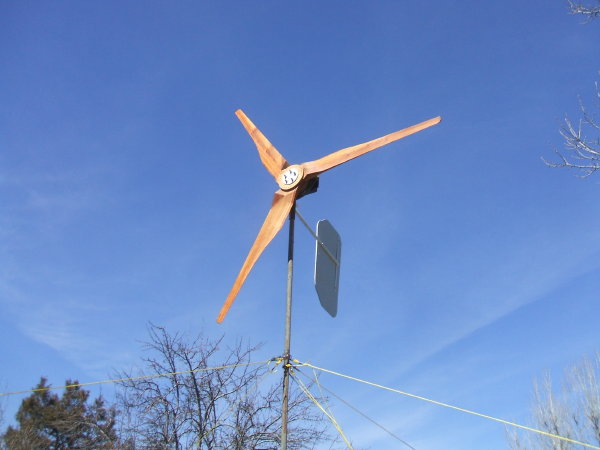
The blade went on quite well. I had to hammer a little bit and now I'm wondering how to get it back off when I move it to the permanent site. Anyone have any suggestions?.
I had set the tower up for a test run and put the guy ropes on so it couldn't tip the wrong way
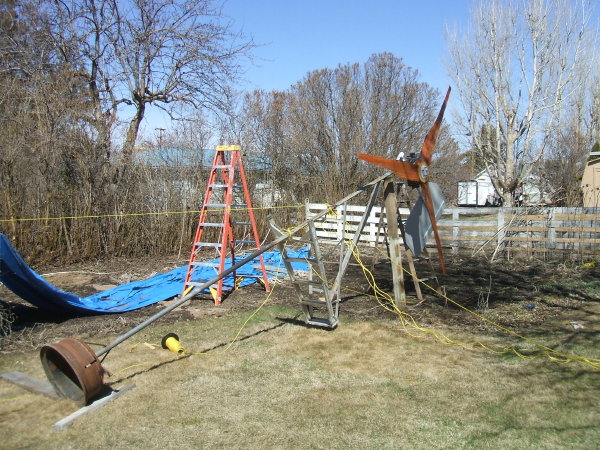
At the base of the tower, I just welded on a truck rim and a couple of small braces. I put a couple of chunks of rebar driven in the ground underneath it sticking out about six inches so it couldn't shift very far.
I had ordered cable for the guy wires but it hasn't arrived yet. I had one large piece so I used that for the pull cord attached to the pickup.
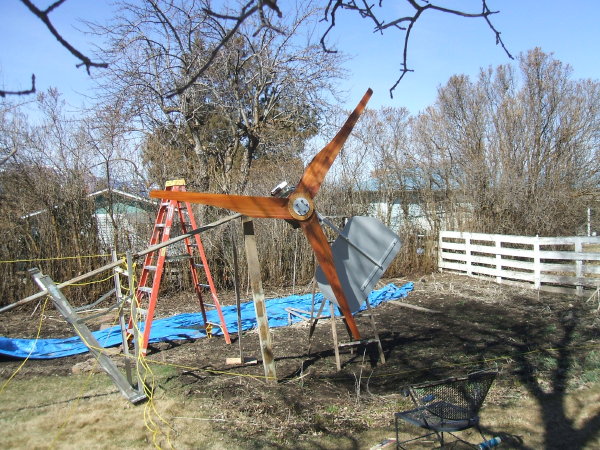
Yay - it's up in the air. All went without much of a problem.

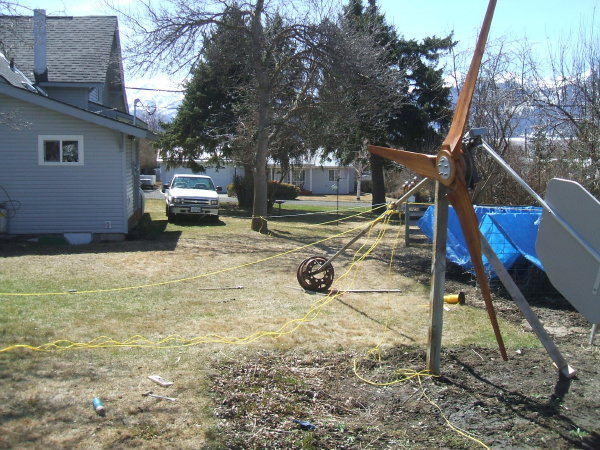
Of course, now, there is no wind, so it hasn't even made one watt yet, but hopefully it will. If you have any questions, I have few answers, but I'll try. Oldculett
