A month and half has gone by since my accident, and things are starting to come back together.
http://www.fieldlines.com/story/2009/4/20/52956/4642
After examining the damage, I discovered that much more was recoverable than I originally thought. The damage to the tower was not as bad as I thought - one bent part that I was able to fix after a day in the welding shop.
After taking the whole tower apart, I realized an opportunity had come to fix a problem that I'd been living with ever since putting it up 2 years ago.
http://www.fieldlines.com/story/2007/7/9/6732/31181
Back when I first put together the tower, I didn't realize that by bolting the segments, instead of clamping, I had drastically limited the space available for the power cable! Trying to stuff the 10/3 cable was very frustrating. Why didn't I take the bolts out? Because the bolts are actually eye bolts that are the attachments for all of the guy wires. Taking the bolts out would mean taking every wire off and re-rigging all over again.
After dismantling the whole thing after the accident, I have to re-rig anyway, so it was finally my chance to put two 3-conductor cables down the tower, plus a 4-conductor phone line, too, for fun. They all come out to a tidy box and I'm totally tickled. All the bolts are back in, too, and I can re-rig again this weekend. Sorry no pictures of it yet - I'll try to get some up when it's all back up in the air (with a winch!).
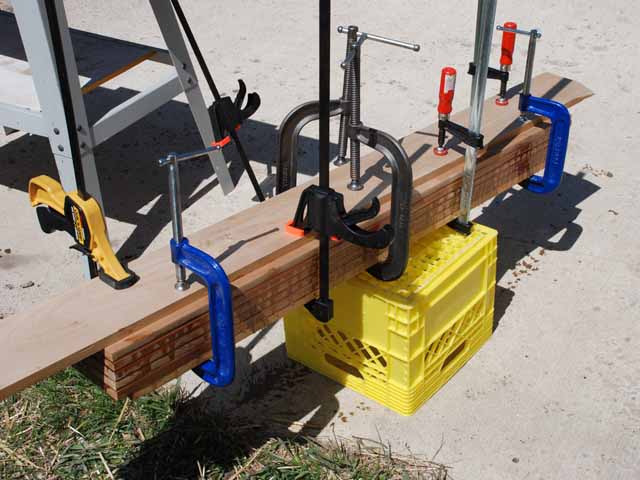
So using the Toshiba turned out to be too ambitious. The price of enough clear select cedar for 12' blades literally knocked me off my chair. The price has doubled in 2 years! Time for a re-think.
I have this Baldor 3 HP motor on my bench...
So this puppy is smaller than the GE that I used before. A bit less wire, less space on the rotor to cram on magnets. A challenge, in other words...
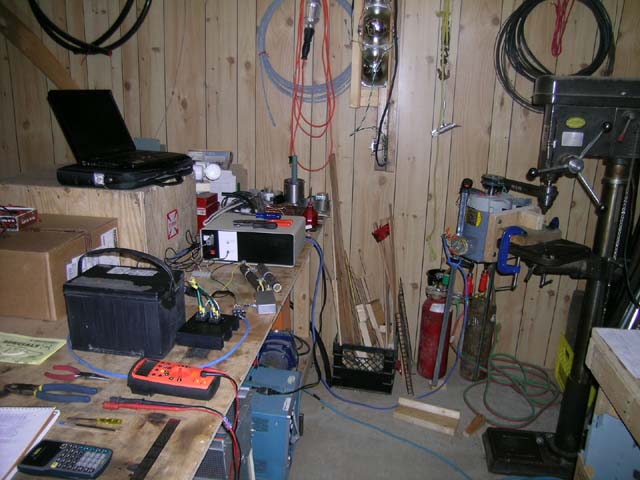
After a bit of frankenstein-style crank tests where I taped magnets onto other "rotors" and spun them on the drill press to measure output, it looks like I have a chance to make as much power with this one as I did before.
So now all I have to fix are the blades. One of the three blades on the windmill was undamaged in the crash, and I had kept a fourth on the shelf. I carved it thinking I would pick the 3 closest in weight for good balance. This one was odd-man out. Maybe it still won't be a good match for weight, but it's a great carving template to make new blades to match the old!

Here you can see them together. The old blade is in the foreground, the new blade is having its back face carved, and the tapered blank is visible in the background. I haven't carved all the way out to the tip yet. The bulk carving can be done with just the guide lines on the wood. When I flip it over to carve the front side, I won't have to block up the tip to support it. There is a lot of work to be done on the back face, so I prefer to do it first.
No, I didn't use my chainsaw. After thinking for a moment about Oztules' cool way of making his blades, I decided it was over-kill, and grabbed a hand-saw. Took a while, but I was able to stop and check several times. Cutting too fast gets me into trouble.
Sometimes it can be a real drag, having to redo things, but other times it can be a real joy knowing you have a chance to do it a bit better.
