Nothing too exciting last monday, but here's a bit of a diary about what we did. We're finishing a wind turbine that'll be heading to Guemes Island (with us). It's a slightly smaller (9' diameter) machine, but basicly everything else (other than the blades and a couple of windings in the coils) is about the same.
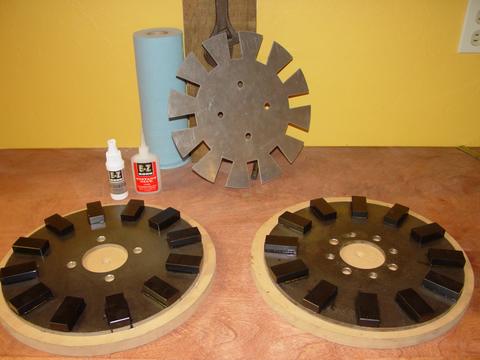
I believe epoxy coated magnets stand up a bit better to corrosion. They also adhere better to the magnet rotors when using the cyanocrylate glue (super glue). They cost slightly more, but I think it's an improvement. So these are black, epoxy coated magnets 1" x 2" x 1/2" and we've glued them onto 12" diameter rotors.
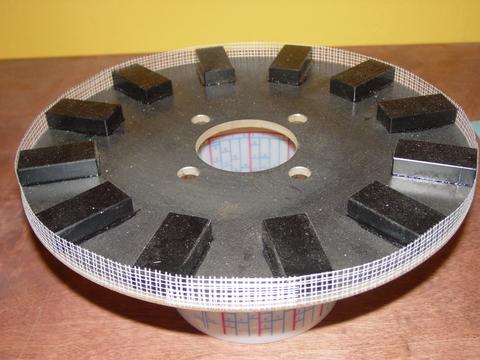
I've never had magnets fly out before, at least not since we've been using the furling tail system! But I think this fiberglass drywall tape will add a bit to the safety factor. I've run these rotors up to 800 rpm before with magnets on there which were not even glued on and they didn't move but it's always been a worry in the back of my mind. This fiberglass tape is nifty 'cause it's sticky on one side. It doesn't seem to stretch at all. I ran around each rotor a couple of times with it.
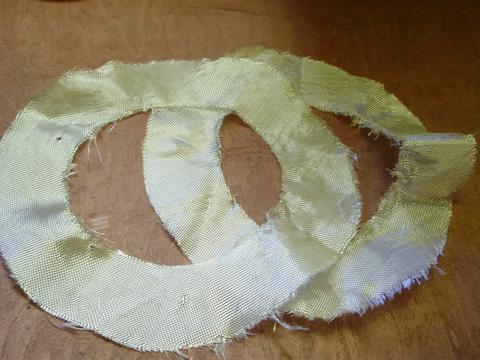
This time (and probably from now on) I'm totally encapsulating these magnets in resin. It adds insurance that they will not corrode, or fly out. So, we have the fiberglass tape around the outside of the magnets, and we'll put these fiberglass rings over the top - pretty much exactly as described in Hugh Piggott's plans.
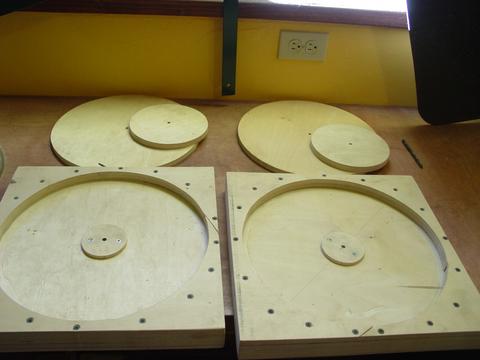
I made up two moulds to cast the magnet rotors in. The disks go in first, then the 'islands' (7" diameter disks) go on top of those, then the lid. It's all pinned to keep everything on center.
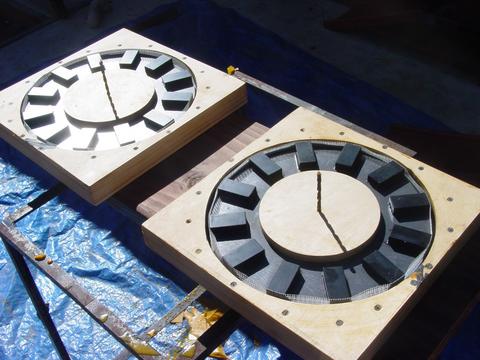
Here the magnet rotors are in their moulds ready for casting.
While there's nothing really wrong with them as they come out of the mould, I thought they'd look better and appear to turn more 'truely' if I turned them down in the lathe after they come out. This really made them look pretty nice and it was easy/fast. I'd made the moulds a bit oversized with this in mind. The magnet rotors are 12" dia. I made the mould 12.5" and turned them down to 12.25".

Once out of the lathe we primed, and painted the magnet rotors, again - with 'British Racing Green' acrylic enamel.
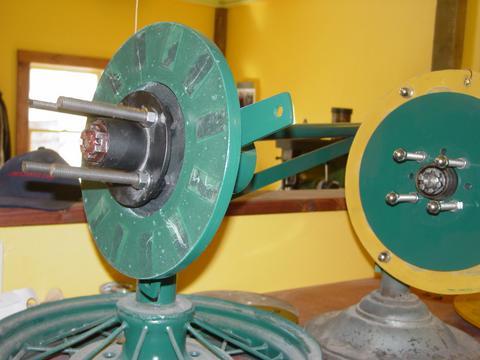
There's the new machine with one rotor on there.
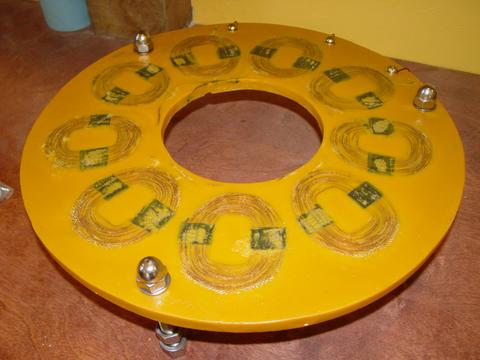
Here's the stator we made last week. We only had to install the hardware on it this week. We also took the time to fill some of the air bubbles with more yellow resin and sand it off - for appearance only.
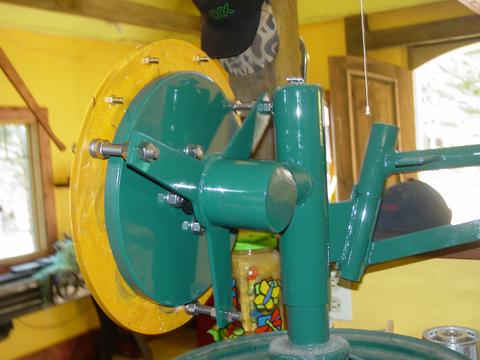
There's the back of the finished alternator after we got it all assembled. The cutin speed may be a touch low for a 9' machine @ 150 rpm. We'll try it first, if it needs adjustment we'll open the airgap a bit... or fit a larger blade set.
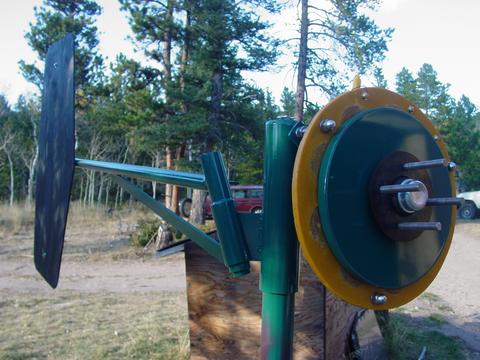
We put it outside on a stand and assembled it.
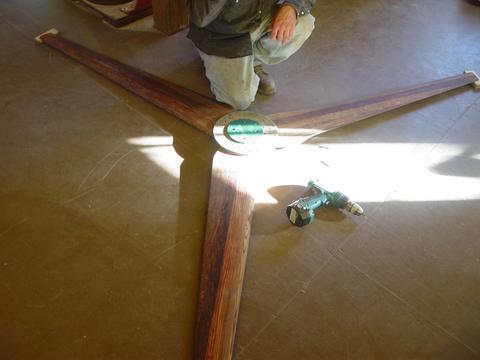
Scott made the blades for us. We assembled them and drilled out the hub. It's sure nice to have a flat space big enough to do this easily in the new shop.
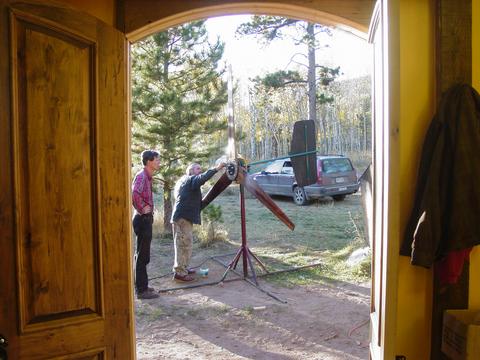
Here George is fitting the blades onto the finished machine. Another one finished up! This one is #32 of the dual rotor machines...

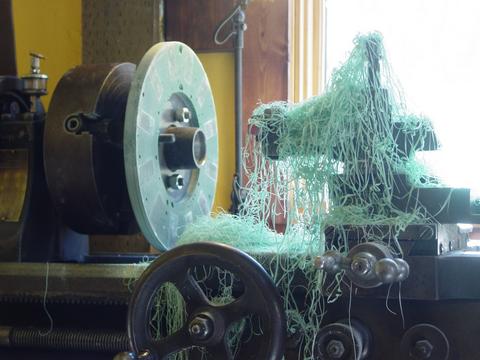
Later in the evening we had pizza as usual. Scott pulled the stator out of the diesel generator we made so that he could button up some of the wiring a bit better. That project is basicly done, we'll assemble it hopefully for the last time next Monday.
