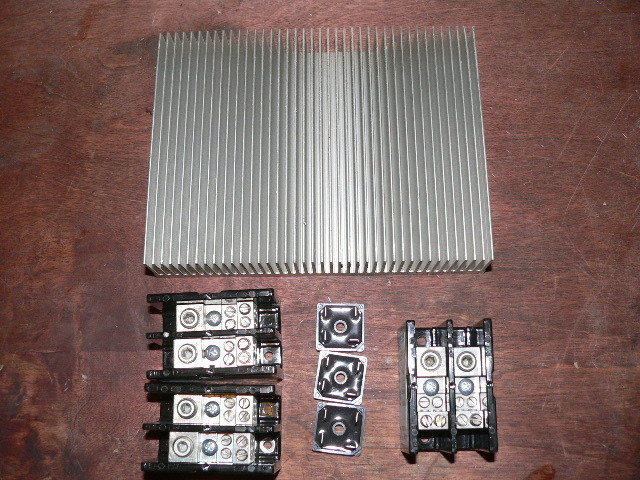
Another fun Monday. We didn't have a lot we needed to do - so we decided to build a rectifer for Rich's 7' machine. Pictured above are most of the components we started with. We have a bunch of heat sinks - so we used one of those. The terminal blocks are oversized but should work well - I got a bargain on those on ebay. It's only a 7' machine and not capable of much more than 300 watts so 3 35 amp bridge rectifers should do fine even at 12V.
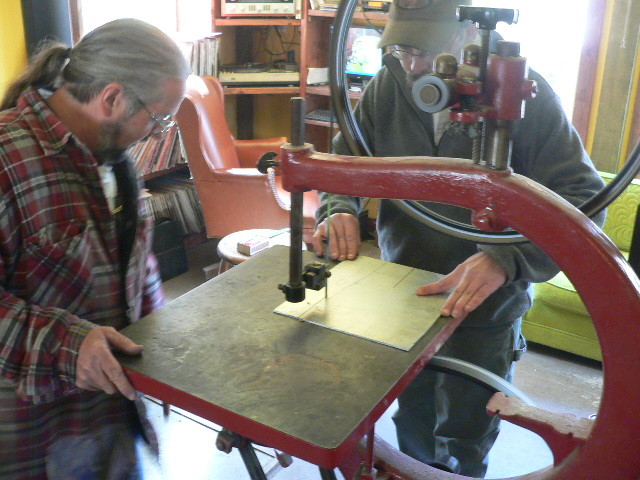
Pictured above Rich cuts up some Aluminum plate to mount to the heat sink to help mount it to the wall - and to give space for an ammeter and a kill switch.
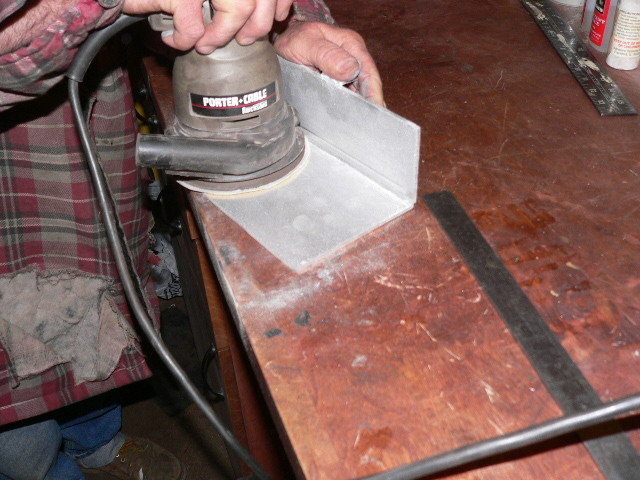
An orbital sander leaves a nice looking finish on the Aluminum plate.
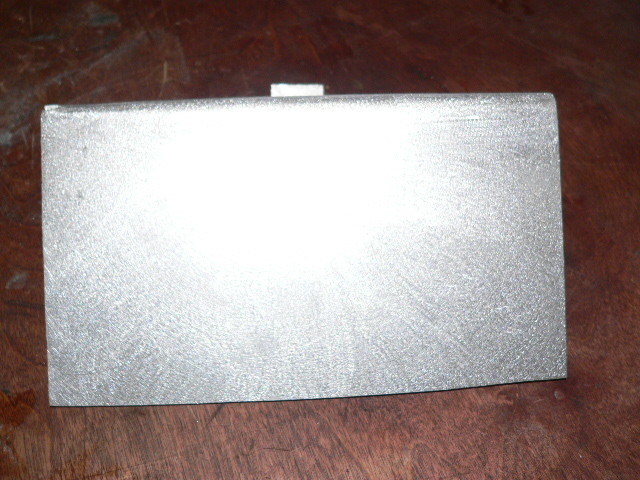
We bent the plate (we dont have a brake so we used the vice - some angle iron and a hammer) and sanded it - this serves to help mount the heat sink to the wall and give space for the ammeter and the heat sink.
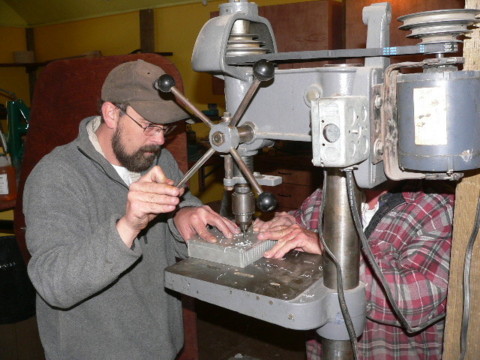
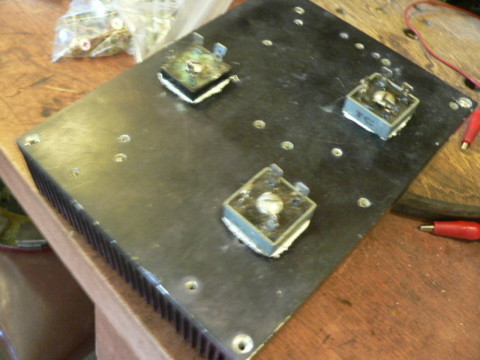
Rich is drilling out 5/32" holes to mount rectifiers and terminal blocks.
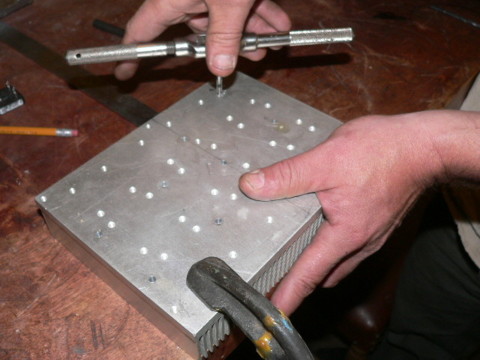
Pictured above he's tapping the holes 10 - 24tpi.
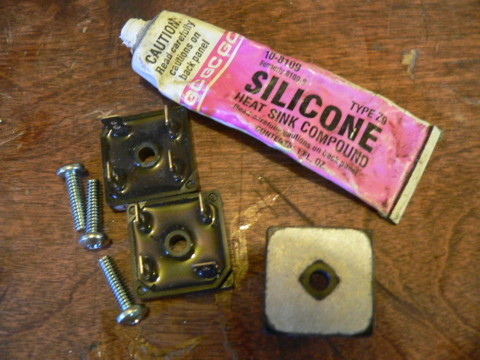
It's important when mounting bridge rectifers to use some 'silicone heat sink compound'. It's a paste that never seems to dry - but it helps transfer the heat from the rectifier to the heat sink. You smear a little on the rectifer... then bolt it down to the heat sink.

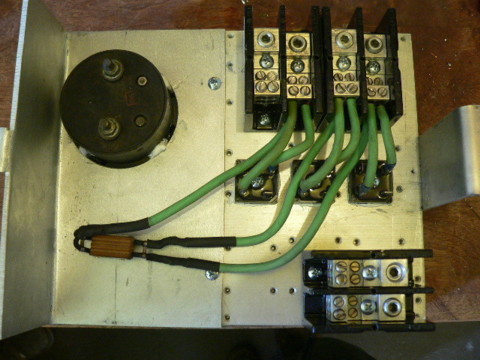
There we have all the parts screwed down to the heat sink with 10 -24 tpi screws.

Each of the 3 leads from the 3 phase AC input hook up to both AC leads of their own bridge rectifier.
For a kil switch we used an old DPST (double pole single throw) toggle switch. On one end of the switch the leads are tied togeter and hook to one 3 phase AC input. Each of the other two leads to to the other two 3 phase inputs. When the switch is off the wind turbine can run - when it's 'on' all 3 leads are 'shorted' and the wind turbine cannot run.
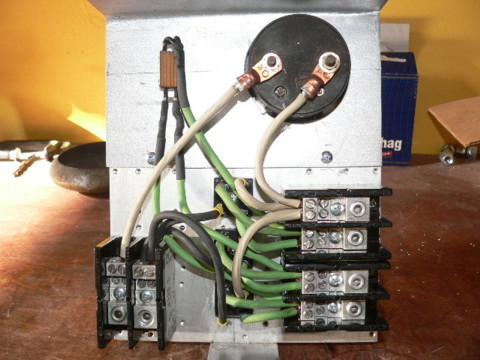
Pictured above it's all hooked up. All the positive and negative leads on the rectifier are in parallel. The DC - goes through the ammeter and then out to a terminal block.
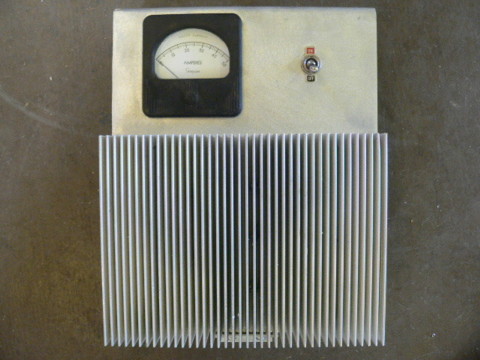
So there's the basic wind turbine rectifier from the front. It contains a 3 phase rectifer, a 50 amp meter and a stop switch. All the basics...
Of course Scotty came up today with some problems... one of the rectifiers in his 11' 6" dia wind turbine blew. He needs to double his capacity there I think (6 rectifiers) - this is about the 4th time this has failed. We replaced the bad one - that may hold up till next monday if it doesn't get too windy.
For those who recall the postings about Scotts 'mini petter' diesel and the alternator we built for it...
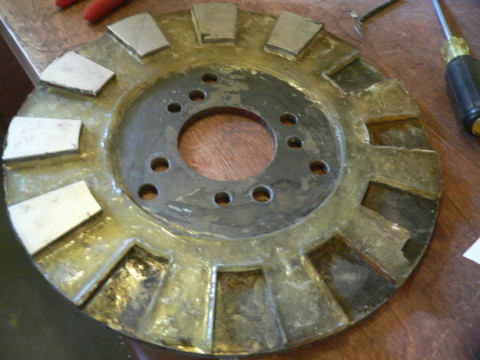
the governor got stuck and it ran up to over 3000 rpm. We had a steel band around the magnets. Part of it tore off and magnets went flying earlier today - some hit his gate - some might be in orbit. On their way out they wiped out the meters on the generator but didnt cause any real significant damage. (no dogs were injured) Scary stuff... anyhow - he brought up the remains of the magnet rotor.
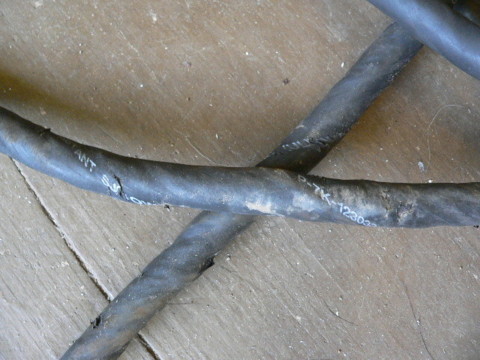
This should make all of you slip ring enthusiasts out there happy. Pictured above is the line that ran down Scotts tower. It got twisted up real bad over the last couple years and finally shorted out at a splice he'd made in the line about half way down the tower. The line had to be replaced. This isn't 'normal' - Scott's in a very turbulant place in the bottom of steep canyon. His tower is up on a steep hillside - almost 60' tall - but still.. it's not uncommon to see his wind turbine do a 360.
Poor Scott.. his diesel blew up - his wind turbine rectifiers blew - his line shorted out... and I think hes on his 4th set of blades in 2 years. Not to mention a few tower failures...
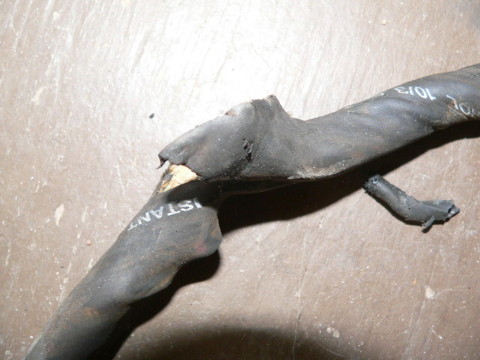
another shot of Scotties line that came out of his tower.
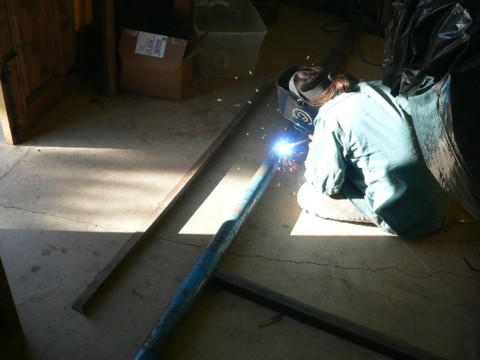
Scott spent some time building the new tower for his new 11' machine (the one with the wincharger blade and the airbrake) - this should be going up soon.
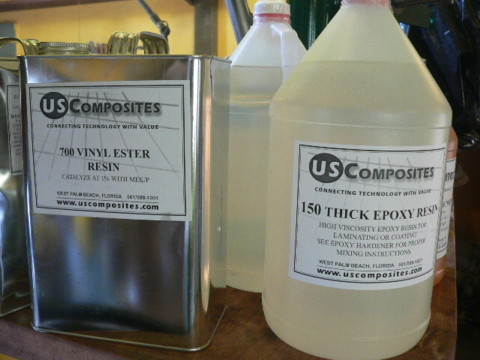
I also got my shipment today from shopmaniac.com (thanks to whoever posted that link 2 weeks ago). I got some vinyl ester for stators (its supposed to take very high tempurature - be stronger - and shrink less than polyester) and I got a bunch of fairly inexpensive epoxy which I plan to play with for magnet rotors. Polyester resin is proving to be frustrating for magnet rotors. Of course... there was pizza and dogs and all the other usual stuff.. didn't get pictures of that though.
