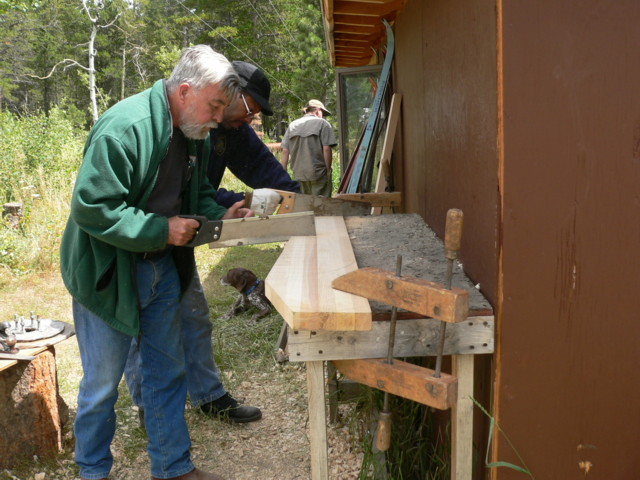
During the workshop we had Scotty here to help teach blade carving, George helped with metal work, and I was mostly involved with the stator, magnet rotors, keeping the generator going and the water pump fixed etc. DanF arranged logistics, transportation and helped prepare an evening presentation about small wind power in general. Lots of fun. Pictured above Paul and Doug and kerfing one blade with hand saws. All of the blade carving was done with hand tools only, mostly with saws, drawknives, and planes.
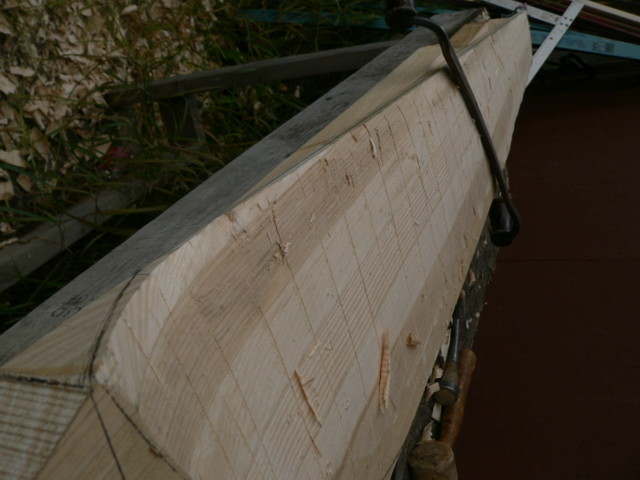
Pictured above the front of one blades is fairly well roughed out with a drawknife.
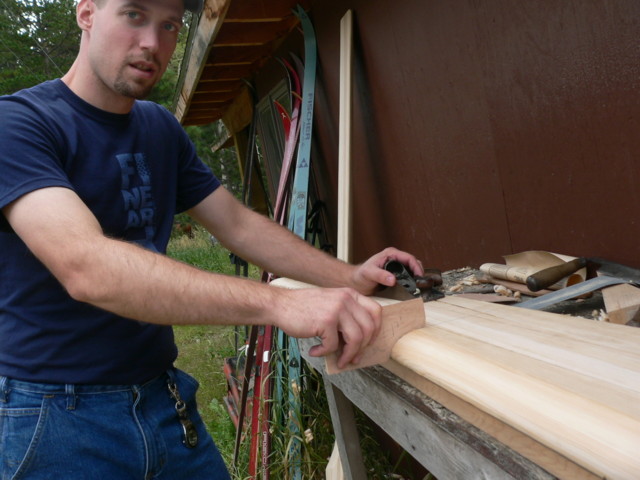
Scotty brought templates to help give folks carve the back of the airfoil correctly. We work from 3 stations, one at the tip, one at the middle and one at the root.
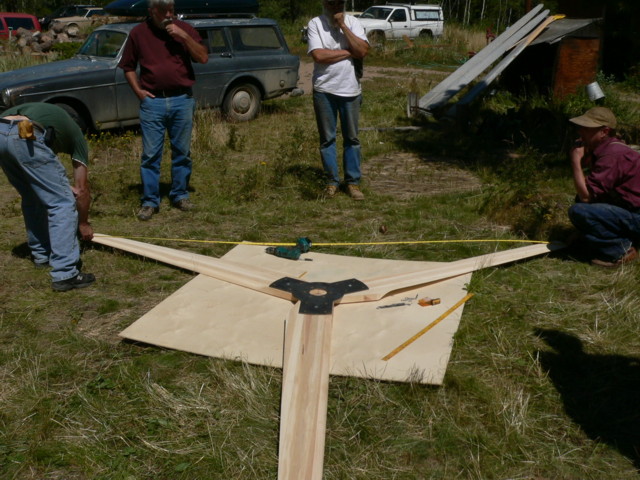
Pictured above folks are measuring tip to tip and assembling the blades to the steel hubs. I'm not providing much detail here about how we built the machine, just a few pictures though to show the course of the workshop. Keep in mind though that all of these things move together at the same time and it's amazing how the electrical bits, and the metal work and the blades all seem to come together at the same time at workshops.
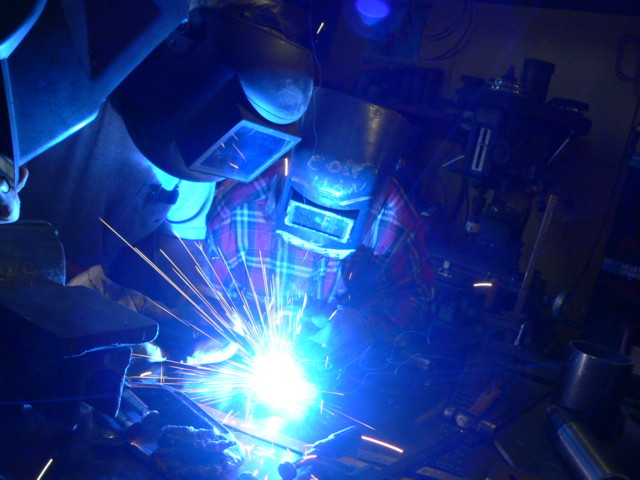
Pictured above George is teaching a crash course on 'how to use the mig welder'. Most of the folks had no experience going into it and at the end, a few were doing quite well!
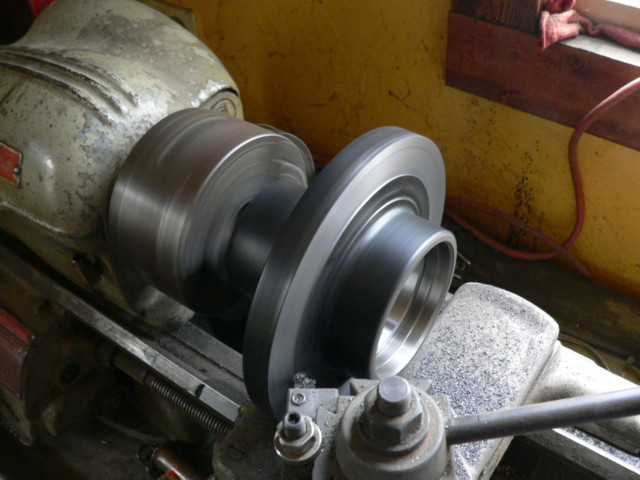
We like to put the back magnet rotor behind the wheel hub, and lately the back surface (even though it's been on a lathe) is not even close to true with the front surface of the hub... so we turned the back of the hub down on a lathe.
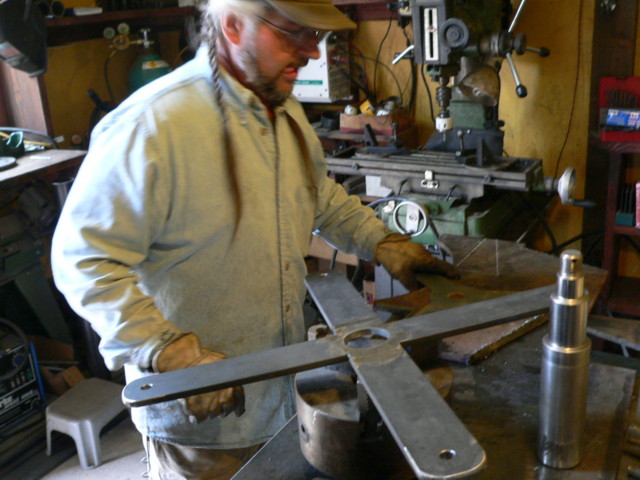
Pictured above is George with the stator bracket and the hub. For the 12 foot machine we use a #42 spindle which fits a 6000 pound trailer hub. This should hold up well I hope, it's the same stuff I used on my 20 foot diameter machine.
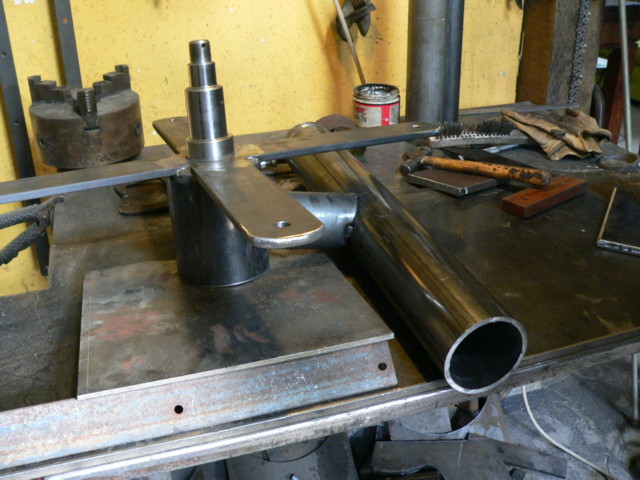
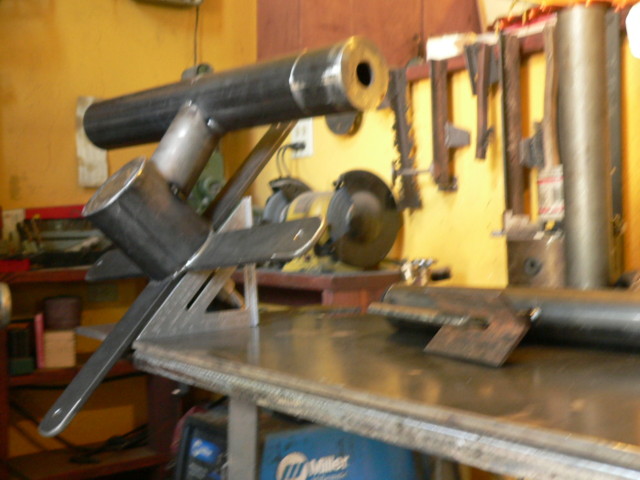
The metalwork for the alternator setup for welding. This picture above shows how we setup the offset of the alternator vs the yaw bearing, and the angle to keep the blade tips out of the tower.
We tack the whole wind turbine to the work bench so that the spindle is set at 45 degrees from the flat surface of the bench. Then we can weld the tail pivot right on top. It makes it all fairly easy to visualize and build.
Mr. George showing how he holds the tail up with bungee cords to hold the tail stop (the one that should hopefully keep the tail out of the blades) in place so it can be welded there.
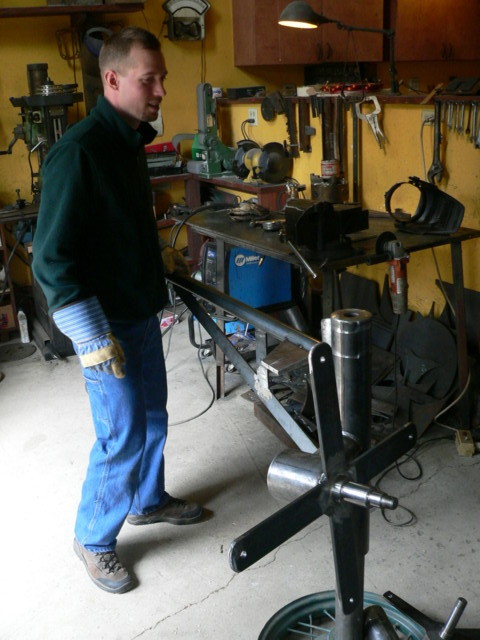
Steve admiring his (their) fine work.. all the metal work is finished. More on another page!
