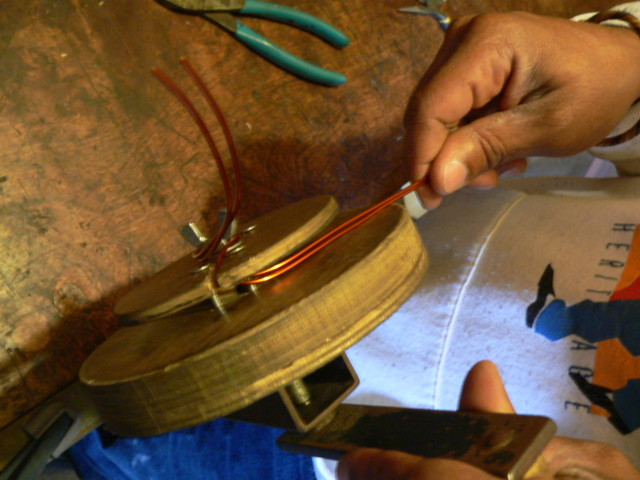
Because we only had 7 folks and lots of work to do, we didn't build coil winders or molds. Folks used our old coil winder and wound coils for the 12 foot turbine. The coils were 35 turns, using two strands of #13 wire in hand. The stator has 12 coils and it's for a 12 foot diameter 24 Volt turbine.
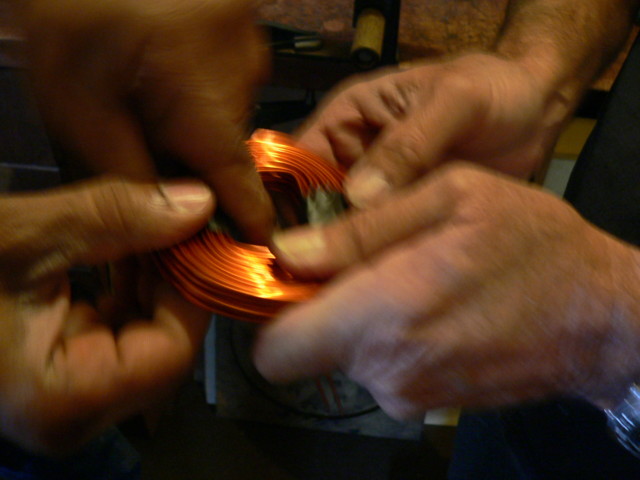
They wound about 16 coils, we picked the best 12.

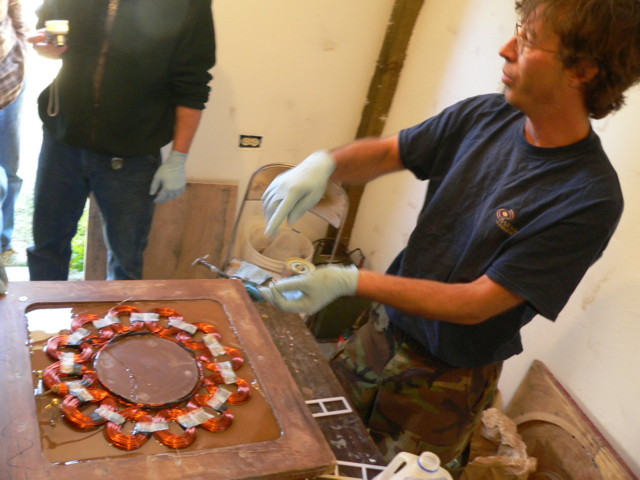
Once all the coils were made up they fit them in the mold where they go, cut the ends to the right lengths and wired up each phase, one at a time.
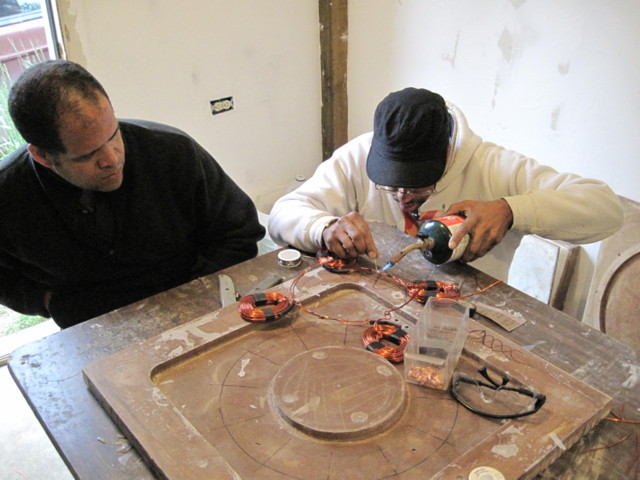
The connections between the coils were crimped with copper connectors, soldered and then covered over with heat shrink.
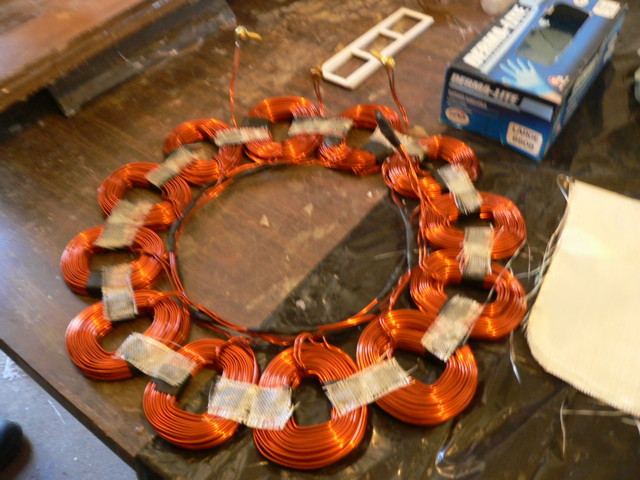
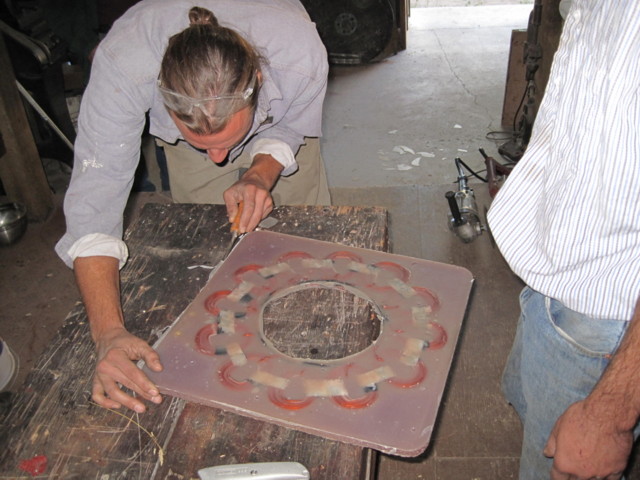
Pictured above is the stator finished, ready to be cast.
We only did one machine, so everybody was involved building the magnet rotors/getting an idea about how to handle the magnets safely. After they were assembled, we cut stainless steel bands for them, welded them - heated them and fit them to the magnet rotors (we heat shrink them on there). After that they're ready for casting.

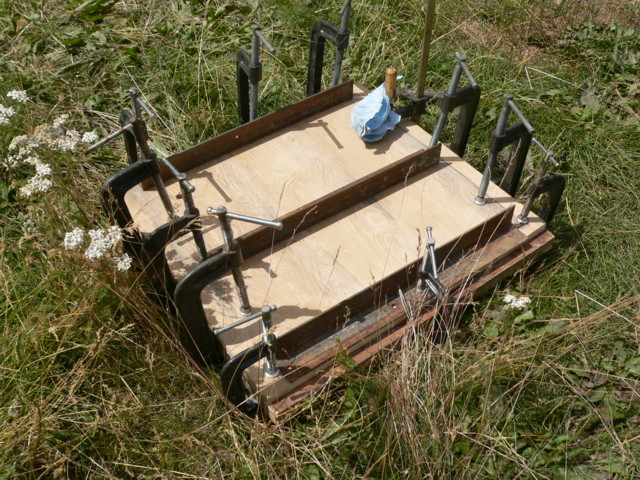
Pictured above all the parts that need to be cast are leveled... and ready to go.
Lots of compromises and tradeoffs and lots of ways of doing things. We tried to get all the tools in place, everything organized, and then we cast all the parts in one shot. Above I'm showing how I do things anyhow... and hopefully explaining that there are lots of other possibilities.
Once the resin setup a little bit we moved the stator outside into the sun in hopes that it'd setup more quickly.
Both the stator and the magnet rotors came out darn near perfect... Pictured above Greg cleans up the edges of the stator a bit.
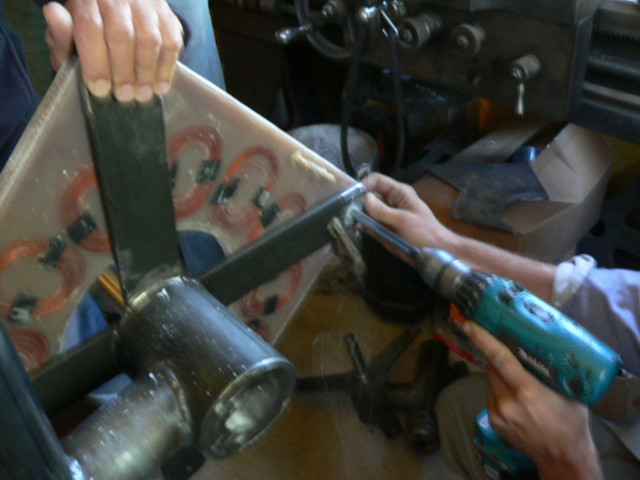
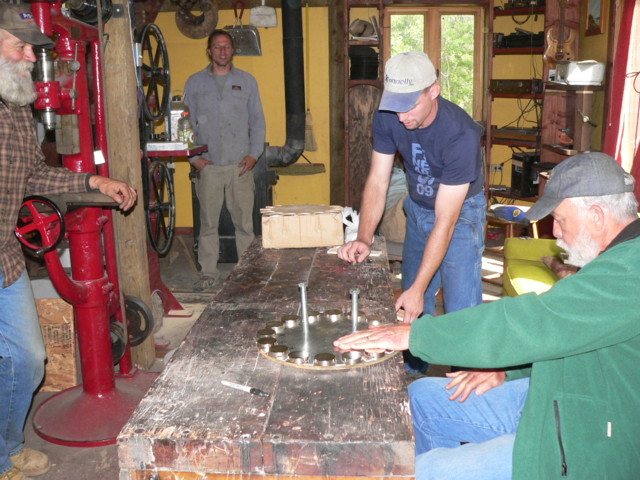
The casting and the metal work came out fine... and were finished at the same time on the morning of the 4th day (Thursday). So we started assembly. Pictured above they've clamped the stator to the stator bracket, and they're drilling through the stator bracket into the stator so it can be mounted with all-thread.
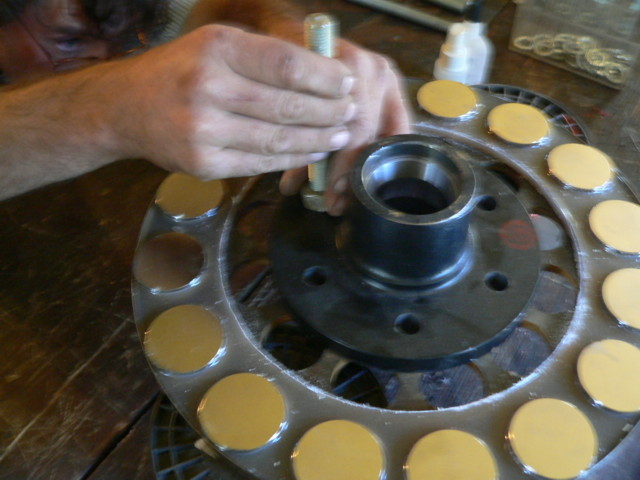
Fitting the back magnet rotor to the hub.

Pictured above the machine is just about finished, we are lowering the front magnet rotor to the alternator with jacking screws and a big rubber hammer.
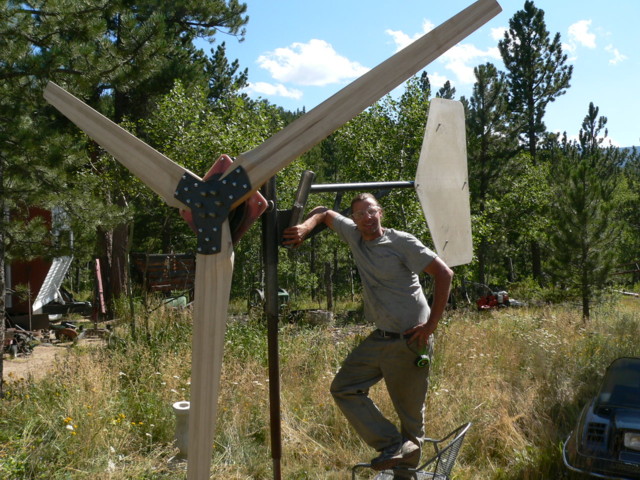
By 4PM on the fourth day we had it all together. Pictured above is Greg with the finished product. More about these adventures on following pages...
