Author Topic: Wind Repairs - bearing and blades  (Read 882 times)

0 Members and 1 Guest are viewing this topic.

kitestrings

  • Hero Member
  • *****
  • Posts: 1376
Wind Repairs - bearing and blades
« on: October 20, 2023, 07:19:35 PM »
It's been a whirlwind summer.  Where'd it go, right.  Thought I'd post a few updates, under various topics -

We had our turbine shut down for most of the summer, as has gotten to be our normal routine.  I'm starting to rethink having it "parked" though.  You'll soon  see why.  As they say ahead of the news most nights, "...we warn you some of the content may be graphic."

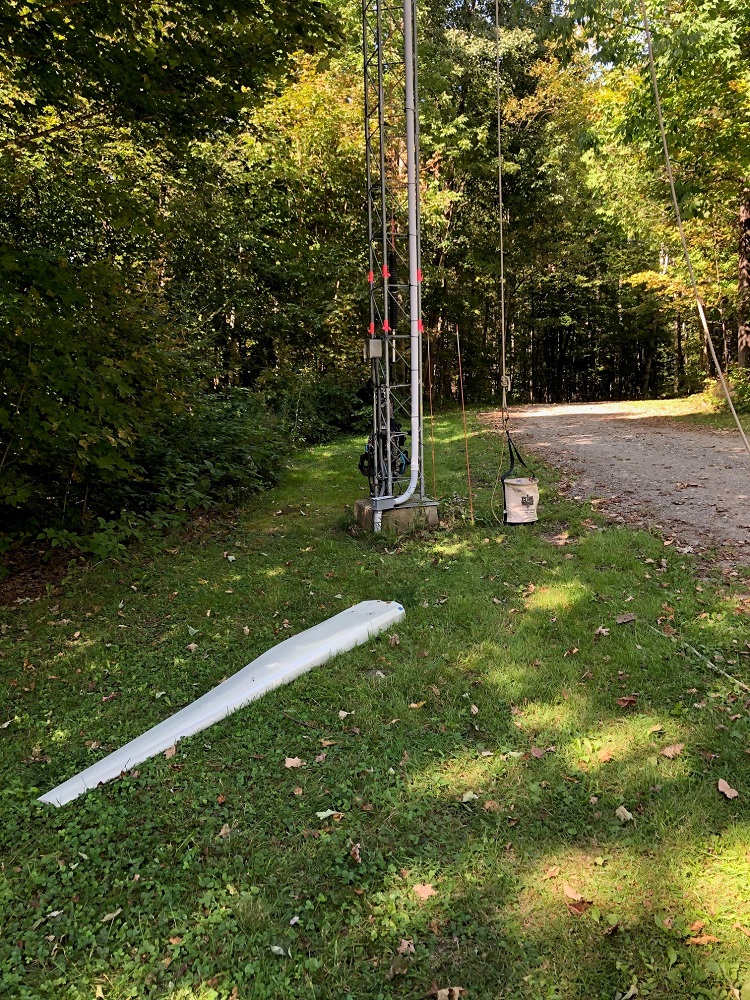
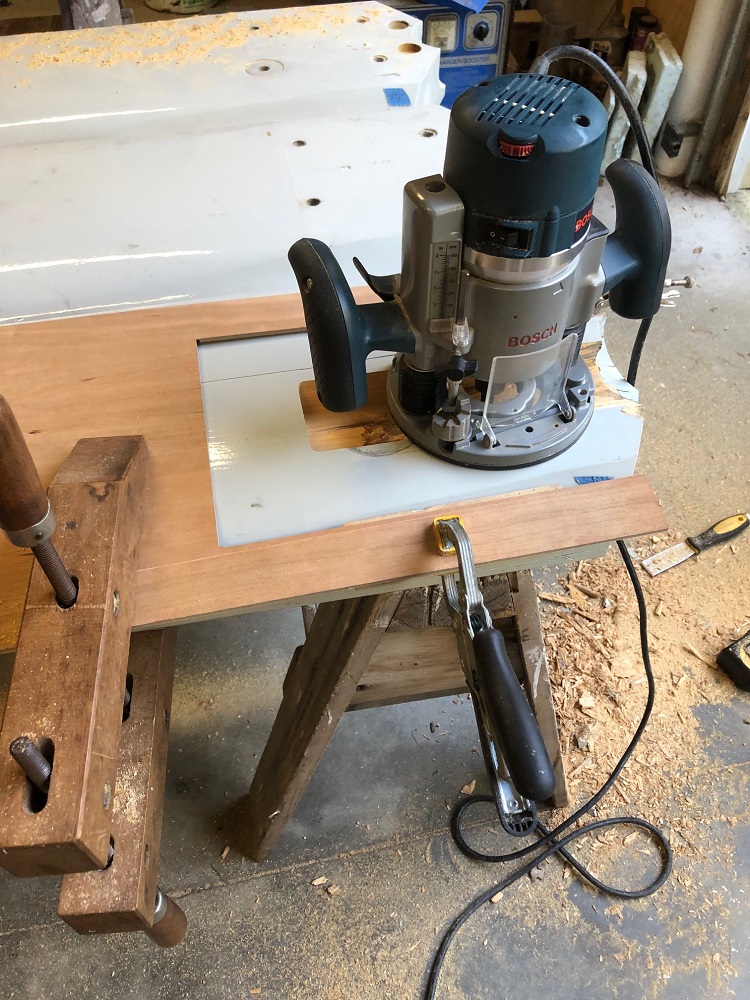
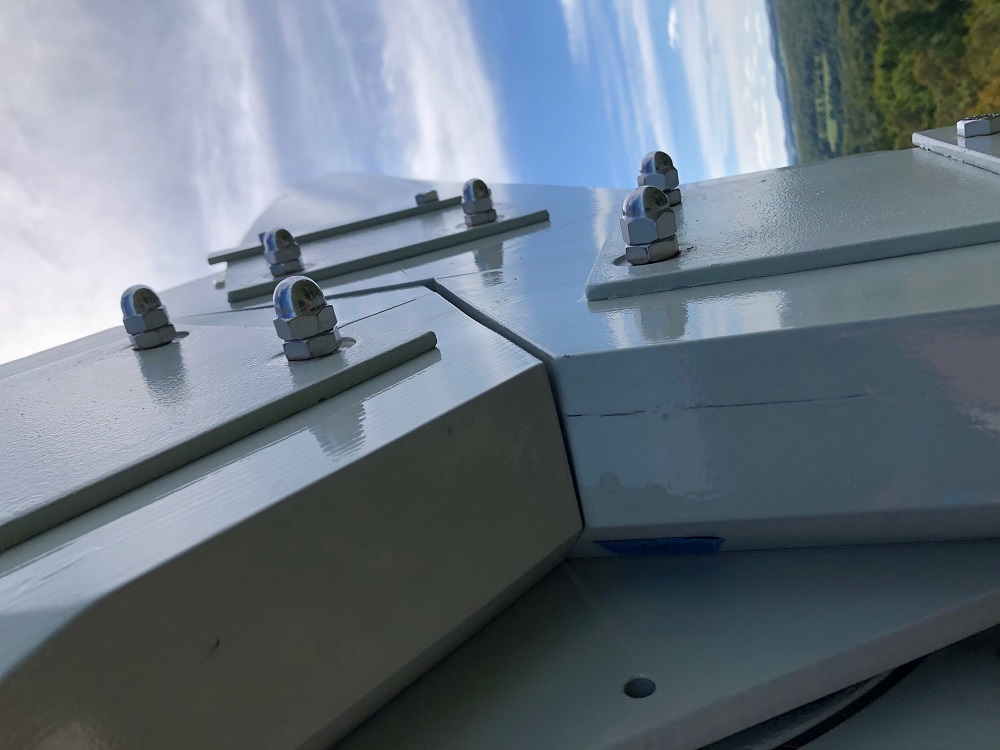
I started out needing to deal with some end-play in the bearings.  To get at them, we have to remove the blades, but I thought it a good time to repair a few minor dings.
15632-0
15633-1
15634-2
I snugged up the bearing to reduce/remove end-play, and dropped the blades.  All good so far.

Noticed a bit of paint spawling on the route of one.
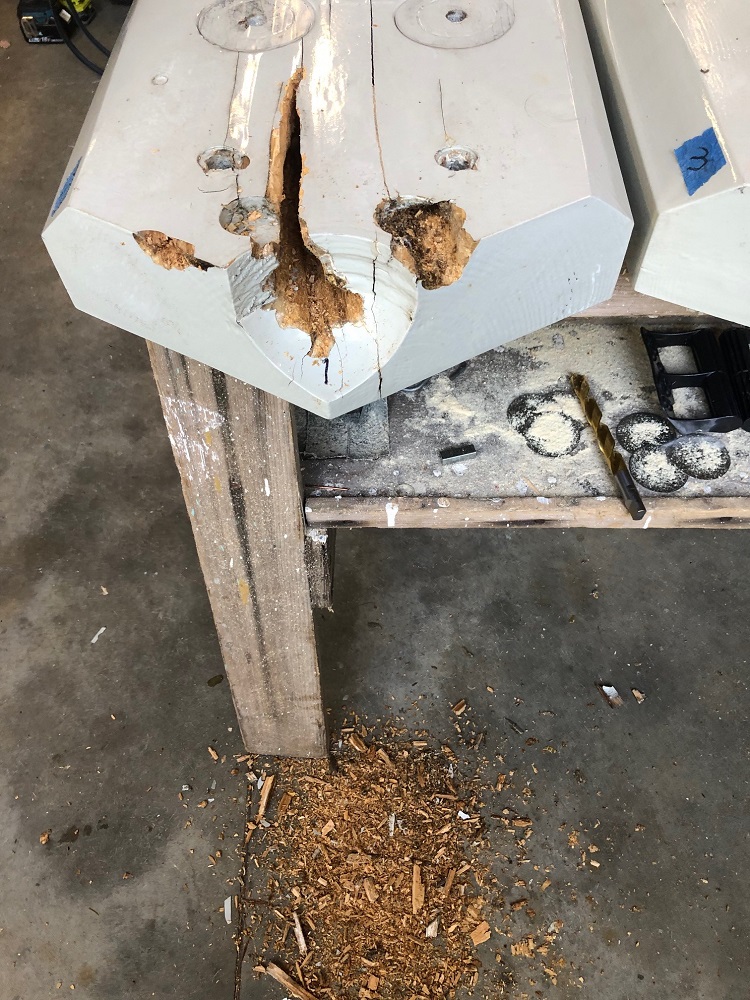
15635-3
It was like pulling at a thread on your sweater...
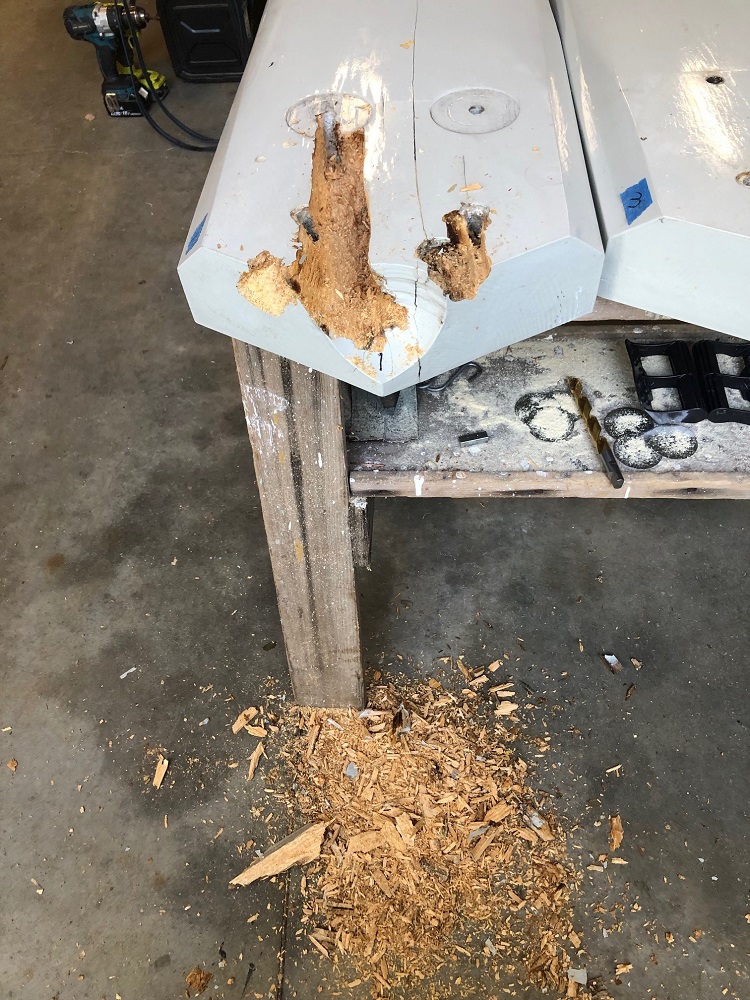
15636-4
Soon I had a bit of a project...
15637-5
15638-6

I'll come back to this one in a bit....

acme12

  • Newbie
  • *
  • Posts: 22
  • Country: si
Re: Wind Repairs - bearing and blades
« Reply #1 on: October 21, 2023, 04:22:39 PM »
Hi.
I guess the paint did more harm than good to the wood. It is difficult to prevent water from entering the wood through cracks, screw holes... The impermeable paint prevents drying out, so moisture remains in the wood. The combination of humidity and higher temperature creates ideal conditions for wood fungi.

Adriaan Kragten

  • Hero Member
  • *****
  • Posts: 1158
  • Country: nl
Re: Wind Repairs - bearing and blades
« Reply #2 on: October 22, 2023, 04:34:36 AM »
For good protection of wood you should start with two layers of epoxy paint of marine quality. But transparant epoxy isn't UV resistant and should therefore be covered with at least one layer of aluminium paint. The small aluminium particles in this paint prevent light coming through. I have used two layers of aluminium paint and blades with this protection last for at least ten years. If one uses paint which contains a solvent for the first layers, evaporation of this solvent creates very small holes in the paint and water can enter the wood through these holes. The used wood should be very dry and free from knots.

Finally the paint cover will wear at the airfoil nose because of rain and hail if the blade is spinning fast. One can use a brass or stainless steel cover but screws to connect this cover penetrate the paint and therefore at these points water may entre.

Holes must be drilled in the wood at the blade root to connect the blade to the root. Assume that M12 bolts are used. I have drilled 12.5 mm holes and covered the inside of the holes with epoxy. The holes are then reamed with a 12 mm drill. The bolts must be chosen that long that only the cylindrical part of the bolt makes contact with the wood.

MattM

  • Hero Member
  • *****
  • Posts: 1178
  • Country: us
Re: Wind Repairs - bearing and blades
« Reply #3 on: October 22, 2023, 11:16:51 AM »
I think his problem is the need to pre-treat the actual wood before painting. His water intrusion happened from water vapor.  He may be able to get linseed to soak in so the wood stays hydroponic.  Some people use hydraulic fluid as their weatherproofing due to its lightweight and low cost characteristics.  The idea is to fill the voids water would otherwise find its way into.

kitestrings

  • Hero Member
  • *****
  • Posts: 1376
Re: Wind Repairs - bearing and blades
« Reply #4 on: October 23, 2023, 11:25:21 AM »
Thanks for all the responses.  Painting wood is of course a challenge.  These, our original blades, were carved from single-member locally sawn, air-dried balsam fir.  The blades were painted with an epoxy primer and a PPG Concept top coat system (automotive).  The leading edges have UV resistant 3M blade tape (8674 IIRC).  I try to also keep them waxed to fill any surface voids, checks.  Compounding things was one of the wettest (serious flooding ibn the region in July), most humid summers I can recall. 

The roots are sandwiched between the upwind side of the magnet rotor and the blade plates.  Water can run off the upper position blade(s) and pretty much sit there.  Aside from elevated humidity, the entry point on this blade appears to be where I had drilled the root end(s) for a paint rack, and then filled those spots with silicone.  This must have been the “down” blade over the summer and that silicone seal was good, or enough.  This all said they have worked well since ~2012.
15646-0

I did my best to get them back where we can at least get through the winter.  I’m not at all convinced the damage won’t continue, so a future set of blades seems inevitable.
15647-1

15648-2

15649-3

15650-4

kitestrings

  • Hero Member
  • *****
  • Posts: 1376
Re: Wind Repairs - bearing and blades
« Reply #5 on: October 23, 2023, 11:28:53 AM »
Oops, I grabbed a couple of the wrong pics.  These are the latest:
15651-0

15652-1

SparWeb

  • Global Moderator
  • Super Hero Member Plus
  • *****
  • Posts: 5452
  • Country: ca
    • Wind Turbine Project Field Notes
Re: Wind Repairs - bearing and blades
« Reply #6 on: October 24, 2023, 01:25:28 PM »
My first thought was insects.  It also reminds me of the rot I took out of my grandmother's cottage (in the Laurentian mountains) door and window frames.  They looked 90% fine with just a few finger holes.  But underneath the paint, in places the wood was simply gone, and other places soft as a sponge.

I've chosen stains over paints for my blades.  I did it for looks, though.

We live in completely different climates so no comparison of our weather protection is fair.
No one believes the theory except the one who developed it. Everyone believes the experiment except the one who ran it.
System spec: 135w BP multicrystalline panels, Xantrex C40, DIY 10ft (3m) diameter wind turbine, Tri-Star TS60, 800AH x 24V AGM Battery, Xantrex SW4024
www.sparweb.ca