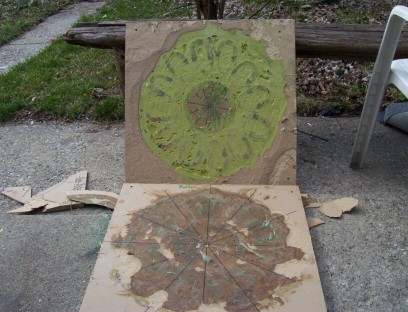
below is the 20" stator with the fiberglass in the mold..
 <BR<p>
picture above...i used 3 quarts of fiberglass resin, 1 container of baby powder and 4 ounces of water based paint(for color)...i also used 1 piece of fiberglass resin on either side of the mold...once the fiberglass resin is mixed with the hardener i poured the resin all over the coils and placed the top sheet of fiberglass on the mixture..i let this particular mold sit for about 3 days as i wanted it to set slowly to avoid any cracking...as shown i use rubber gloves and a cheap paint brush to do this job as it is very messy and will ruin any clothing you have on if you arent carefull..it also stinks real bad, so dont do this in the house or you will be in troble from your significant other...
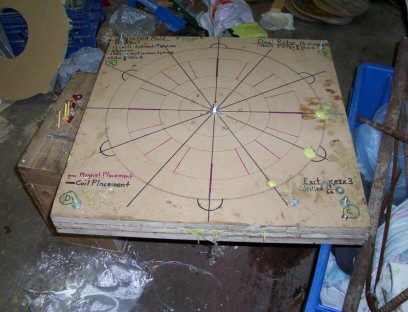
the picture below is the mold closed with the resin and all the coils in there hardening...its hard to see in the photo but i have the 3 exit wires coming out of those 3 spots with the green on it in the photo...i should mention that i wired this stator 3 phase star configuration...what that means is i soldered 3 sets of 4 coils together by taking the finish wire of coil 1 and soldered it to the start wire of coil 2, i then took the finish wire of coil 2, and soldered it to the start wire of coil 3..i soldered the finish wire of coil 3 to the start wire of coil 4...the finish wire of coil 4 in each phase is the exit wire which sticks out of the stator and is ultimately wired down the pole to the bridge rectifiers...if anyone has trouble understanding what i have done, i will post it later in detail with a drawing...to conclude this, all i did was solder all 3 start wires together, and i had all 3 finish wires exit the mold..one more thing, as stated above, i like to use recycled material and the wood for this mold and enough wood for maybe 4 more was bought at the local lumber yard for $3 total...it had a chip or 2 taken out of the corner so they put this kind of thing to the side with other broken material and they sell it cheap..its worth the money to look around or ask if they have any damaged wood around..the mold was made of 3/4" thick material and the center where the stator was held was 5/8" thick material...the coils were about 1/2" to 9/16" in thickness to ensure they would fit into the 5/8 thick center piece..

pictured below is the finished stator as it came out of the mold...other than a few bubbles it came out nicely..if anything, i hadnt put enough grease on the mold when i put the coils in and i had a bit of a time getting the stator to release from the mold..i later added a bit more fiberglass resin to the minor flaws to smooth the stator out....i should have mentioned previously that the stator is 5/8 of an inch thick when finished..this will ensure we get as much power from the dual rotor as possible by minimizing the air gap between magnets and the coils in the stator..one thing to mention here is that i like to attach my stator in more than 3 places so far as it makes it easier to adjust the air gap with more points of origin. I also do this for another reason is i like to keep the threaded rods or bolts that hold the stator on to be as far away from the path of the magnets as possible..i have noticed the machine has a tendancy to cog or attract to the bolts as the magnets pass closely by the bolts....one more point is to use stainless steel bolts or threaded rod as the magnets wont attract to it like basic steel would..

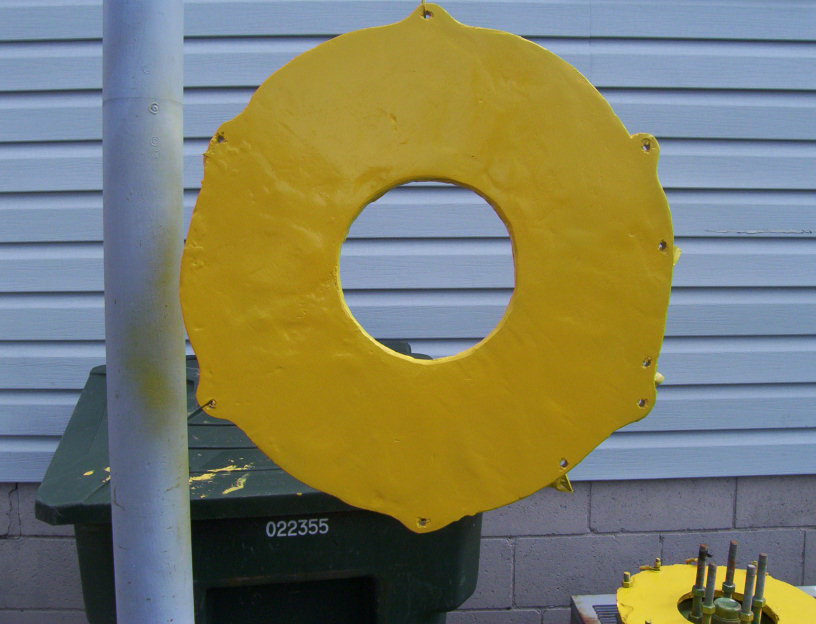
below is the finished stator with all the holes for the bracket drilled into it, and it has been primered and painted with spray paint...i usually paint my turbines green and yellow, so they blend in with the surroundings better, but this time i like the way dans machine looks in red and yellow, so thats what i am going to do....tomorrow i will post about the rotors i used for this machine....hope this helped some folks...pickster
