Greetings all:
More info on my 'PASSINGWIND 200X' Downwind DC turbine:
But before I start:
I only have 3 things to say breifly about safety here especially for beginners:
- Always PLEASE wear your safety glasses! I snapped a 3/8" drill bit during this project that shot accross the room like a bullet. I WAS wearing my glasses. Do not lose one of your PRICELESS eyes before you can truely appreciate this warning that we all keep hearing time and time again.
- Always view a flooded lead-acid battery as a gasoline filled bomb waiting to explode in your face with just one tiny spark. Always make a copper bus bar FIRST and hook up live wires on that NOT the battery terminals. My father's friend has permanent marks on his face and is legally blind because he failed to appreciate this fact!
- Stay a good distance away from a wind turbine when it is spinning! It could actually kill you if it hit you on the head or neck.
Ok. Back to fun stuff. The following pictures of this unorthodox down-wind turbine might give you some ideas. However, an upwind turbine with proper furling is still the better, safer, longer lasting, more controlled choice I think ,for beginners.
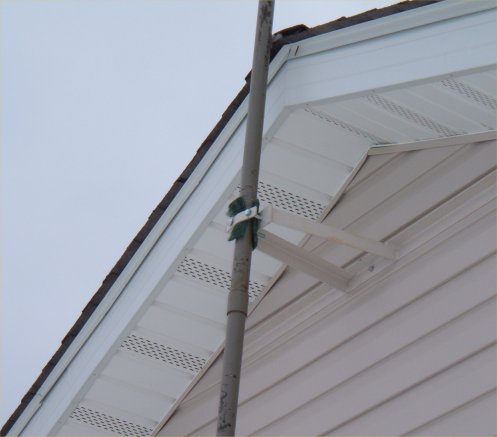
This is the support bracket i welded up from angle steel. I am going to get an old automotive rubber radiator hose ,cut it up in pieces, and add it to the support bracket instead of the scuffing pad. The overall vibration here is really not too bad.
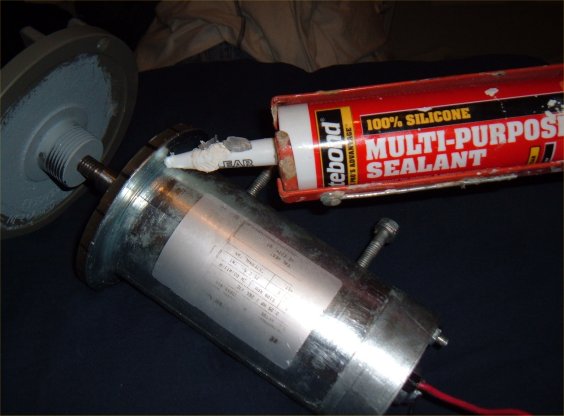
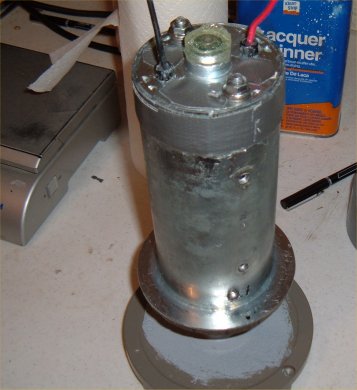
The following is how I water proofed the motor using general purpose 5-min. expoxy.
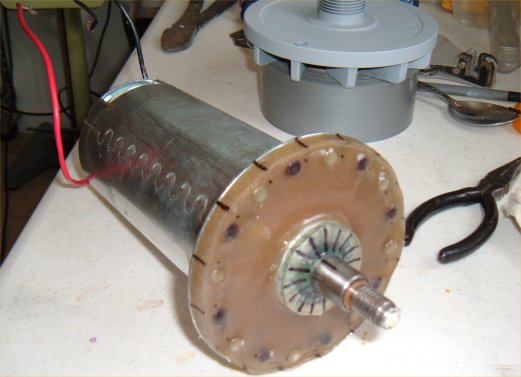
Also you will see how I made a 'MAGNETIC COG REDUCER' mechanism on the front of this treadmill motor to help reduce the cogging effects typical with all permanent magnet dc motors of this type.
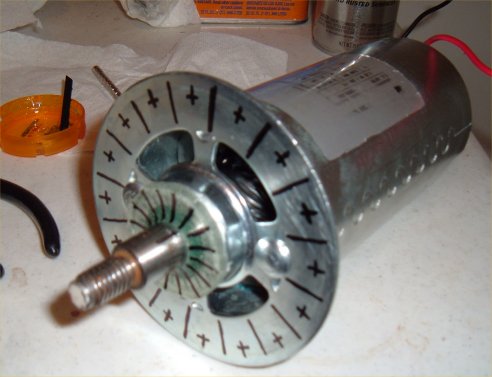
There are 16 fairly light cogs to this motor per revolution. What I did was mark these as 'cog lines' and then put small super-magnets inbetween the cog lines. Later, 16 normal wood screws are exactly placed on the back of the wood rotor which 'pulls' each of the 16 screw heads toward each of the 16 magnets. What this suppose to do is make 32 smaller, lighter (easier to turn) cogs, instead of 16 harder to turn cogs. This mechanism definitly did help and was easy to do.
Also here you can see how I sealed the front (and back) bearings by pouring 5 minute epoxy (never fiberglass resin- it is too thin and long setting) straight over the bearing with duct tape around it. The epoxy is very thick and it sets in only a few minutes. Always carefully put GREASE on the 'crease' of the bearing and the shaft. This procedure has always worked for me without ruining a bearing.
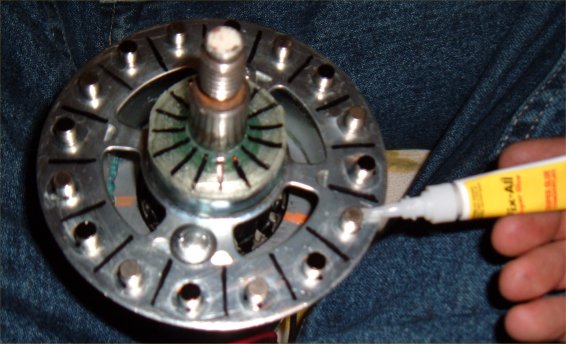
Here I super-glued the 16 tiny magnets down.
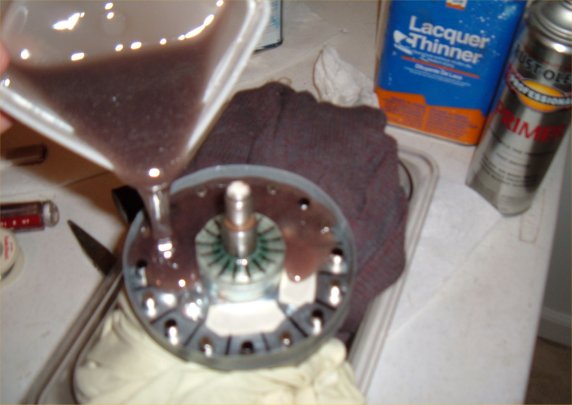
This is how i sealed the front (and back) of the motor, by putting duct tape over the holes and around the outer diameter and poured fiberglass resin. Actually, 20 minute epoxy would have worked too. It is much quicker. (spread the thick epoxy around with a disposable glue brush.)
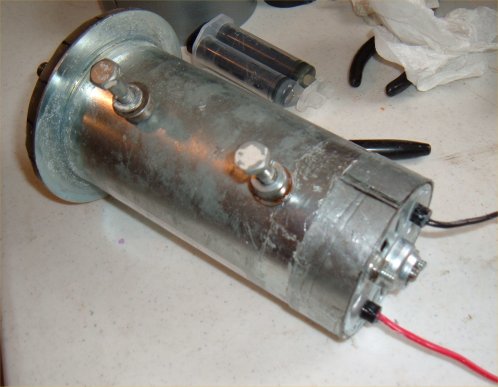
This is where I epoxied thin sheet metal around the back to cover over two big holes. I used plenty of duct tape to hold it in place. 20 min expoxy is best for this -especially in the hot summer months.
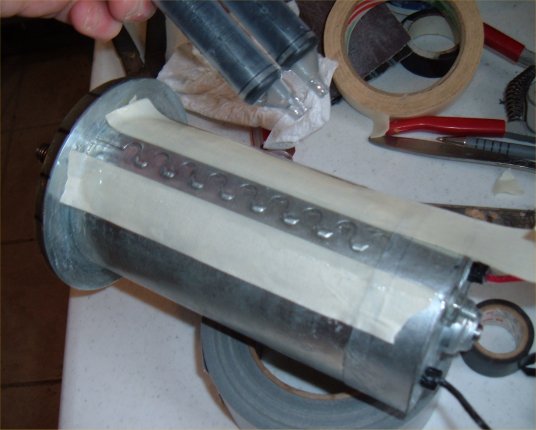
Here I just smeared the epoxy with my fingers over these lines.
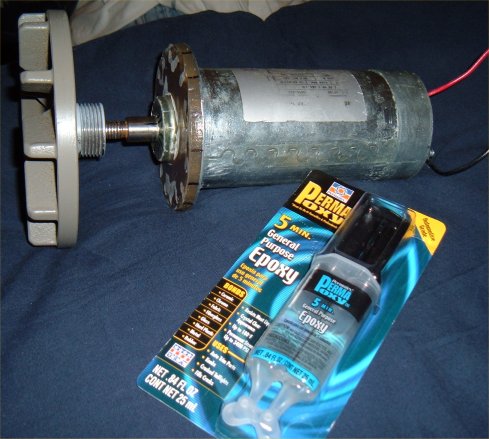
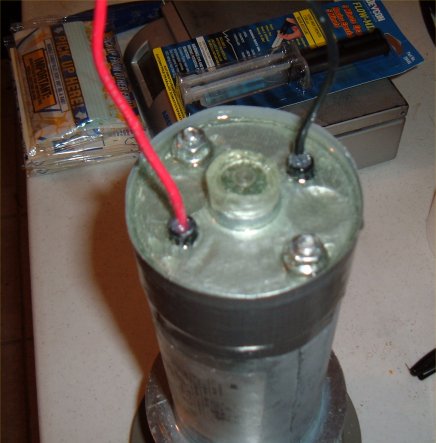
Do not epoxy over the 2 nuts here because you will want to take the motor apart again to replace brushes. Instead, put 2 normal washers down first. Then the epoxy will not go over the nuts.
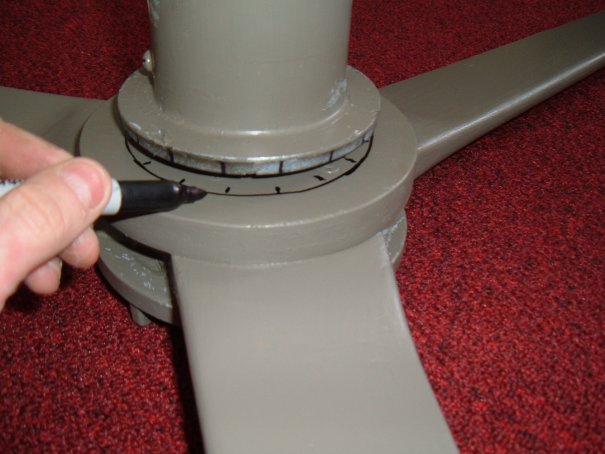
Now a few photos of how I made the magnetic cog reducer. Very simple really.
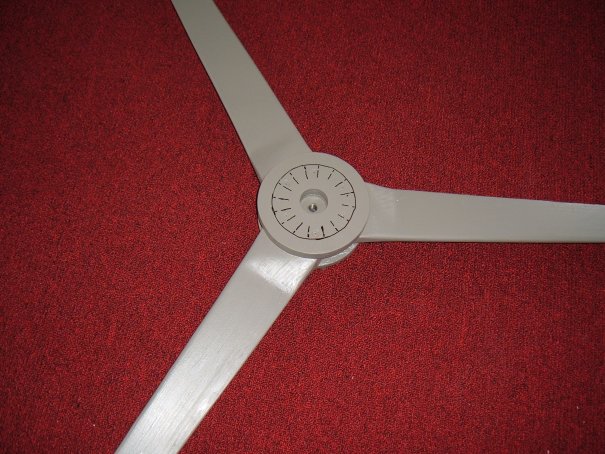
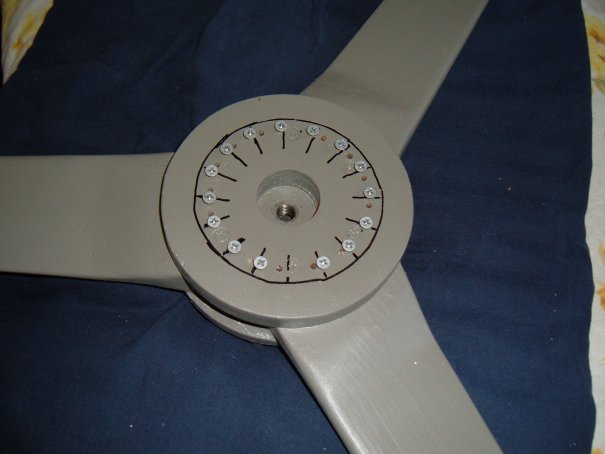
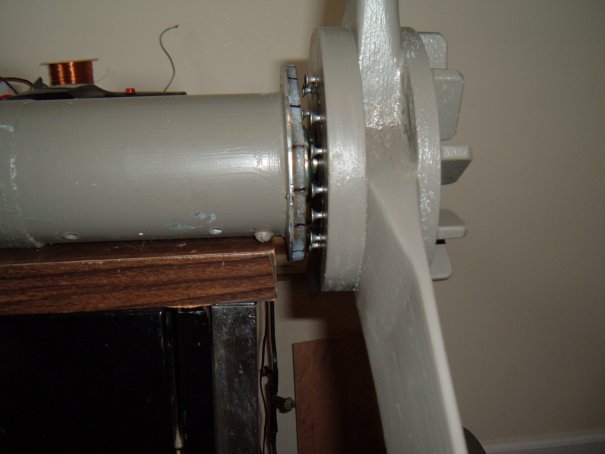
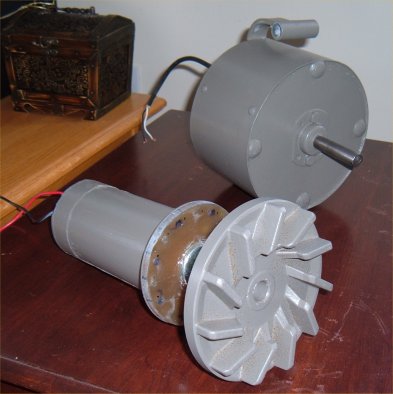
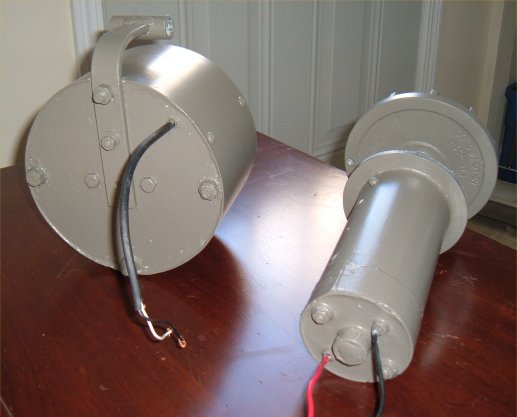
Here is both generators compleate and painted. The other one is more of a 'breeze alternator' (only 35 watts) I'll put it up in the summer.
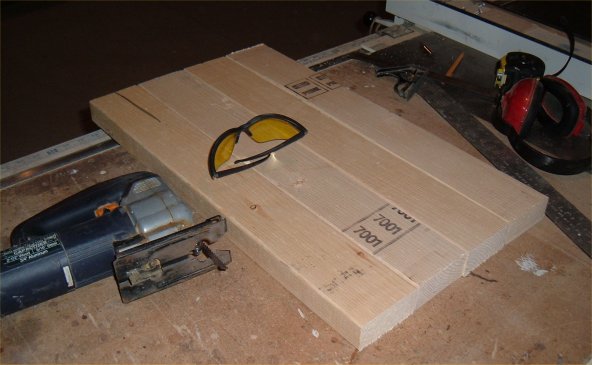
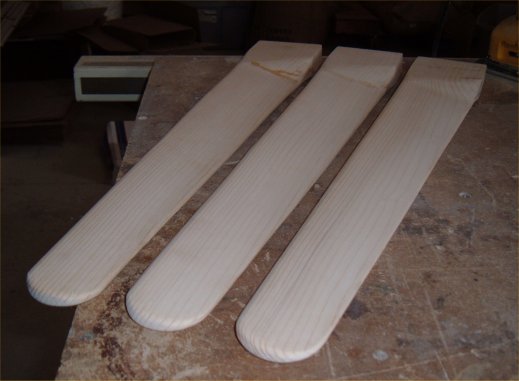
The following are how i made my very first set of blades. I used a typical $2 2x4 stud. These are 2 feet long each.
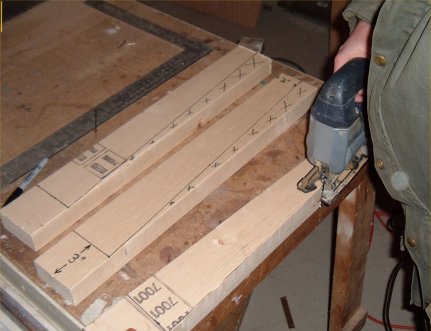
These blades are really quite easy to make. I only used very basic tools. A jigsaw, hammer and 1" wood chisel, and a manual hand saw and a finish sander. I never needed to use a table saw or anything else.
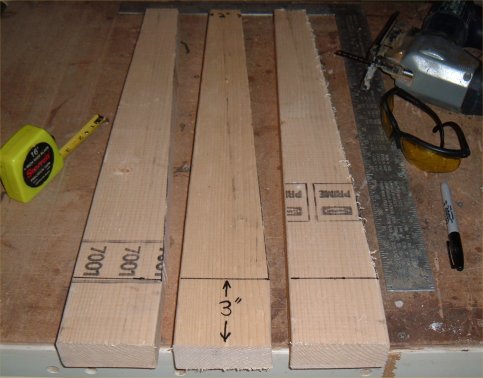
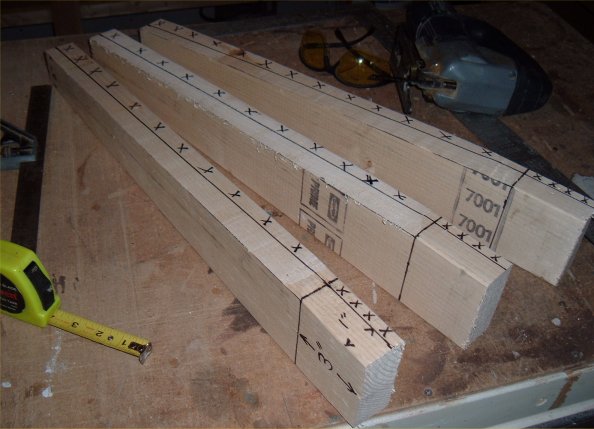
Very simple. I followed DAN B's simple 'BLADE PAGE' (sorry, I don't yet know how to insert link)
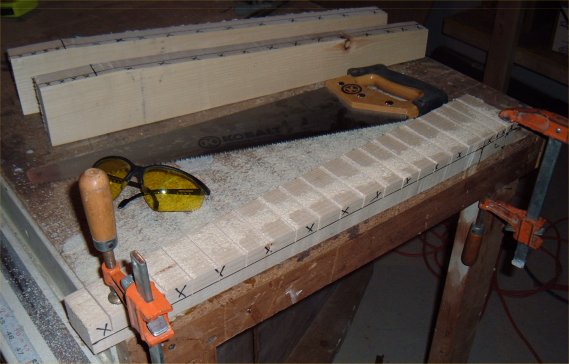
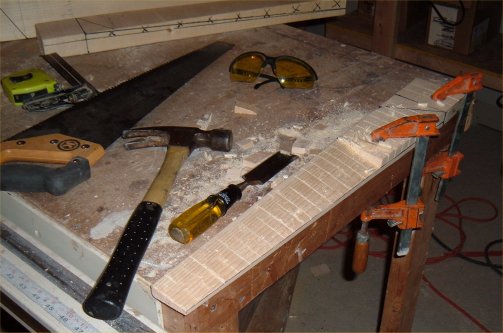
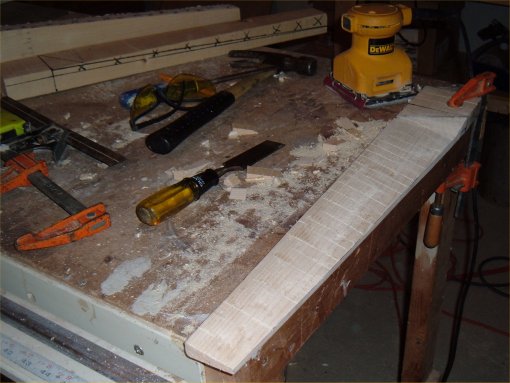
The angle at the root is 10 degrees down to about 7 degrees at the tip. Actually, after testing this turbine for a while it is overwelmingly clear to me that 4 blades would have been better (easier start up in 10mph wind) , and 12 degrees at the root down to about 10 degrees at the tip.
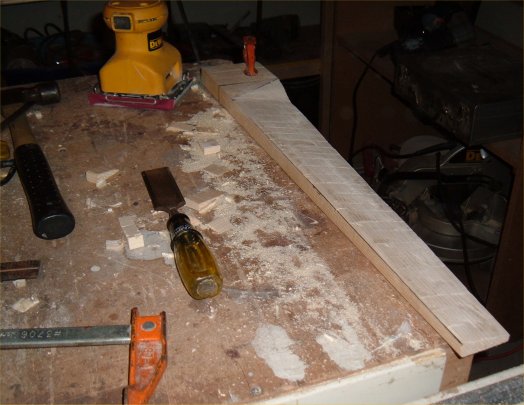
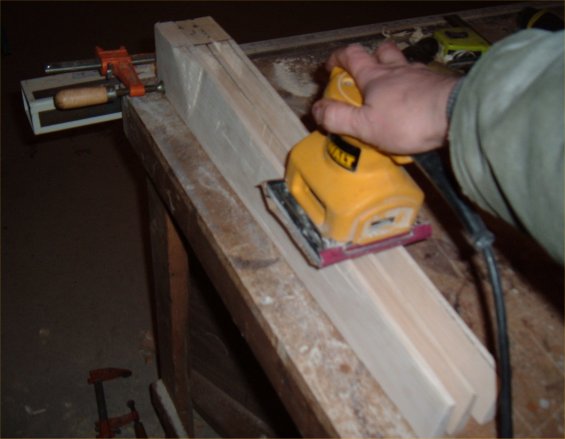
It is very important that the width be the same on all blades. This is how I accomplish this.
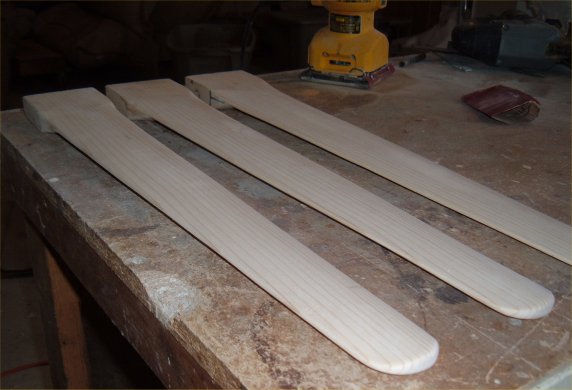
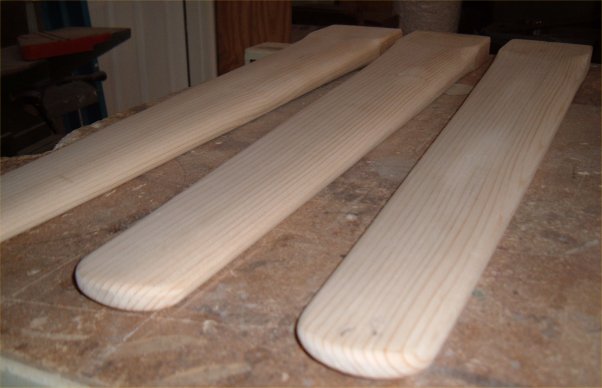
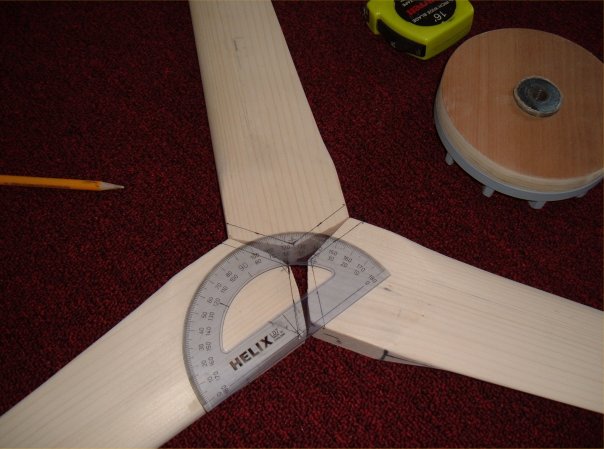
I had alittle problem with this. DAN B made it sound so easy. I cut the wrong angle with my miter saw here. It took 3/4" off the overall diameter of the rotor blades. I seriously must stink at geometry cause I'm still not certain. I marked the 120 degree lines with a marker and then jig sawed the damn thing out before the blades were ruined!
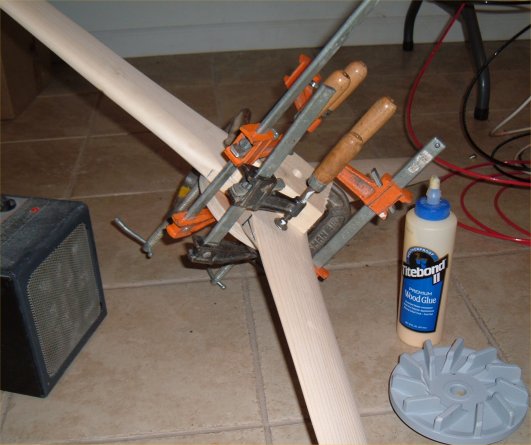
Here I glued it all up with WATERPROOF wood glue. I used 3/4" plywood (6"diam.)
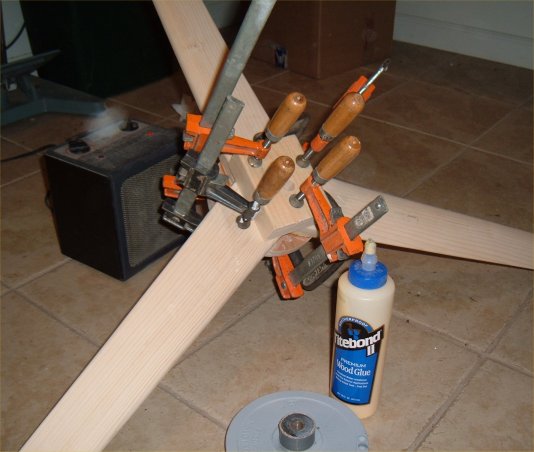
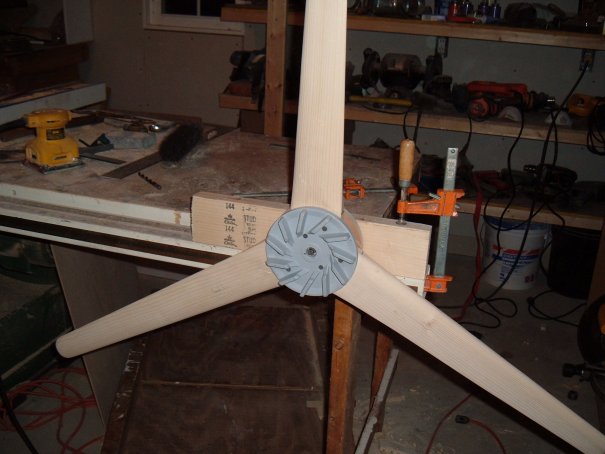
I then screwed the fan spinal to the blades.
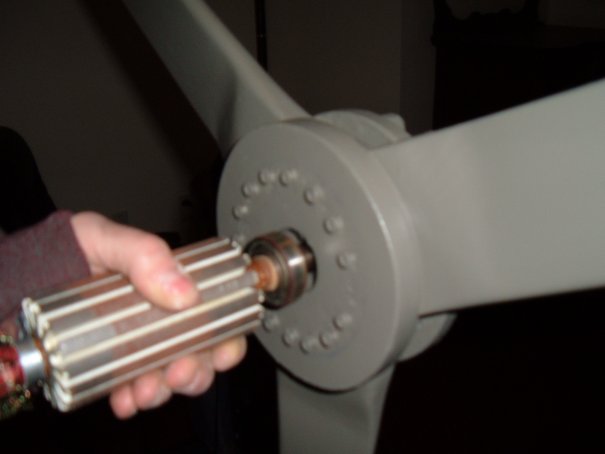
This is the easiest way to balance these blades. I forgot to mention when making each blade, a postal scale is nice to weigh each blade as you do each proceedure to keep them as close as possible. To do a final balancing, use the armature from the motor away from the big ceramic magnets! Hold on to the two ball bearings with your fingers and you will easily see which blades you need to screw some washers to. I like to superglue them down and the screw. Try to keep these washer weight up near the root of the rotor. It is safer.
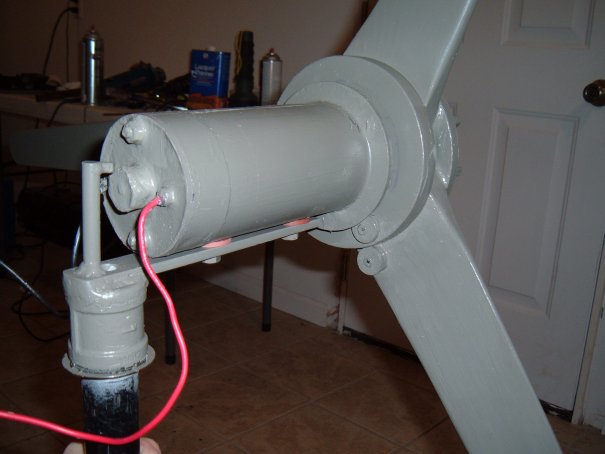
Here it is finished and balanced.
I thought I would state how much power I used recently to give beginners an idea of how much electricity they might expect from this treadmill motor/generator. During a very windy day (20-30mph), I had plenty of efficiency lighting (about 12 hours running a 13watt efficiency bulb/ equivalent to a 60 watt light bulb) -including my power inverter this equals about 18-20 watts for 12 hours straight.
Also I ran my 130 watt TElevision (27 inch) for a total of 4 hours that day. I forgot to mention that I use 2 'cheap' marine batteries for my bank.
On a 12-20 mph wind day I get about 2 hours of TV and 4 hours of efficiency lighting. In the near future I plan on buying a 65 watt efficiency Television and then I can watch twice that much TV from the wind!
I also run an efficiency fan that I made using this exact same treadmill motor at all times. (24 hours a day/ It is only 3-5 watts!!) I will show that amazing fan project tommorrow in the mechanical section. So watch for it! \\