Please bear with me, this is my first time trying to post such and I'm unsure of the details on how to do it.
No, not commercial, just diabetic. Throwing coils by hand leaves deep grooves in my fingers and any cuts or scrapes take weeks to heal. So this machine was self-preservation. As to materials, most of this project is from my scrap bin. The metal is mostly aluminum, since I can cut it (carefully!) with carbide blades. The base is two shelves flipped one on top of the other, most of the rest is old shelving and such cut to fit, drilled and tapped, and filed smooth. Several parts of this thing went through more than one iteration to work right, all told I have about a months worth of labor and design involved.
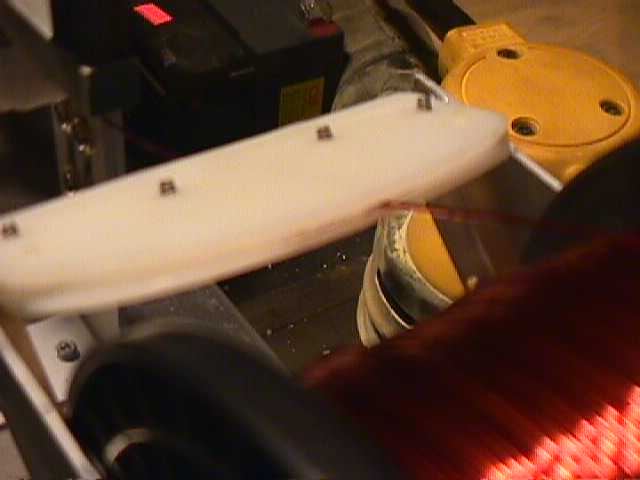
The wire guide has a slit to accept wire from the reel. Inside are two parts that form a Y to guide the wire to the center. All parts that touch the wire are made from Acetron-GP (zero molecular porosity Delrin) This doesn't mar the wire and nothing sticks to it - shellac or glue just pop off.
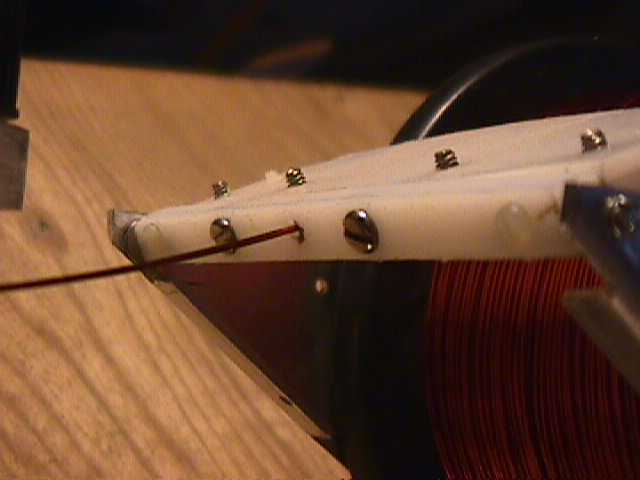
The output of the wire guide has a small hole that centers the wire for the next section.
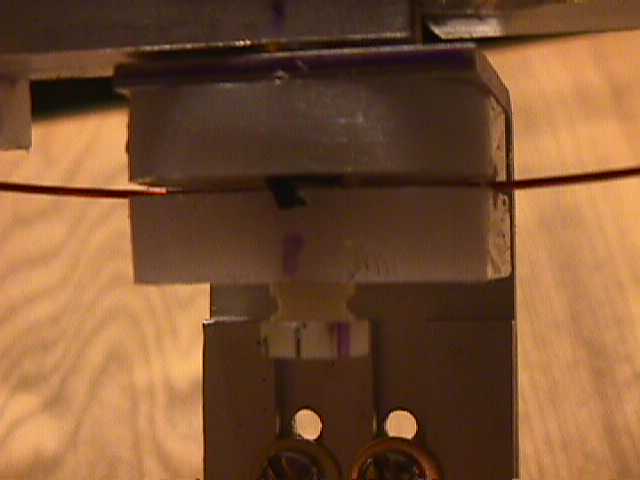
The tensioner is just two pieces of Acetron with a small hinge at the back and a spring loaded thumb screw at the front. Down the center of the two parts is a small vee groove to guide the wire to center, and both ends are beveled to help with alignment. My calibration was very scientific. I tightened the thumbscrew until each gauge of wire wound nicely, then checked the tension with a fish scale and made a hash mark on the thumbscrew so I could repeat the setting. I tried spool drag, but the wire tends to slip between turns and make for uneven tension when it pops out. So now my spring loaded spool drag just keeps the spool steady when I'm setting up for a new coil.
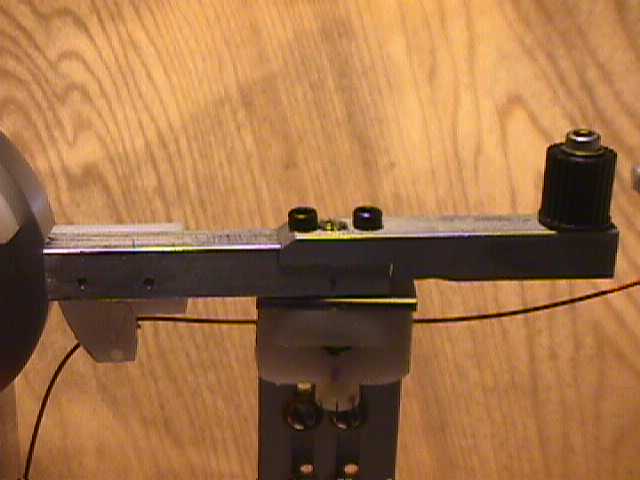
The guide bar pivots in the middle, the black knob allows for gentle side to side pressure to lay the wire in place on the jig, and the Acetron block controls where the wire is placed. I looked at several methods, but since I use this to wind transformer bobbins as well the mechanics of feed rate become complex when ranging from 22 ga to 8 ga round and square wire. Just the thickness of the enamel insulation variance is enough to cause trouble. This method works for anything less than commercial production.
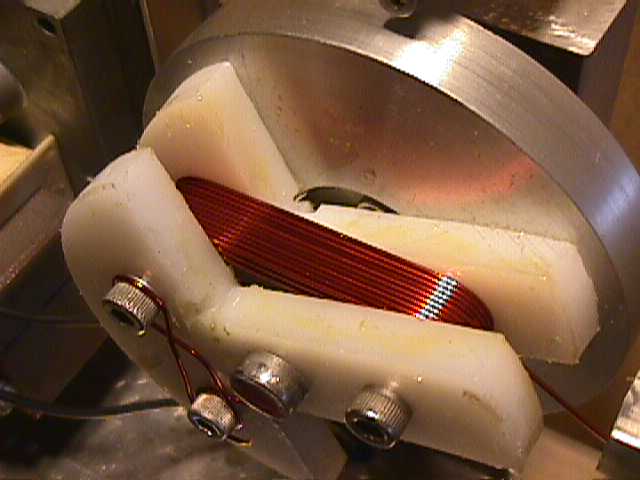
The wire spools nicely onto the jig. So far I have four jigs made for different sizes and shapes of coils, they all bolt onto the same back plate with different bolt patterns.
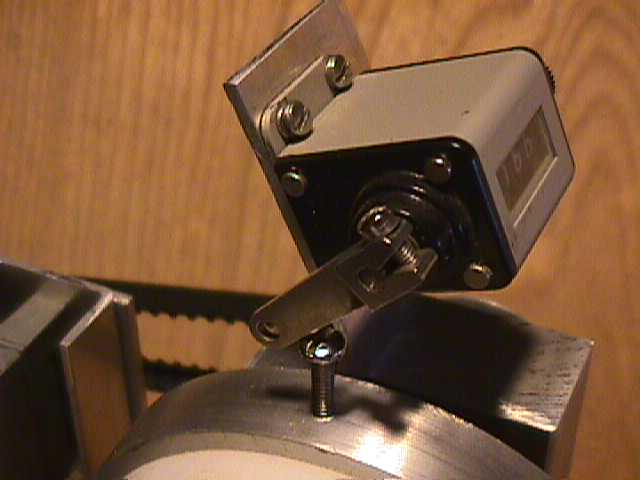
I used a mechanical counter triggered once a turn to count revolutions. This allows me to take a break for coffee and not lose my count.
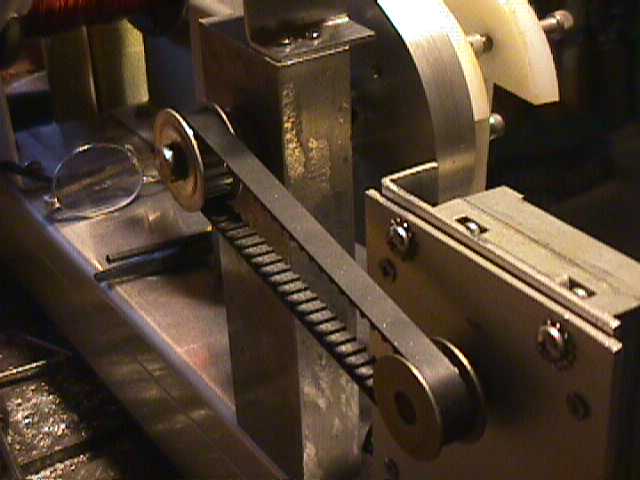
The motor is a custom ECM gearhead motor left over from a previous project. I have hundreds of these left over so was proud to find a use for one. The timing gears are from SDP-SI and reasonably priced. The XL belt and gears series is the smallest I have found that will take the strain of winding larger wire.
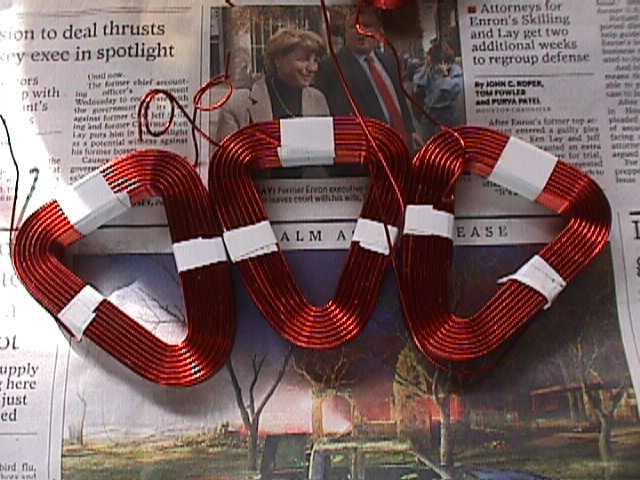
The coils now start and end in the same place, and fit as they should. It also has raised my voltage out by about 10 percent at the same speed. All in all, I'm happy with the results. For me, the process is as much fun as the product.