If you're on a pension and you like to tinker as I do, you might enjoy this story. The first thing I did was to set the goal: Make the cheapest windmill I could.
I used some PVC pipe, a can of diced tomatoes, a can of bondo, sixteen neodynam magnets, some glue, some magnet wire, a couple of half inch bearings from UFA and three pullies.
Right up front I want to say that this is not a powerful windmill that will power your house. It's just a good place to begin if you want to get into alternative energy.
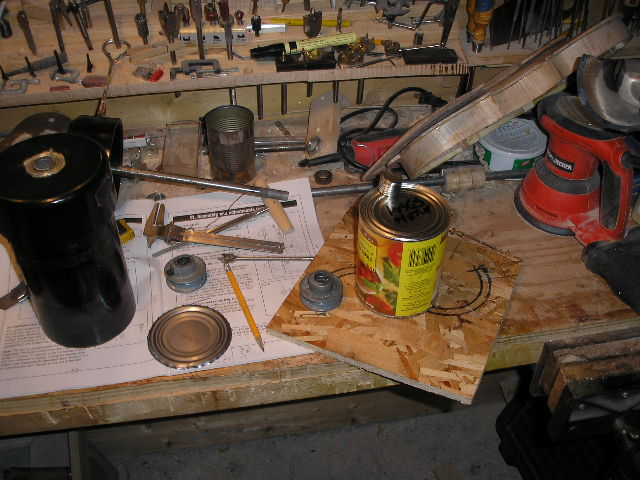
Above you can see the tomato can which by sheer luck I discovered was precicely the size needed to fit inside the capped 4 inch PVC pipe to the left. I have installed the bearings in the center of the caps. Some of the magnets used are on the tomato can.
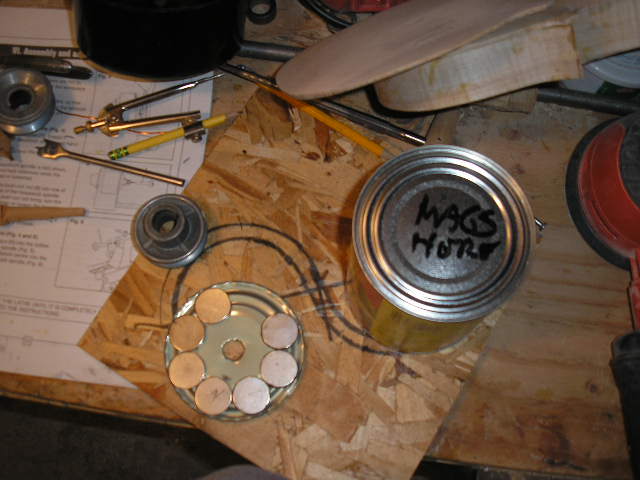
Above you can see the magnets are being positioned on the tomato can lid. Later they will be glued in place with silcone. The magnet orientation is NSNSNSNS on each lid
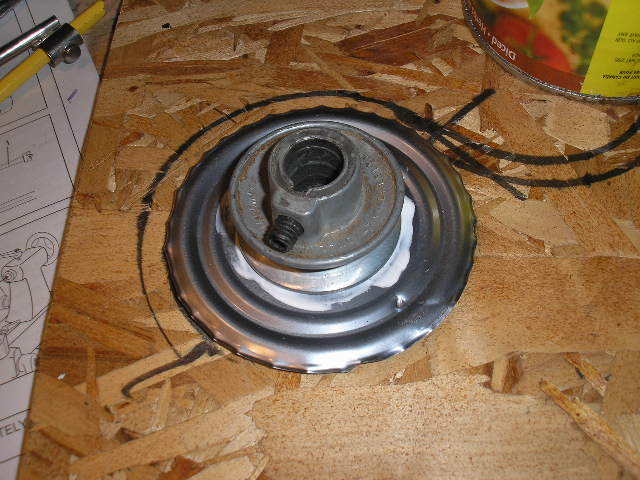
Above a small pulley is glued into place on the other side of the lid.
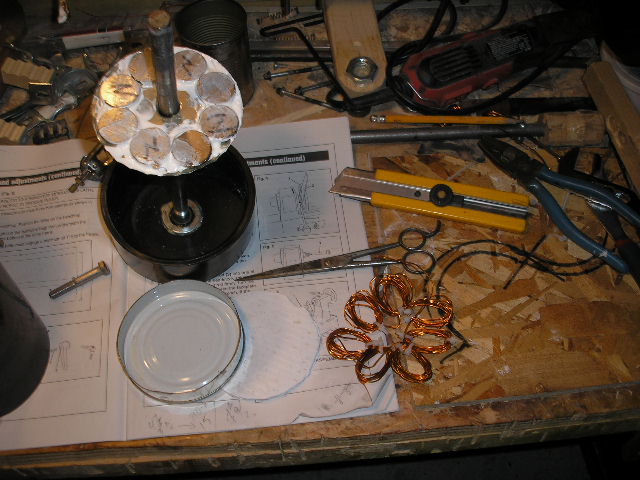
In this picture you can see the cound coils for the stater. We`ll use the bottom half inch of the tomato can for this. Also seen are the magnets glued to the can lid and placed onto the windmill`s propeller shaft.
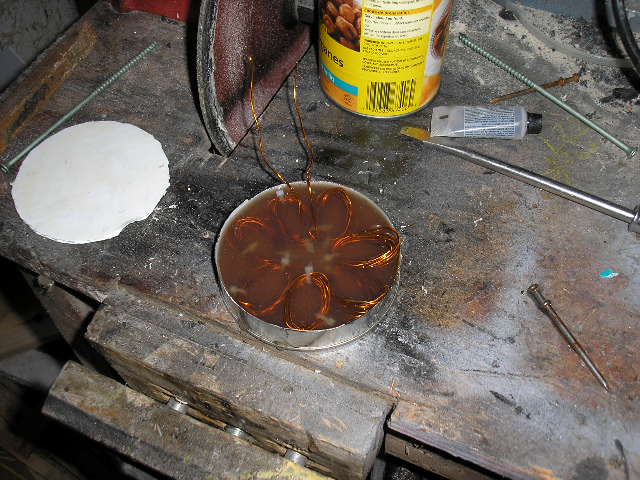
Above is the begining pour of the stater components in the bottom bit of the tomato can.
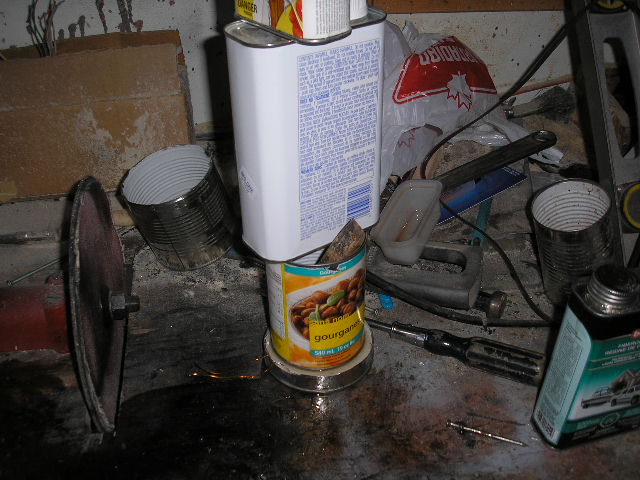
Above is the squeezing down of the stator and its coil while the bondo sets. After that the center of the stater gets drilled out and it is placed on the propeller shaft
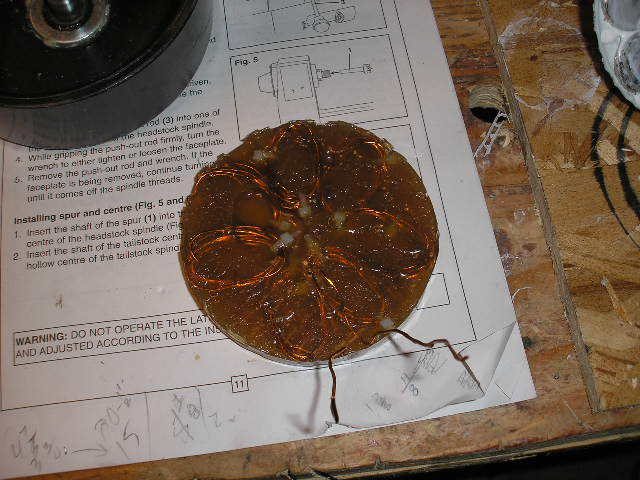
Here`s the stator. A bit of sanding and center hole and it`s ready.
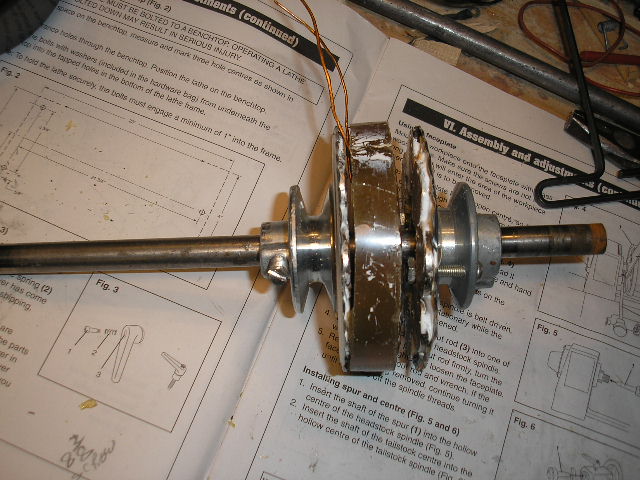
Above is the stator positioned between the two can lids with magnets attached.
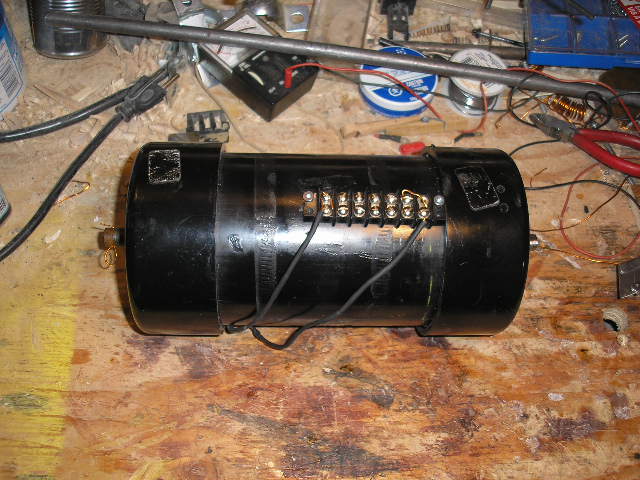
The finished nacel ready to have the prop attached and to be mounted on the windmill base.
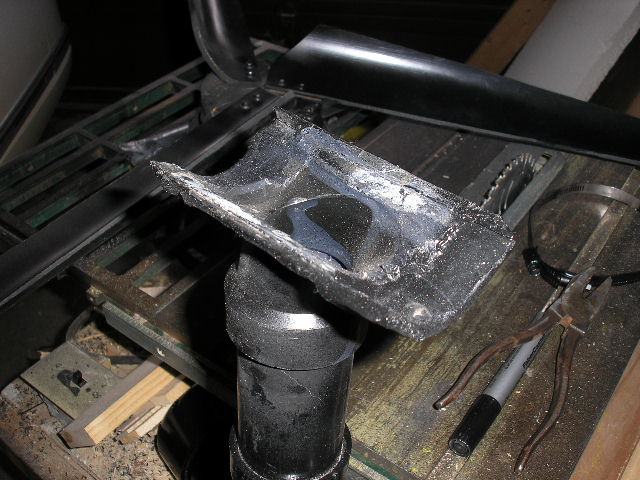
Here is the mount for the nacel. It was a pvc joint but I cut it in half, heated it and bent out the sides to fit the larger piece of pipe. Then is gets glued into place with PVC pipe glue and then two hose clamps are added to make sure it`s solid.
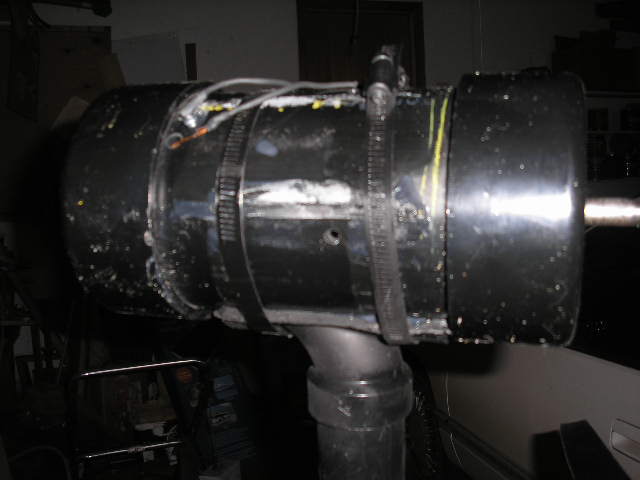
Here you can see the hose clamps, the leads etc.
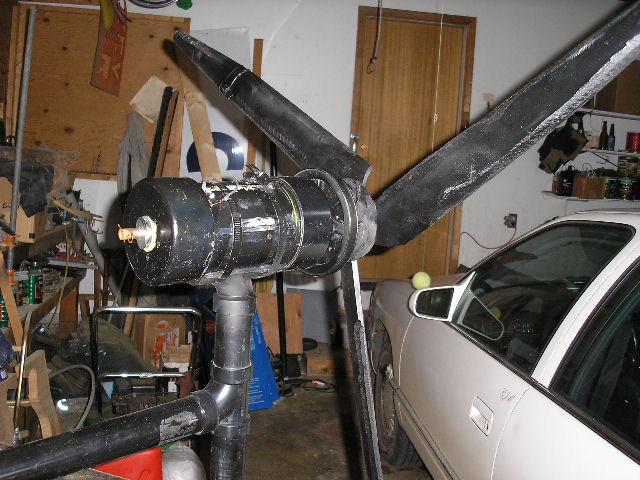
Above the prop is installed and the windmill is ready to raise up the pole. The pole is also PVC that is one size larger than the windmill PVC so that the windmill pipe will fit inside the pole.
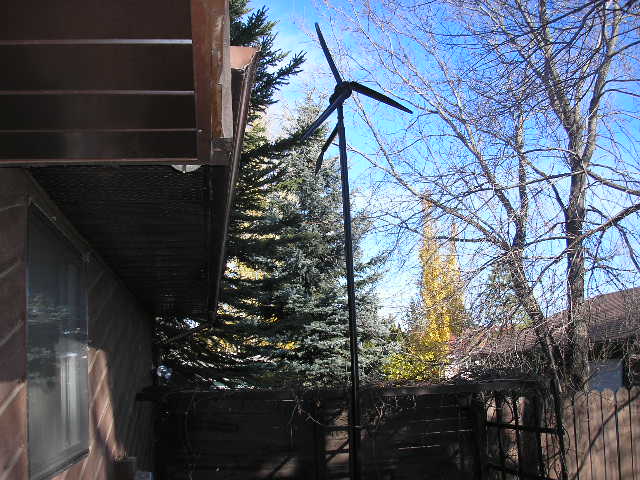
Here is the mill up the pole waiting for a gust of wind. I haven`t tested the output yet, but I don`t expect too much considering the size of the stator and magnet brackets. But a lot of power is not my goal here. I just wanted to see how cheaply I could get one running here in the burbs. About sixty bucks is what I spent.
However, if one was to extend the nacel to three feet, a person could put several of the can lids and stators in the pipe and perhaps produce a repectable output. All in all, I had some enjoyment and I like that.