My 12 year old washing machine finally fell apart, and I
splashed out on a new one. While stripping the old one
for useful bits, I caught sight of the old motor.
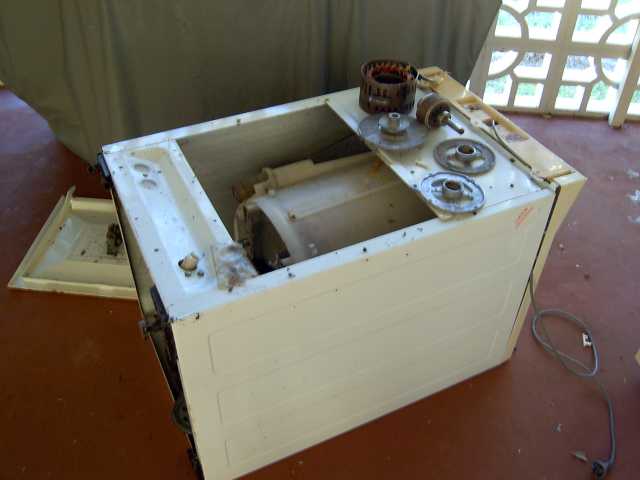
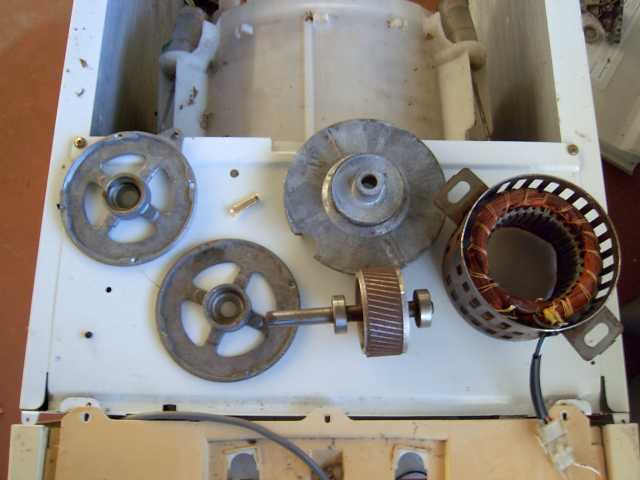
A quick check showed it was an induction motor. I'm in
Australia, so our stuff is 240VAC 50Hz. Although it had
no spec plate or even a model number, I estimate it was
about a 1/2hp to 1hp (~375W to 750W)? Seems to have a
4-pole 2-phase type of arrangement. It had a capacitor for
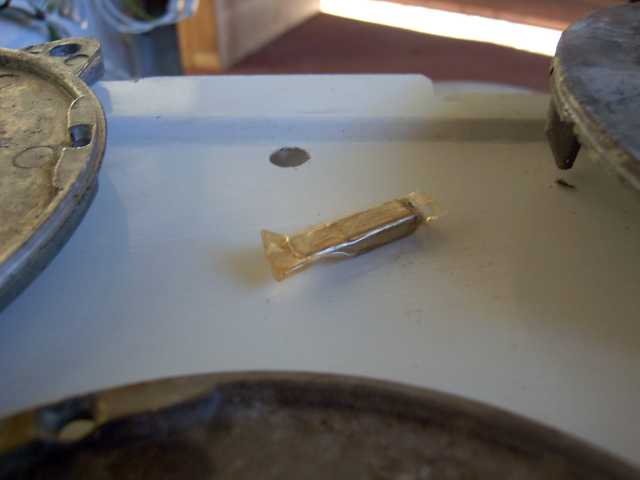
start/run on the second phase and a thermal fuse imbedded
in the windings. I bypassed the fuse to stop it doing anything
silly. This is a close up of the fuse.
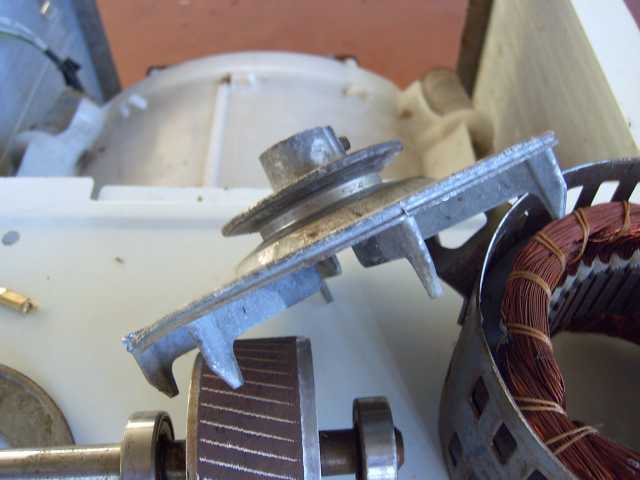
The belt pulley was made of aluminium, and I will turn that
down in the lathe to become part of the blade hub later.
The rotor was about 80mm in diameter, and about 30mm
deep. I thought about buying some long narrow bar magnets
and skewing them slightly. But I remembered I had a pack
of 100 13mm x 5mm disk magnets. Although they are small
and fiddly, I got them for about AU$15 and stacking them
should improve the flux output.
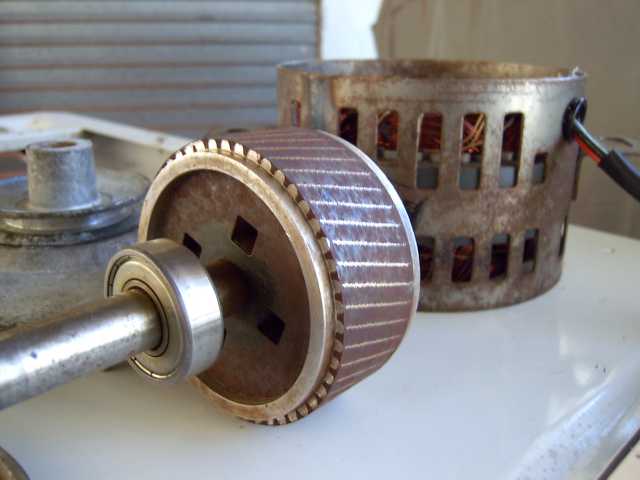
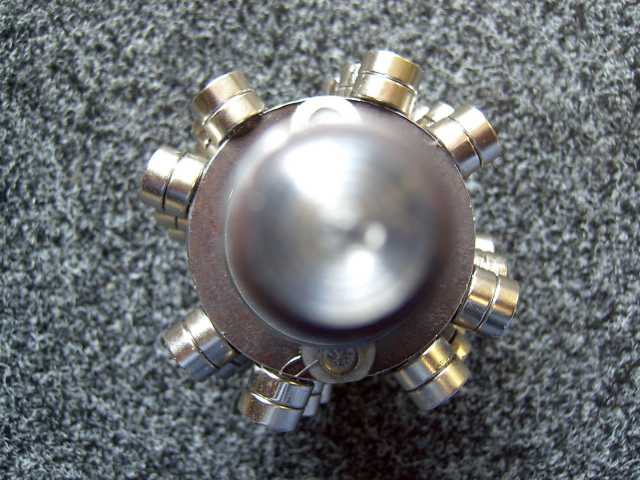
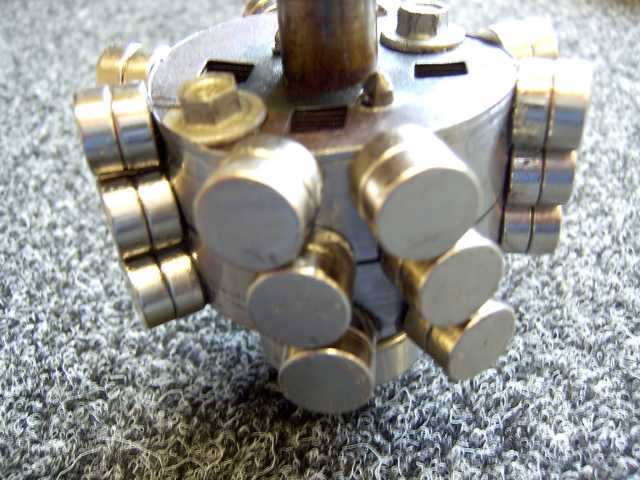
This is what the rotor looked like after being machined down
and with the magnets stacked in a 3x2 configuration. I seem
to allow more space between poles than a lot of other conversion
people do, perhaps I'm fussy about cancellation in the waveform.
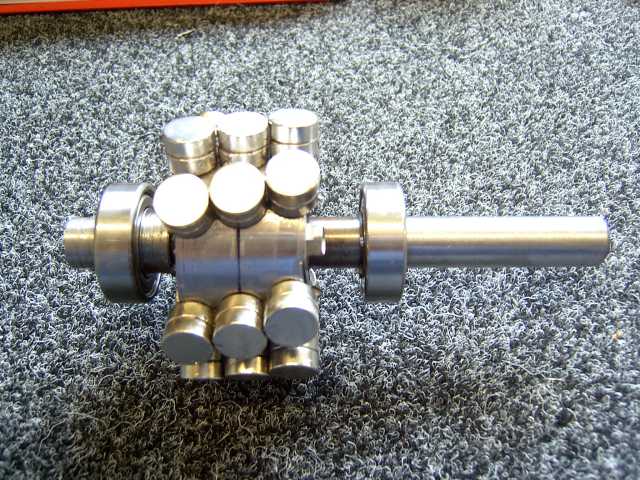
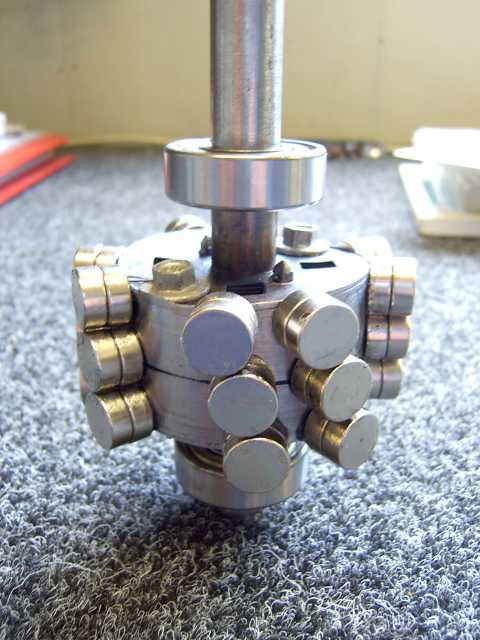
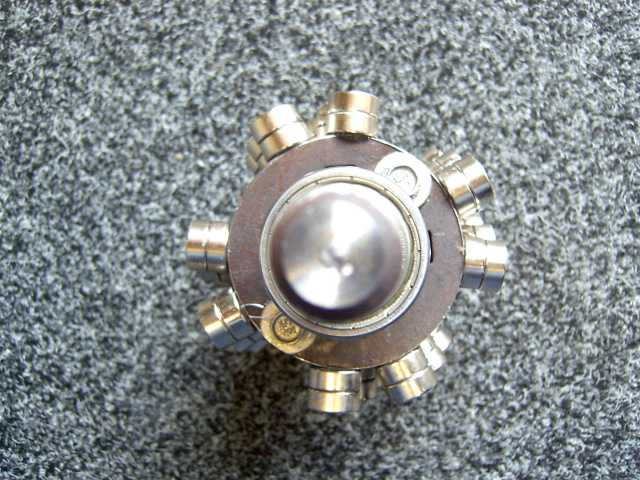
Here is a series of pics, where you can also see how I used the
roof screws again to stop the laminates from falling apart. Also
the magnets over hang the rotor a bit. I could have made a fresh
rotor but - bah, this is more of a toy for me 
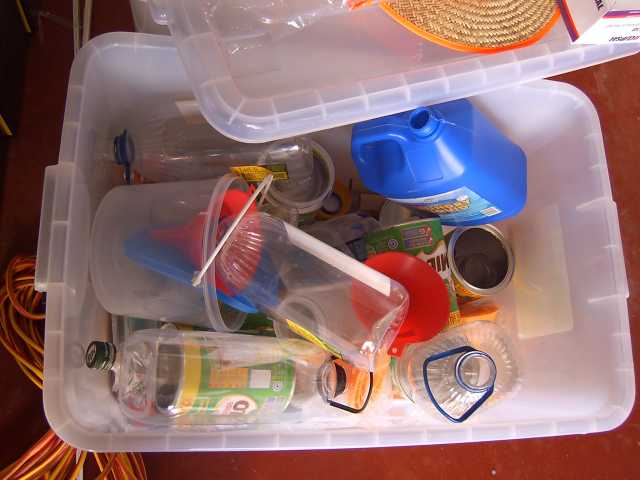
I keep all my old plastic, metal & glass containers these days.
They come in handy for so many things.
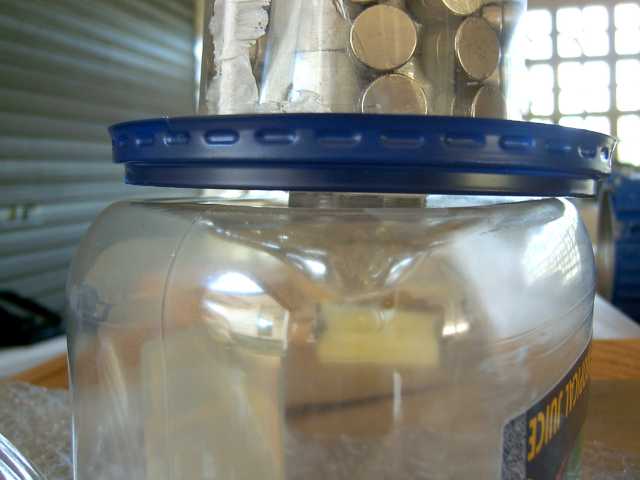
I sliced up an old juice container and wrapped it around the magnets.
Super glue joined it at the overlap. A plastic lid formed the bottom
of the mould, and good old silicone sealed all the gaps. You'll notice
I have not used a cage for the magnets. I want to push the new epoxy
to the limits 
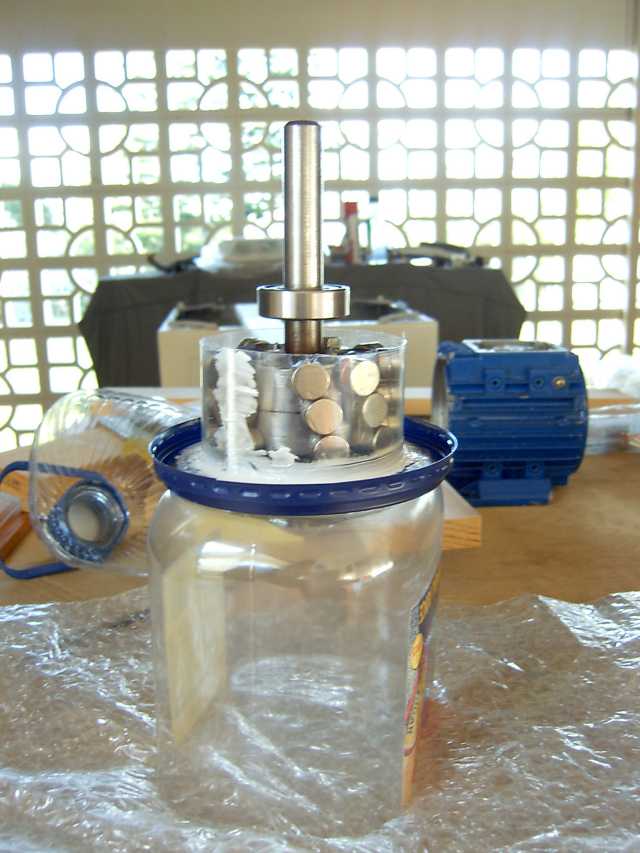
The rotor sat just nice inside the old juice container base.
Making it both a support and a spill container.
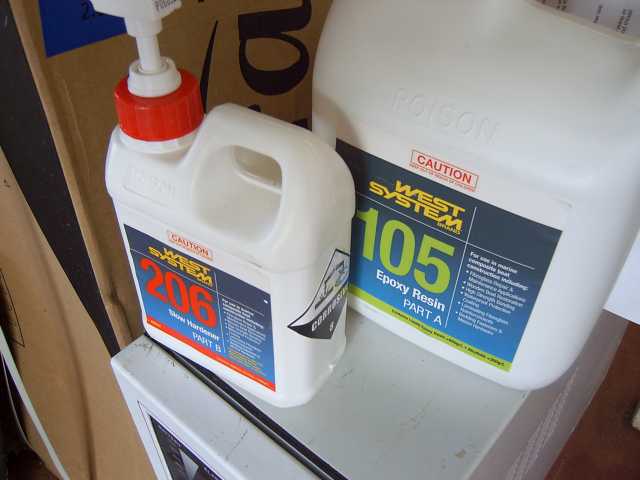
I bought some West System Epoxy this time, as I noticed a
lot of the forum use it. I'm using the 206 slow hardener,
as I'm a firm believer in a better cure for a slow cool/reaction.
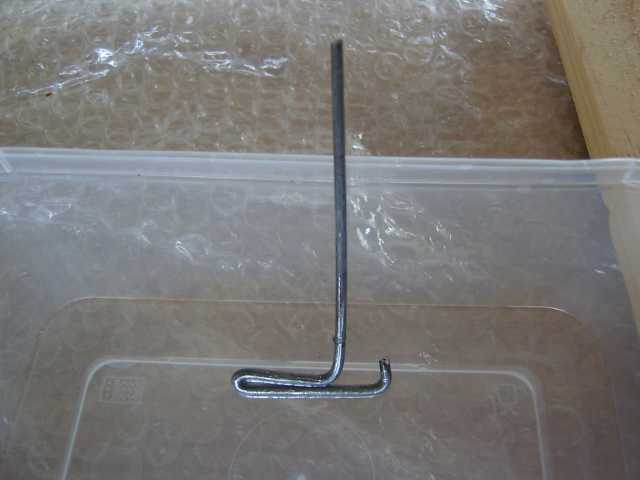
This is my patented :-) epoxy mixing tool. As you can see,
it was not engineered on a CAD system.
I use an old 12V drill connected to a 50Ahr battery for mixing
the epoxy. It means you never go flat in the middle of mixing,
or any other workshop job for that matter :-)
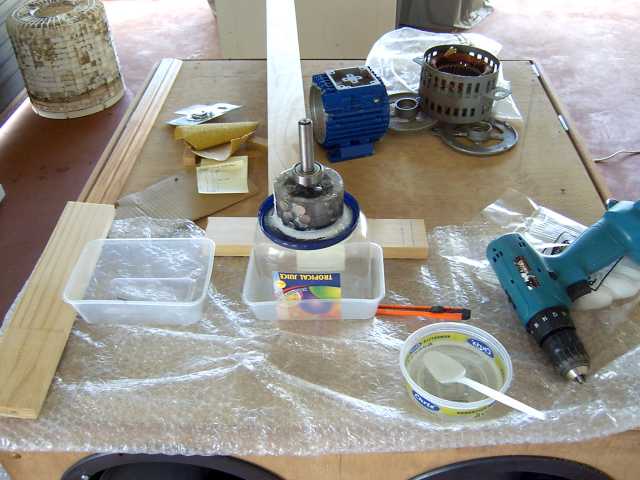
Here is the rotor about 30 minutes after being poured with epoxy.
Most of the bubbles have risen to the top, and formed a froth layer.
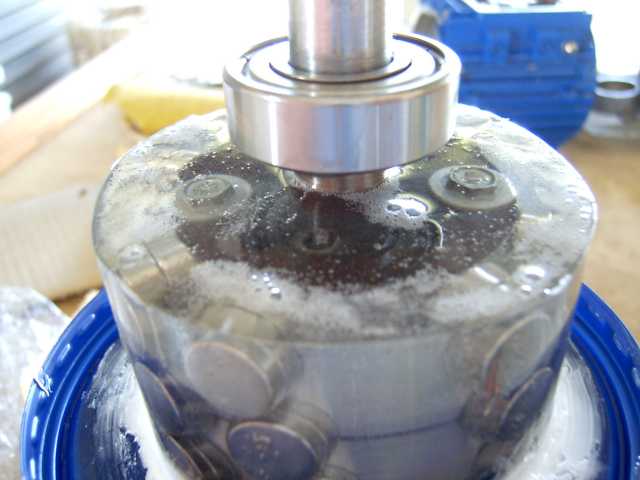
After curing for a week in our tropical sun, I put the rotor back
into the lathe and cleaned up the epoxy. The silicone and old
plastic container bits were peeled off easily by hand.
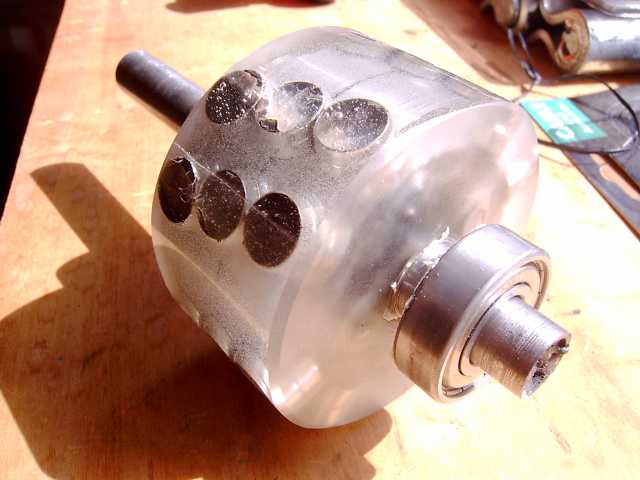
Here it is with the sun behind it. You can see the magnets inside the epoxy.
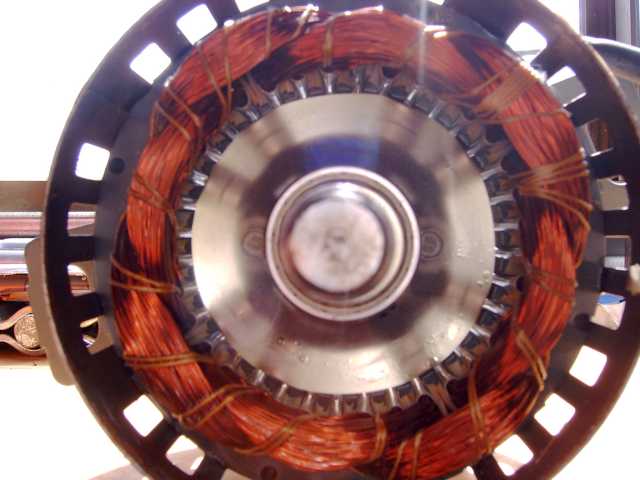
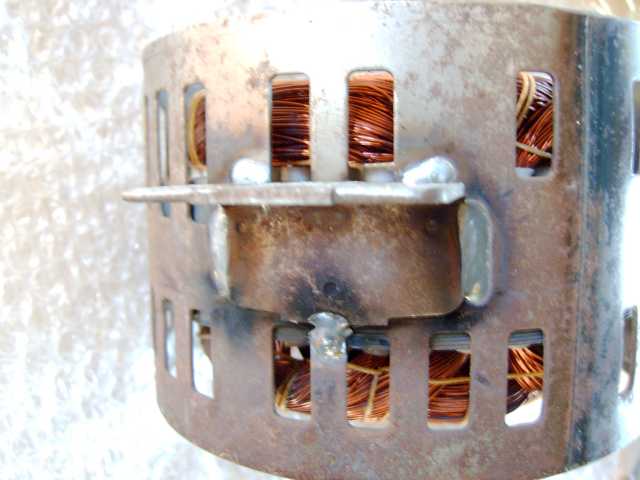
It has two new bearings, and I added some welds to the
mounting ears to make sure they don't break.
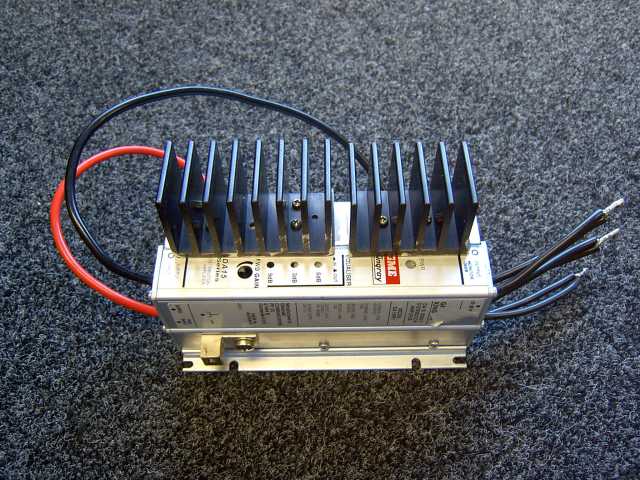
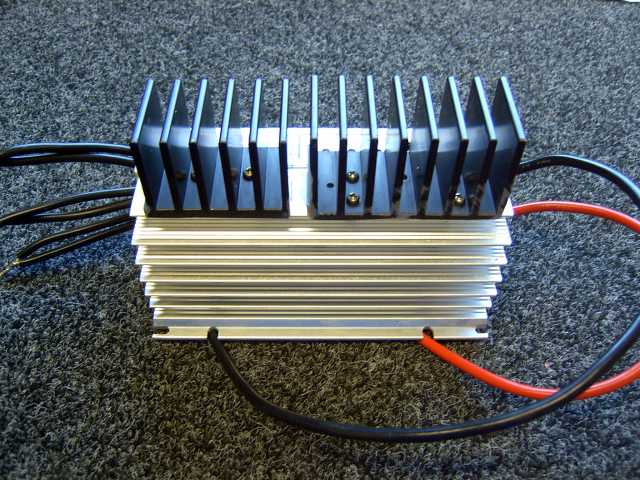
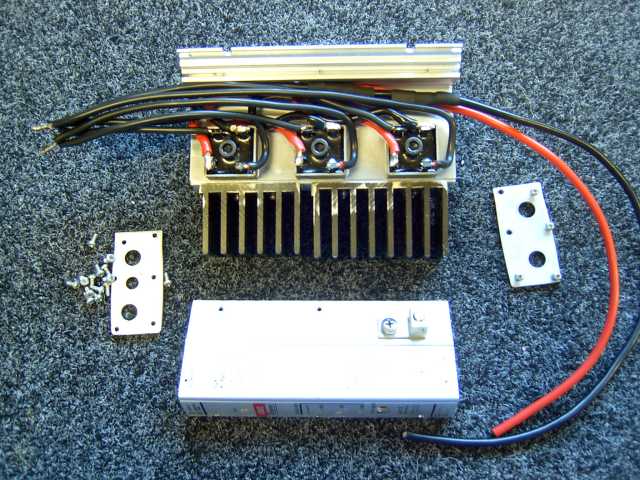
I used an old MATV amp to fit some 50Amp 600Volt bridge
rectifiers to. It was a good opportunity to play with the new
milling machine. I had to make a wider base for the bridges
to mount to, so a second MATV heatsink was cut down and
bolted to the main one. A 2-phase design has only to be treated
as if it were a 3-phase in regards to rectification. Its overkill,
but I have plenty of new bridges laying about.
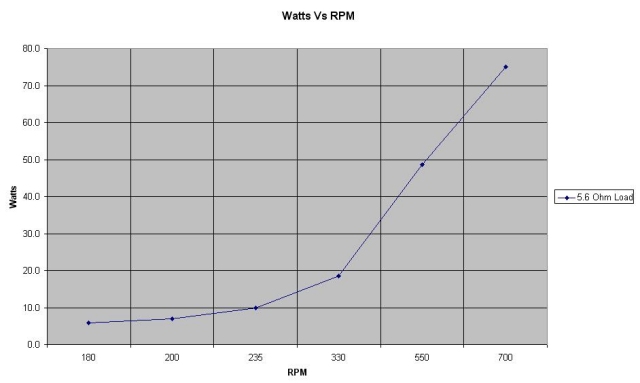
I put the motor back into the lathe and did some tests.
I knew from day one that this would not make much power
due to the 20ohm impedance of each winding. One thing I am
happy with is the waveform. Its an almost perfect sine wave.
The 3hp conversion I did earlier has a slight dip part way
through the wave. I suspect this is caused by a lack of magnets,
as I reduced the magnet count in the final stage of design. I hope
to get some digital waveform images soon.
The rotor can be spun between two fingers to produce 20+
Volts. It feels like a fine stepper motor when it's spun by hand.
I coated the windings with motor winding lacquer for use
in outdoor environments. And the whole outer casing got
a coat of my favourite 97% zinc protective Gal paint.
In conclusion, I'm happy that it performed as I expected it would.
It was a fun test project that produced more information for me
and tested my skills, so that makes it a success. I would call this
a 50-80watt alternator to be conservative. I don't think I could
get much more out of it with the stock windings. Considering that
it began life as a mass produced & average quality domestic motor,
worked for 12 years and then changed roles to produce power is
quite a heart warming thought 
I'm going to do a set of wood blades based on Hugh's designs
and adjusted for higher RPM at lower (20-30klm/h) wind speeds.
About 800mm radius blades with a TSR of about 10 should do it.
I also recovered the "gearbox" from the washing machine, and
it seems to be about a 4:1 or thereabouts. It's a planetary style
with a sealed aluminium casing filled with oil, and brass/plastic
gears. I'm having kinky thoughts about using it as a speed up
for the motor - maybe get some serious RPM out of it. Curious,
the oil that was in the gearbox was squeaky clean after 12 years.
Spank me! The gearbox even has a friction brake!!
This is going to be fun 
I might set this one up at home in a suburban setting on a fold
over tube tower. It will be excellent for testing blades, MPPT
designs, my PICAXE LCD logger and generally gathering info.
If not, I can see it becoming a battery charger at a friends house
that has strong daily winds. He has a garden light system that runs
for a few hours a night. A full day of wind charging should handle
this no problem.
Costs:
Magnets ~AU$15
Motor - free
Epoxy ~ AU$5
New Bearings ~ AU$12
Rectifiers ~ AU$12
Heatsink - free
Total ~$44
Making power from junk - priceless 
sPuDd..